Wow, sorry I haven’t posted in ages but life has been happening. We had some lovely company come to stay for a few days and then I got sick with the flu. (Yes, while our company was here. Ugh!) So I’ve been coughing my head off and feeling blah for 2 weeks now. Finally on the mend, though the cough wants to hang on. But I hope to be back to sharing some fun things for you to try! 🙂
Today’s post is about Dessert Tacos! Someone mentioned something the other day and my brain took off and I had to try my idea out. While not all of my ideas are winners, we really liked our Dessert Taco experiment! It’s not an exact recipe so feel free to tweak this to fit your family. I am drooling again just looking at the picture! 😉

You will need some crunchy taco shells…I used these mini shells.

You’ll also need some cooking type apples, butter, white sugar, brown sugar and cinnamon. Some whipped cream makes a great finishing touch too! A word of caution: these are a bit messy to eat, but oh, so delicious! 😉 Begin by placing your taco shells on a cookie sheet and set your oven to preheat to the temperature printed on the taco shell box.

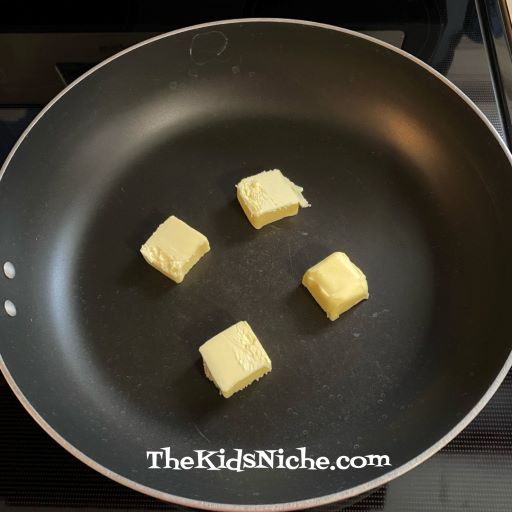
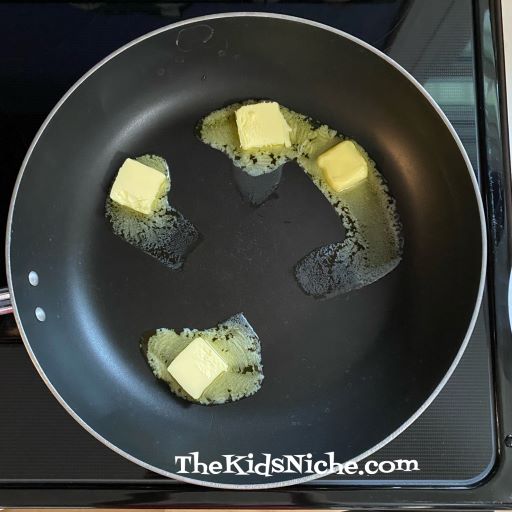
While the oven is preheating, place some butter in the bottom of a large skillet. I used about 4 tablespoons.
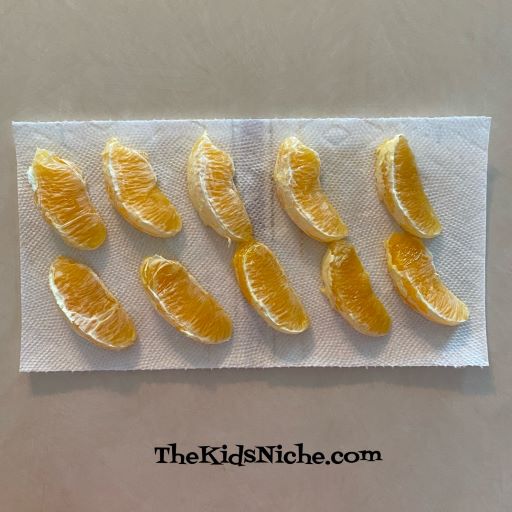
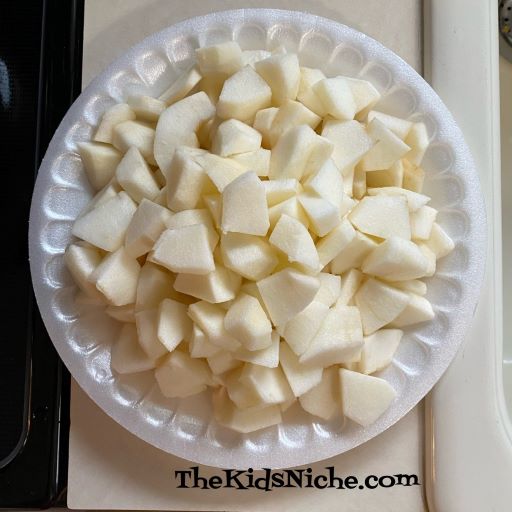
Peel and slice 4 large cooking type apples.
Melt the butter in the skillet over a medium heat.
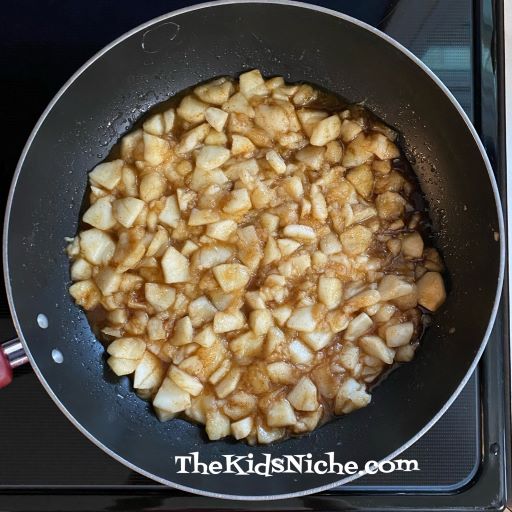
Add the sliced apples and cook on the medium heat.

As the apples start to soften, add some brown sugar and cinnamon. I used 1/4 cup brown sugar and 1 teaspoon of cinnamon.

Stir together and continue cooking until the apples are as soft as you like them.
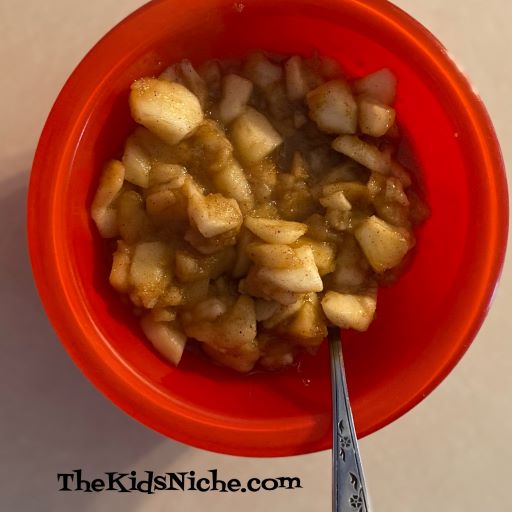
After your apples are cooked, pour them into a bowl and cover to keep them warm until the shells are ready.
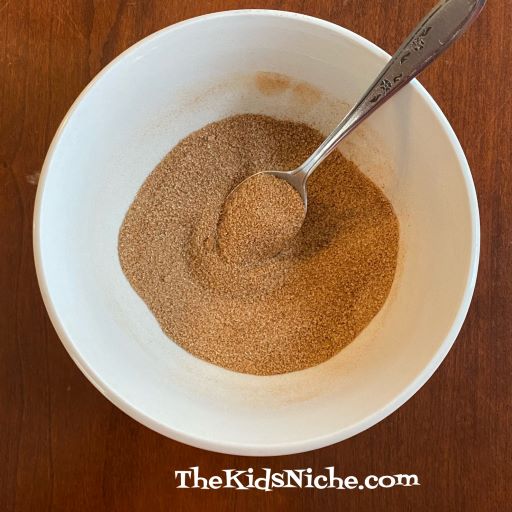
When your oven has preheated, pop the taco shells in for the suggested time on the taco shells box. The mini shells only need 3-4 minutes. If you are using larger shells, they will take a little longer to bake. While the shells are baking, mix together some white sugar and cinnamon. The suggested ratio is 1 part of cinnamon to 4 parts of white sugar. I used 1 tablespoon of cinnamon and 4 tablespoons of white sugar.

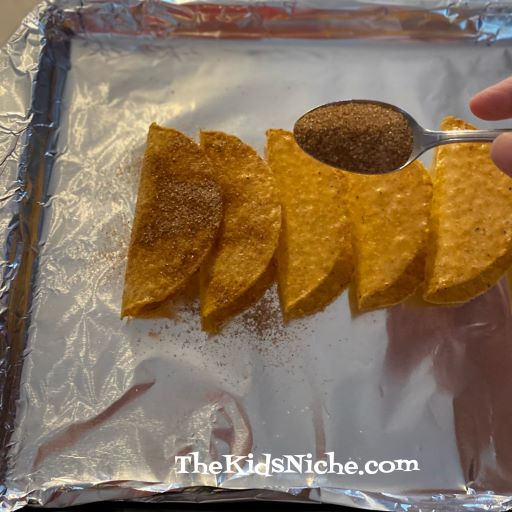
When the taco shells are heated, remove them from the oven and right away use a chunk of butter to rub over one side of each shell.

Sprinkle the cinnamon sugar mixture lightly over the buttered shells.
Turn the shells over and do the same to the other side.

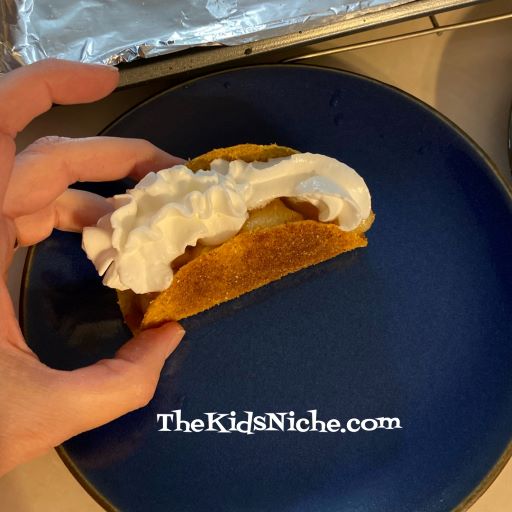
Fill each taco shell with the warm apples. Make sure you have a plate handy to put them on once they are filled.

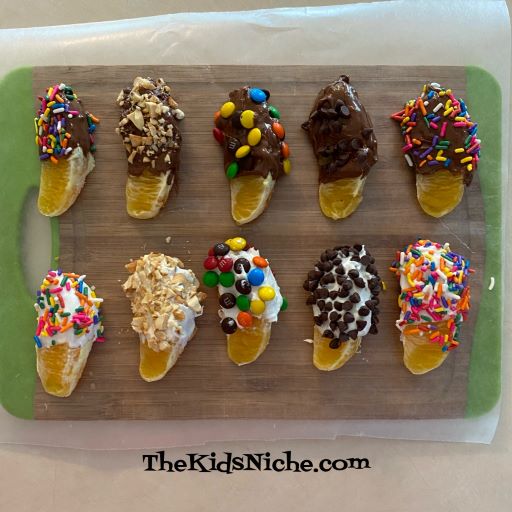
Add some whipped cream on top of the apples and these Dessert Tacos are ready to be eaten!
We were able to fill 6 mini taco shells and still have some apples leftover. We also had leftover cinnamon sugar and I saved it to use in another recipe later. Or maybe to make some more dessert tacos! 🙂 I hope your family will enjoy these as much as we did!