Hello again! Have you ever noticed how many flavors of Cheez-it crackers there are in the grocery store? There are a BUNCH! For our Taste Testing Tuesday today, let’s take a look at some of the types and flavors there are.
So first there were the Original Cheez-it crackers. These were around when I was younger and they were the only flavor available.
I don’t know what order the flavors were added but here are some more of them.
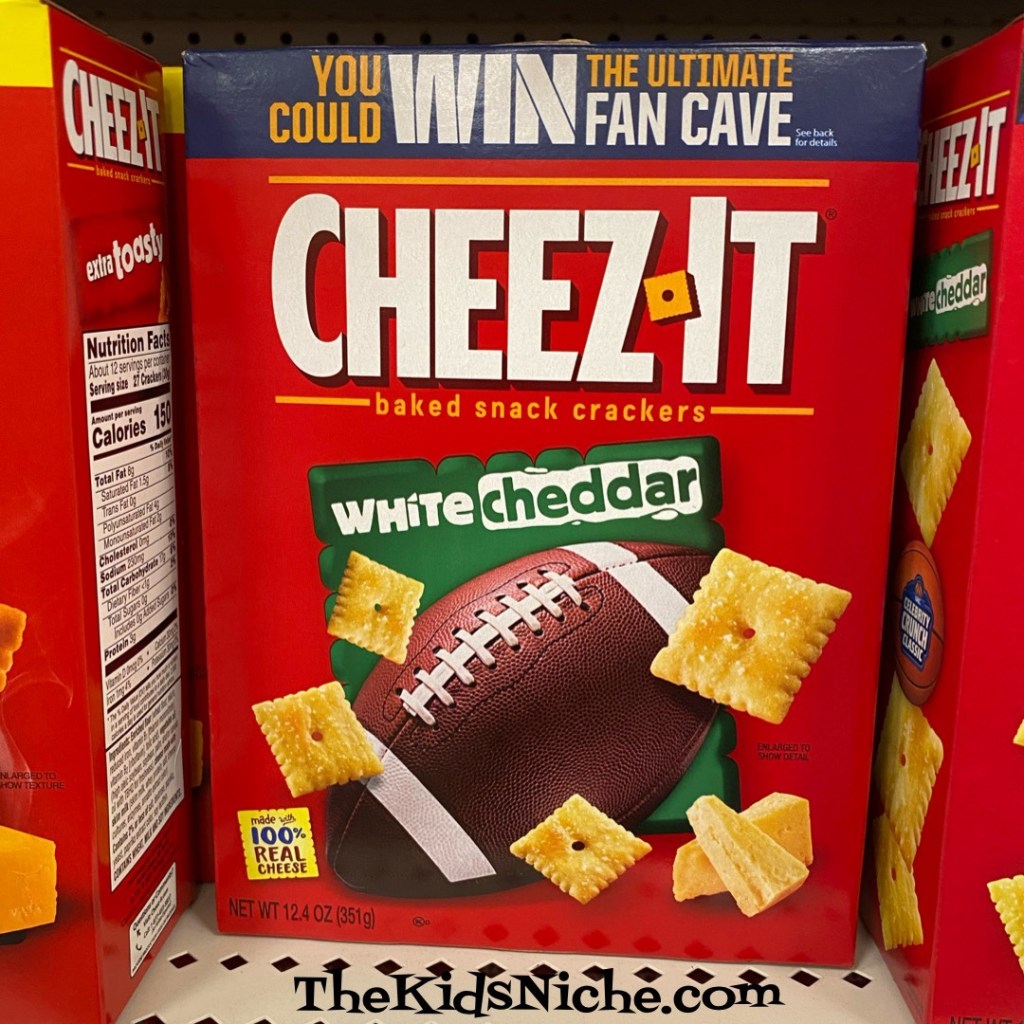
White Cheddar
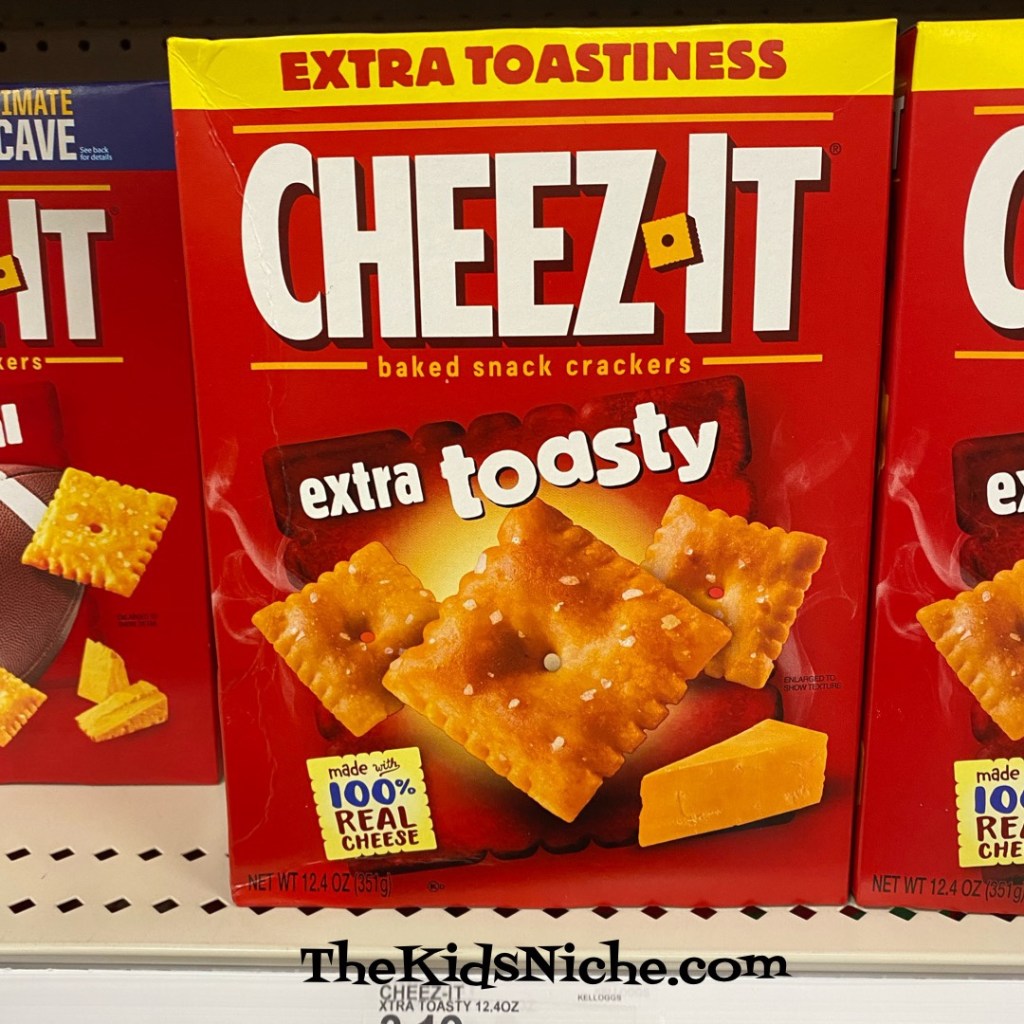
Extra Toasty. I have to say these are my favorite! I remember when I used to find an overcooked cracker in the original flavor box and would wish they were all that way! 🙂
Hot & Spicy. These might light up your mouth a bit!
Cheddar Jack
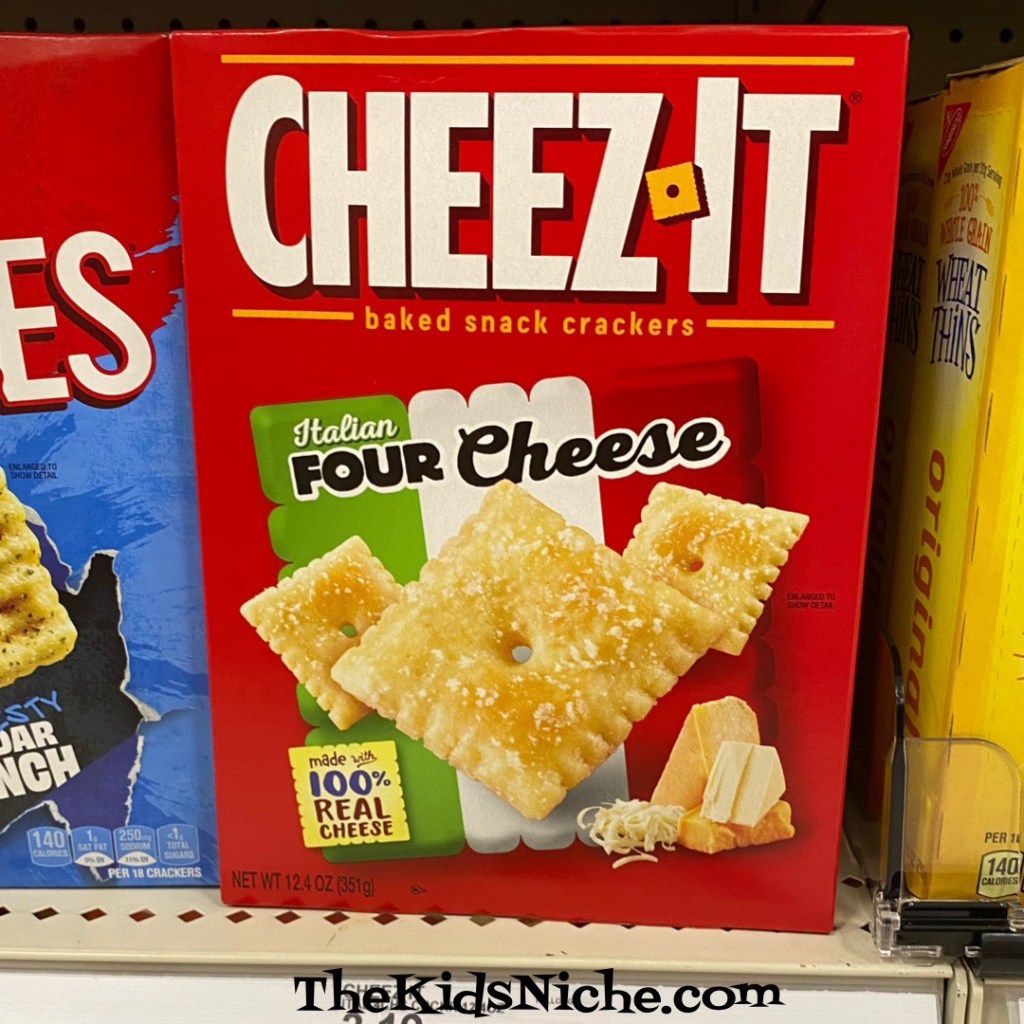
Italian Four Cheese. I haven’t tried this one yet but I think I will soon!
The Cheez-it website shows some more interesting sounding flavors but I haven’t seen them in our local stores. Like Extra-cheesy, Pepper Jack, Cheese Pizza and Buffalo Wings. Here’s one that looks like a lot of fun!
Which ones will your family use for a taste test? I hope you have fun and you find some new favorites!
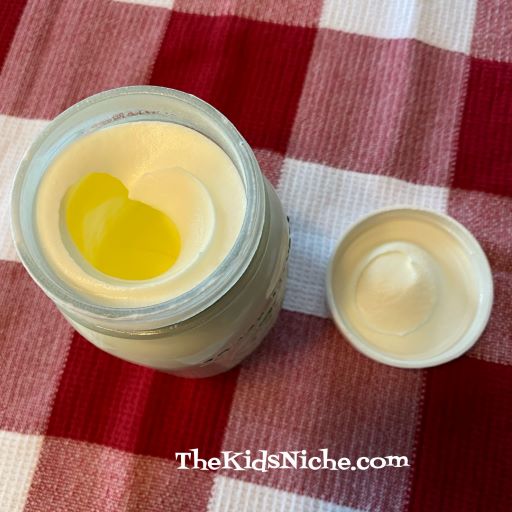
Happy Friday! Are you looking for a fun project that you can do with the kids this weekend? How about making your own butter? It’s simple to do and the kids will be quite impressed that they can make butter instead of only buying it at the store. All you need is a glass jar (I used a pint size) and some heavy cream. If you like salted butter, then you’ll need a bit of that too.
Fill your jar no more than half full of the heavy cream.
If you are using salt, add it now. Try maybe 1/4 teaspoon of salt to around 1 cup of heavy cream.
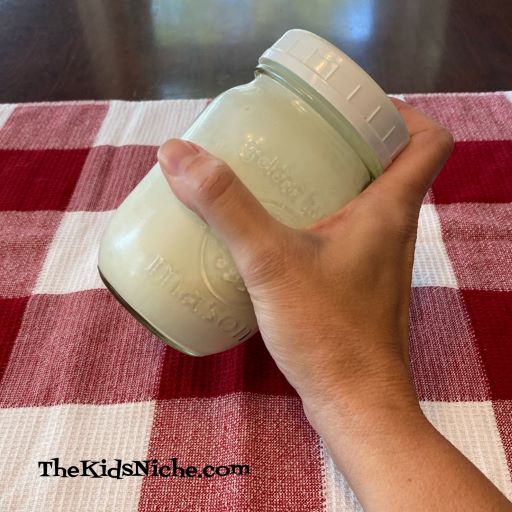
Put the lid on the top and start shaking the jar. Yes, shaking the jar. It’s good to shake it hard but make sure you have a good grip on it!
It will take several minutes so shake for around 2 minutes and then look to see if anything is changing. Then put the lid back on and shake for another couple minutes. The more people you have involved the better as each one can take a turn with the shaking. (My arms got tired doing it all by myself! Haha!) After 6-8 minutes (this can vary depending on how hard you are shaking the jar) you will have what looks like whipped cream. You’re not done yet! Back to shaking! 😉
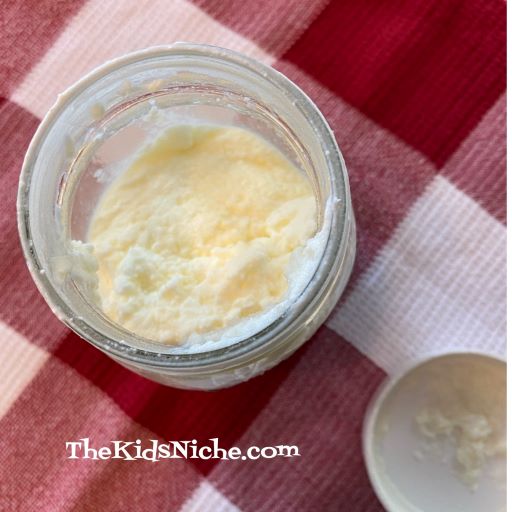
The next time you look, it might be looking like this picture and your jar will seem to be pretty full. Don’t quit yet! Keep shaking!
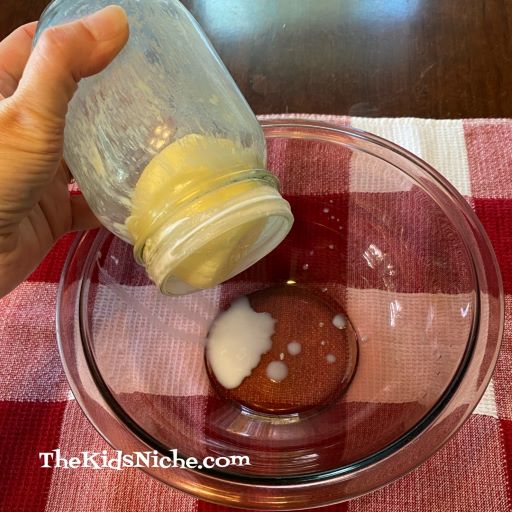
Ah ha! The cream is changing even more! Now it looks like you have less in your jar, but really your butter is starting to form and you are making buttermilk.
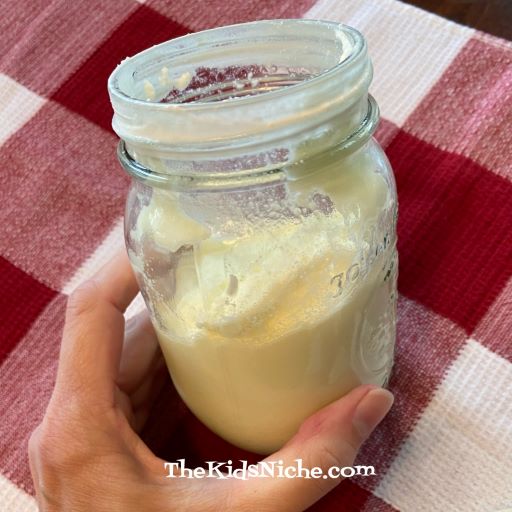
Keep shaking and the butter will start to collect together and you will have a watery liquid in the jar too. That’s the buttermilk.
Shake hard for another 30 seconds or so. And then open the lid. Now pour the buttermilk into a bowl or glass to save for another use…maybe in making buttermilk pancakes!
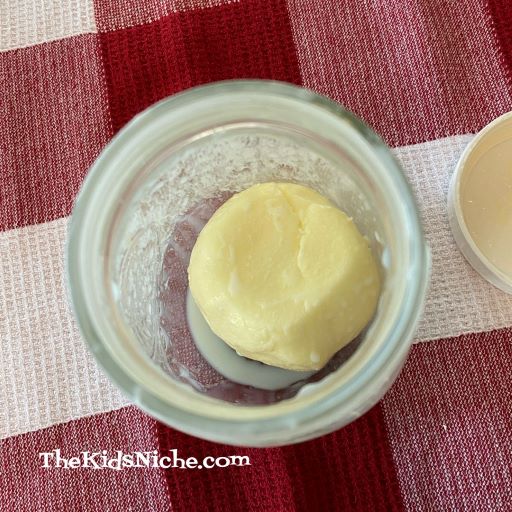
You’ve made butter!! 🙂
Put your clump of butter into a medium sized bowl. You may have to use your fingers or a spoon to get it out of the jar.
Get some cold water and pour it over the butter.
Roll the butter around in the water a little to get any remaining buttermilk off of your clump of butter.
Pour this water off and discard it. Continue rinsing the butter until the water remains fairly clear. Now put your butter in a container for storing.
Grab your favorite kind of bread and butter a slice with your homemade butter! Mmmmm! Isn’t that delicious?
Congratulations! You have successfully made your own butter! 🙂 Share some with your family and friends. They will be impressed to learn that you know how to make homemade butter! Enjoy!
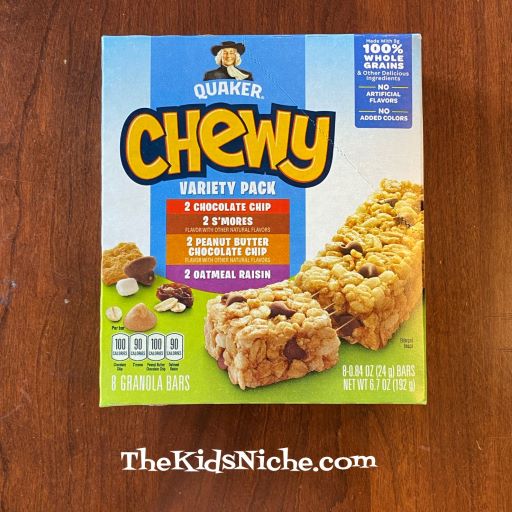
Another Taste Testing Tuesday is under way! Today we’re trying Quaker Chewy Granola Bars. I found one box with 4 different flavors in it. And there are 2 bars of each flavor. 🙂
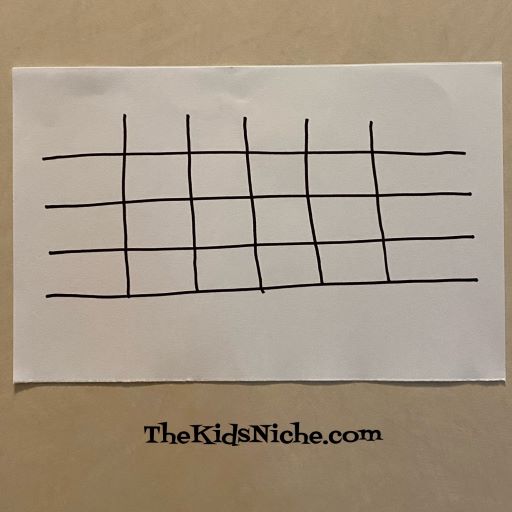
Before we begin, you might want to draw a simple chart to record what everyone thinks during your Taste Test.
Write each participant’s name down the left hand side and the names of each kind of granola bar across the top. Draw a smiling face for “Yum!”, a straight face for “It’s ok.”, and a frowning face for “No, thanks!”
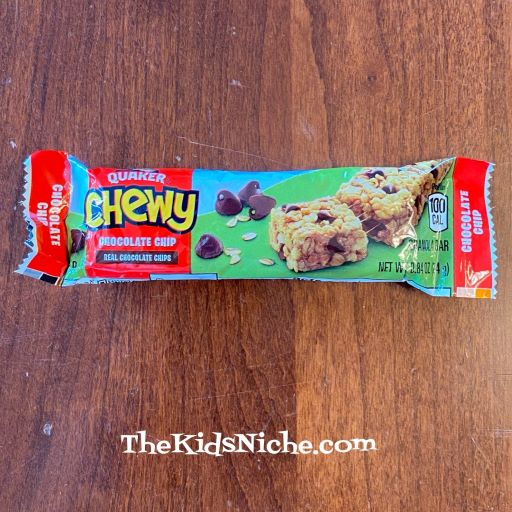
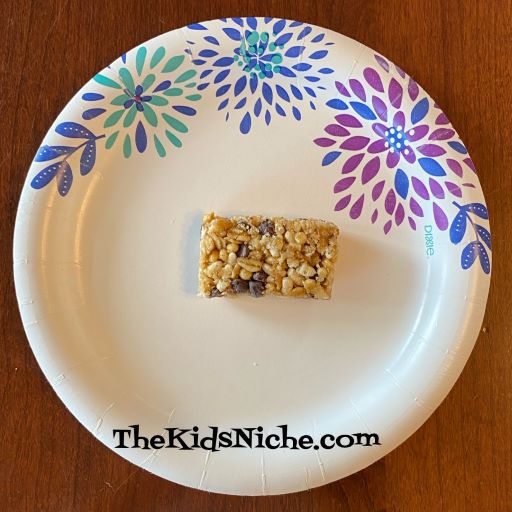
You can decide how big of pieces to break the granola bars into depending on how many people are involved in your taste test or how old the participants are. This is a picture of a fourth of a bar and a half of a bar. I decided to use half bars so they are easier for you to see them.
#1.) Chocolate Chip. Are you a chocolate chip fan? My husband loves them, but I prefer milk chocolate.
#2.) S’mores. Does this one make you think of campfires and making your own s’mores? If you look close, you can see little marshmallow bits in this flavor.
#3.) Peanut Butter Chocolate Chip. Whoever discovered that peanut butter and chocolate go together was a genius, right?! This kind has tiny little peanut butter chips in them. Spoiler alert…this one is my favorite. (I love Reese Cups!)
#4.) Oatmeal Raisin. This one makes me think of homemade oatmeal raisin cookies. Mmm!
And there you have it! Put a piece of each kind on a plate for each taste tester.
Let the tasting and the voting begin! Which is your favorite? Which is your least favorite? Which one got the most smiley faces? I hope your family will have fun taste testing chewy granola bars! 🙂
Hello again! It’s Tuesday and you know what that means! Time for another taste test! Sorry to be so late in posting, but I’m fighting a cold and not feeling the best and my computer has decided to act up.
So, do you ever have one of those days where you want to serve the kids a snack but all you have left are odds and ends of different kinds of snacks? And there isn’t enough of any one snack to go around? Here’s a fun idea to save you! 😉 Collect up a few of your small amounts of leftover snacks and turn them into a fun snack time!
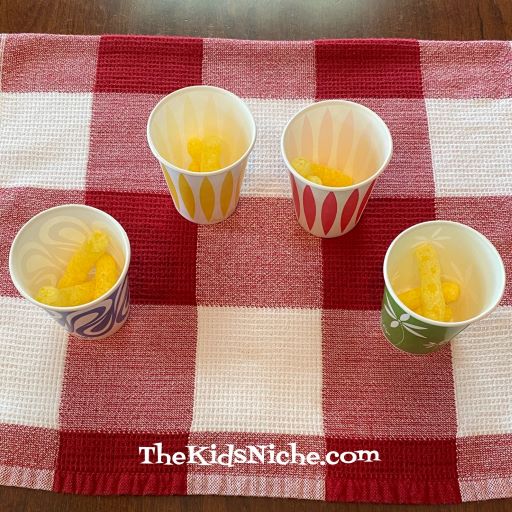
Start with a cup, plate or small bowl for each person who will be having a snack. I like to use the 5 oz. Dixie paper cups.
Take each type of snack food and put a small amount in each cup. For example, maybe you have enough Cheese Puffs to give each person 3 pieces.
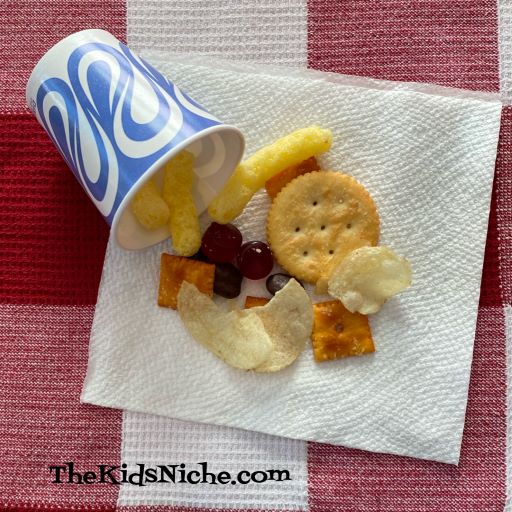
Continue adding small amounts of each type of snack until the cups are full.
I’m betting your kids will find this fun since it’s an out of the ordinary way of having a snack. 🙂
Maybe the kids will want to barter with each other to get the snacks they like best. Say, 1 Cheez-it cracker swapped for 1 fruit gummy.
It’s a great way to use up leftover snacks and not have to listen to the kids fight over who gets which snack…they all get ALL the snacks! 🙂 As always, you can make a chart for your taste testing and let each kiddo tell if they like each snack or not. To make it even more fun, try hiding the cups around the house for the kids to find before they enjoy eating their snack. Have fun and happy snacking!
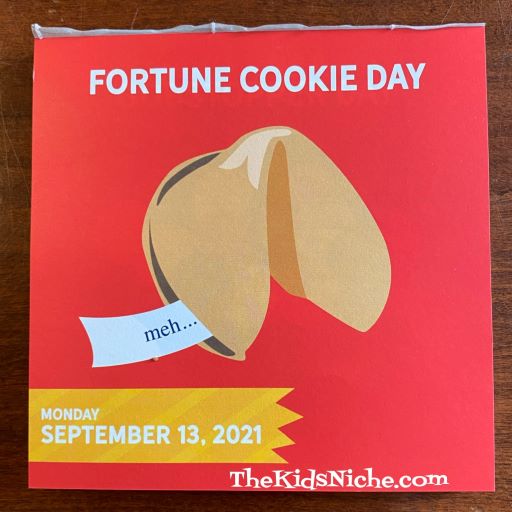
To be honest, I didn’t know there was such a thing as Fortune Cookie Day, but my calendar says today is the day!
My hubby has been sick, so today I brought some Chinese food home for him. And it included a fortune cookie! Ta dah!
If you’ve never had a fortune cookie, this is what they look like, up close and personal.
They are kinda like a folded over cookie that’s then bent in half. But first, a small slip of paper is placed inside the cookie, which is supposed to tell you your fortune when you break the cookie open. 🙂
So what was my fortune today? (My husband doesn’t eat the fortune cookies so I always get to eat them and read the fortune. So does that make it my fortune or his? Hmm…) 😉
“You are heading in the right direction.” Well, that’s good to know! LOL While I don’t really believe in the fortunes, it is rather fun to eat fortune cookies and read the fortunes. I hope you’ll try some soon and that your fortunes will be good! 😉
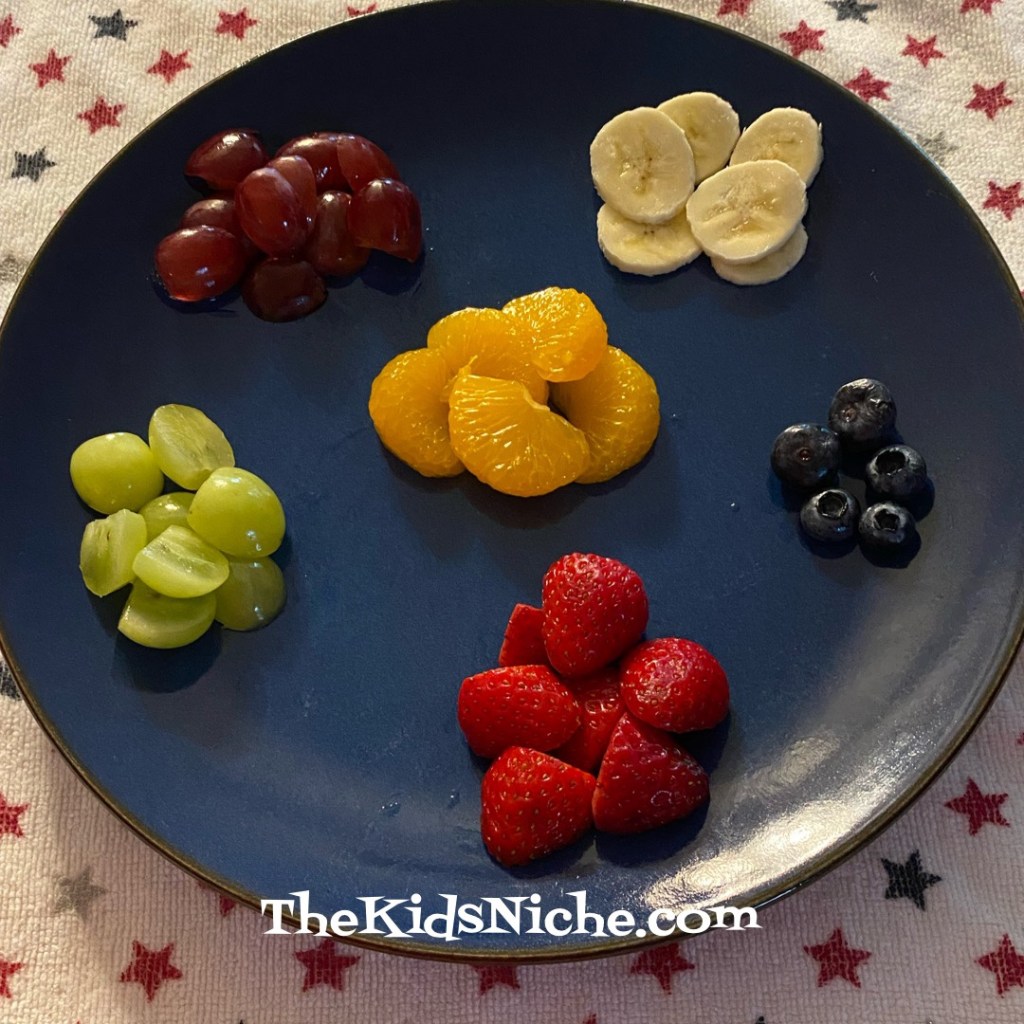
Hello there! Yep, it’s Tuesday so here we go again! Would you like to serve a fruit salad for part of a meal but it’s a big hassle because nobody likes the same fruit and you can’t remember who likes what?! Yea…been there, done that, right? So here’s one solution. Fix the fruit and then have a taste test. Once everyone knows what kind of fruit they like (and don’t like) each person can put their favorites into their individual bowl.
Here are some of the fruit I used but of course, use the fruit you and your family will eat.
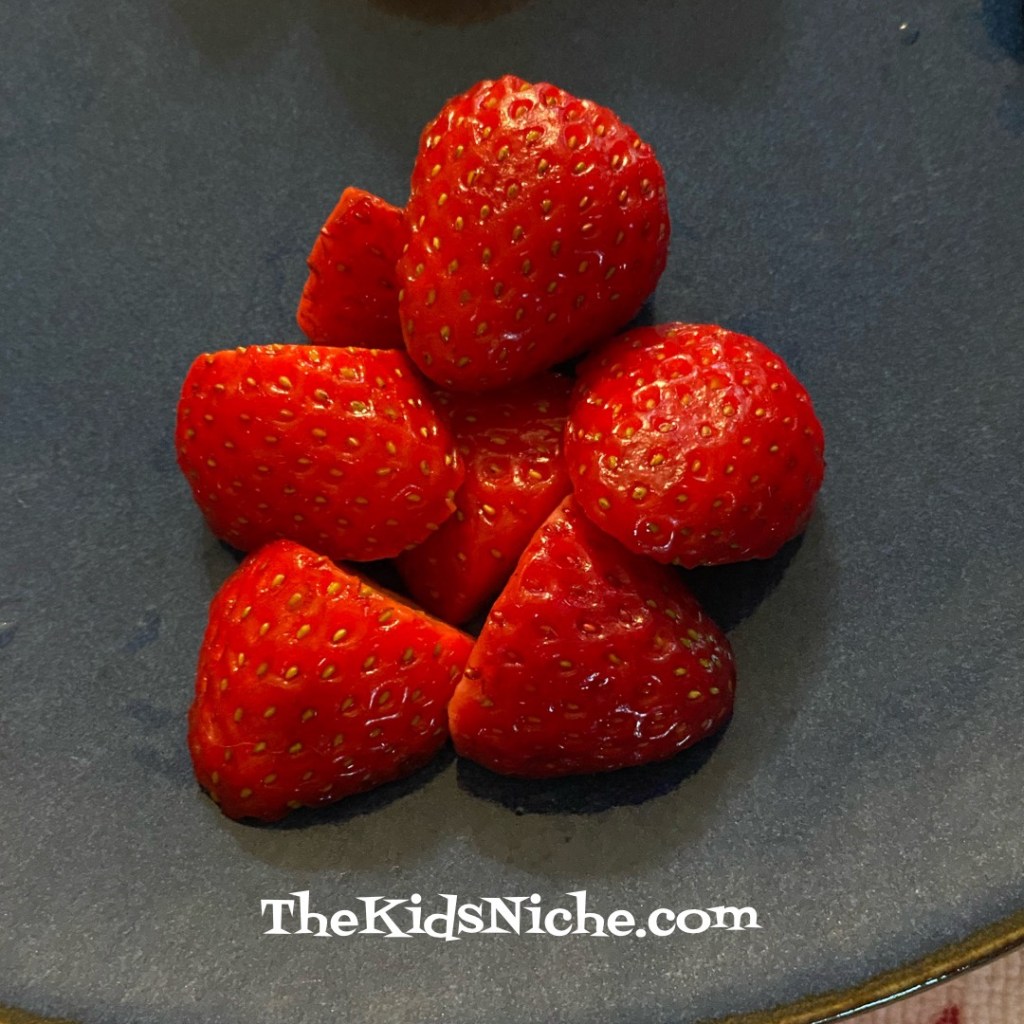
#1.) Strawberries
#2.) White Seedless Grapes
#3.) Blueberries
#4.) Mandarin Oranges or small orange pieces
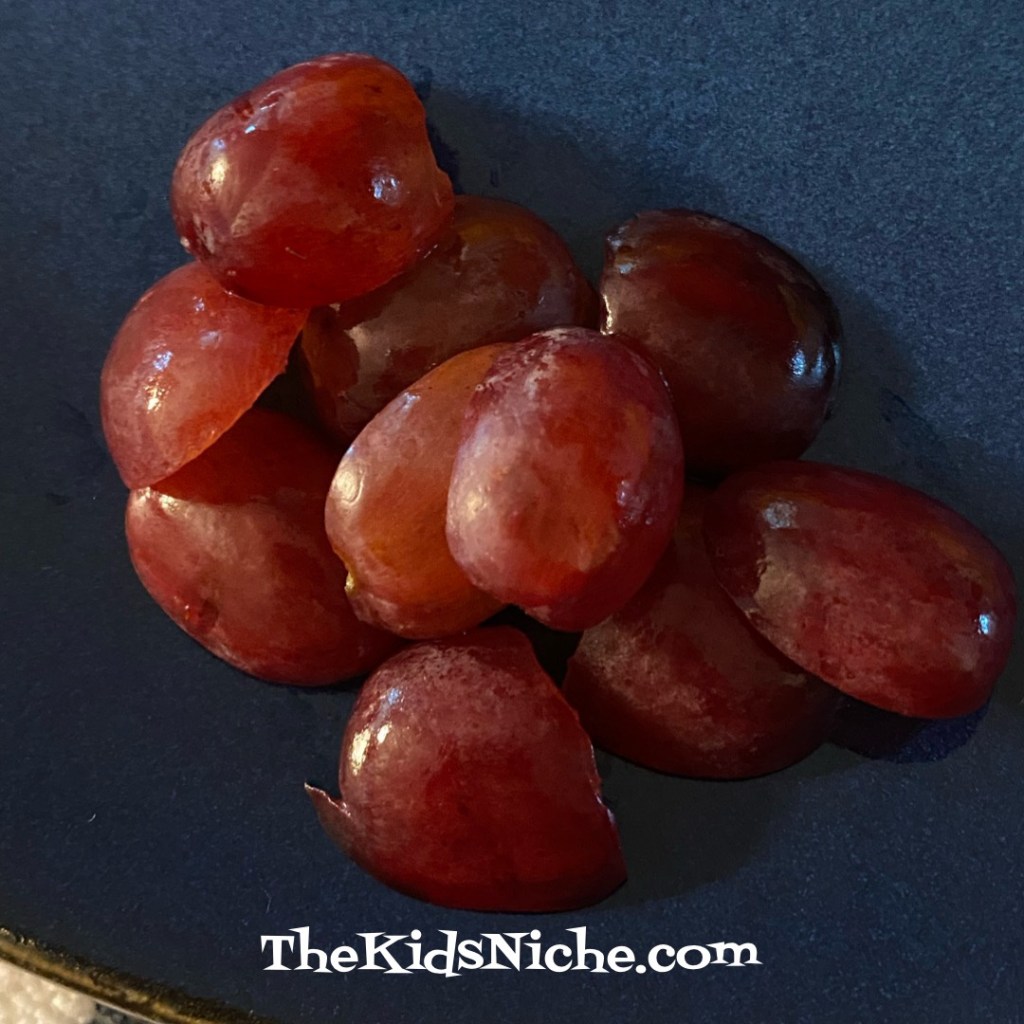
#5.) Red Seedless Grapes
#6.) Bananas
After all fruits have been tested by tasting, each person can add the fruit they like to their bowl.
Stir in a little yogurt or sour cream and ENJOY!
I love fruit salad, especially during the summer when it’s hot outside. It’s cool and refreshing. I hope this taste test will make fruit salads go over more smoothly at your house! 😃
Sorry to be posting this so late, but it’s been one of those days! My calendar says today is Banana Split Day. Sounds like a good holiday, right? 😉
When I was a kid, I always asked for a banana split any time we went to the ice cream shop. So what’s in a banana split? That’s really up to you, but here is how I make them. Some things you will need…
Bananas. (I bet you figured that out already!) 😉
The most important ingredient…ice cream! I use vanilla put you could use whatever kind you like.
Your favorite toppings…like chocolate syrup
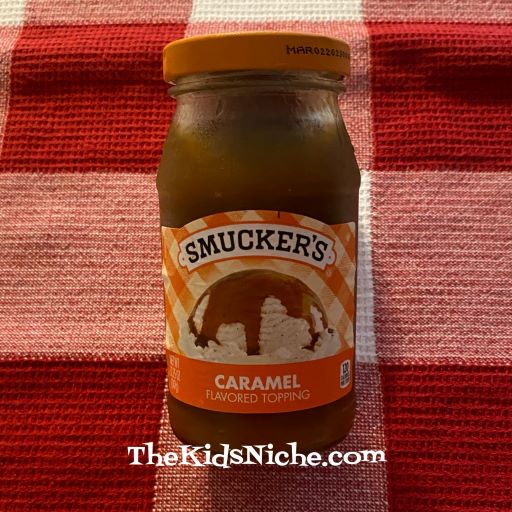
Caramel topping…
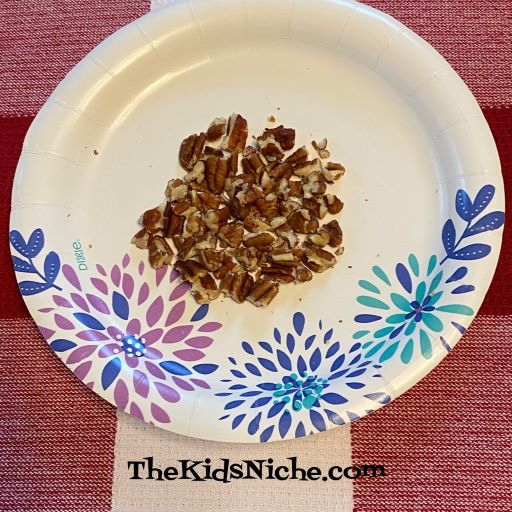
A fruit topping like strawberries or strawberry jam or maybe pineapple. Some chopped nuts like pecans or peanuts.
Start by slicing a banana into a bowl.
Add some scoops of ice cream.
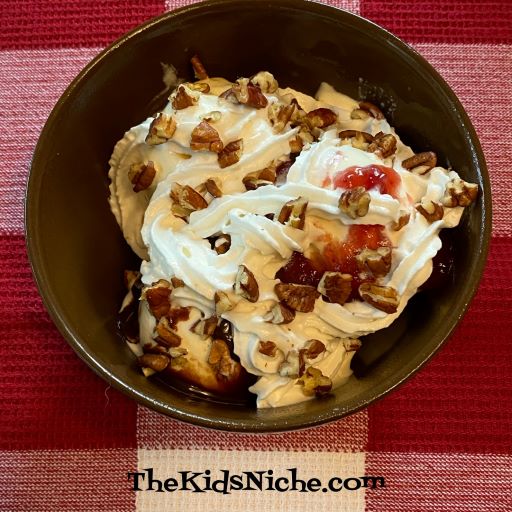
Add your toppings. I like to use 3 toppings. Here I used strawberry jam, caramel topping and chocolate syrup.
Top with some whip cream and nuts.
And EAT it! Lol The sky’s the limit here on what kind of ice cream and toppings you use. Marshmallow cream is another good topping! Mmmm! Have fun making your own banana splits or take a trip to your nearest ice cream shop and let them make it for you! 🙂 Again, Happy Banana Split Day!
Welcome to another round of Taste Testing Tuesday! Its that time of year again when the tomatoes are getting ripe and there is usually an abundance of them. And tomatoes are so good for you! So for today’s taste test, let’s look at some ideas for eating tomatoes raw.
#1.) Try them plain with nothing on them. If it’s a ripe tomato, you might just like it as it is.
#2.) With salt and pepper. This is how I used to love them when I was a kid. (Yes, the little eggs are my salt and pepper shakers.) 😉
Doesn’t that look yummy?
#3.) With some sugar sprinkled on top. My grandmother used to fix sliced tomatoes this way.
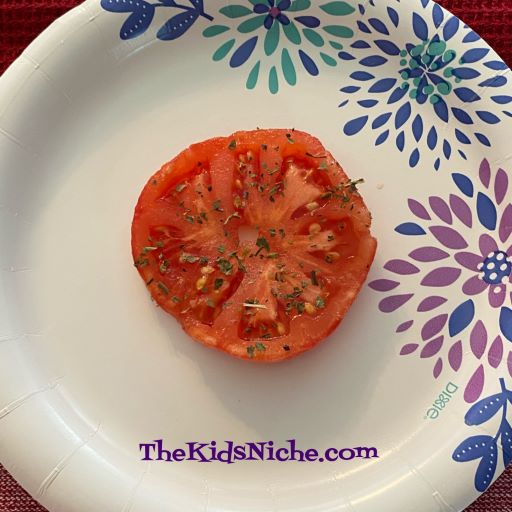
#4.) Sprinkled with basil or even a little oregano.
I’m drooling looking at this picture!
#5.) With some taco seasoning added. This smells delicious!
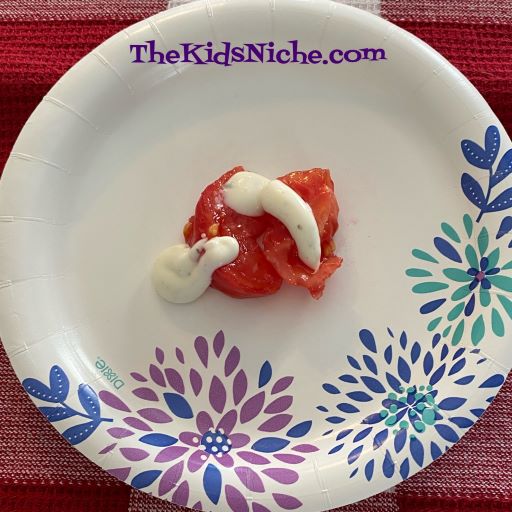
#6.) Top the tomato with your favorite salad dressing. I used Ranch dressing.
#7.) Sprinkle some grated mozzarella cheese on top. Mmmm! 🙂
Of course, raw tomato is great sliced and added to a sandwich or chopped up and tossed in with a salad. I hope these suggestions will give you some ideas to try and you’ll find some new ways to enjoy raw tomatoes! 🙂
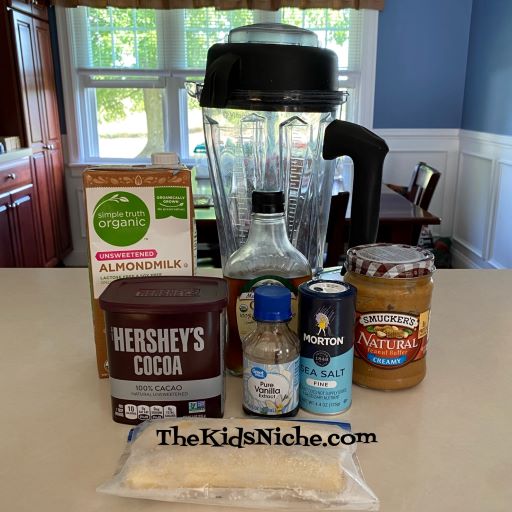
Welcome to another round of taste testing! Today we’re tasting just one item, but I just wanted to share a healthy version of a milkshake. It’s been SO hot this summer! Whew! I don’t know about you but I could eat ice cream every day! Of course, that wouldn’t be healthy for me, so we tested out a new version of a milkshake. It is so good you won’t believe that its healthy! Haha!
Here’s all you need: 2 frozen bananas, 3/4 C. almond milk, 1 Tablespoon pure maple syrup (optional), 2 Tablespoons cocoa powder, 1/4 C natural peanut butter, pinch of sea salt, 1 teaspoon vanilla extract, and 7 ice cubes.
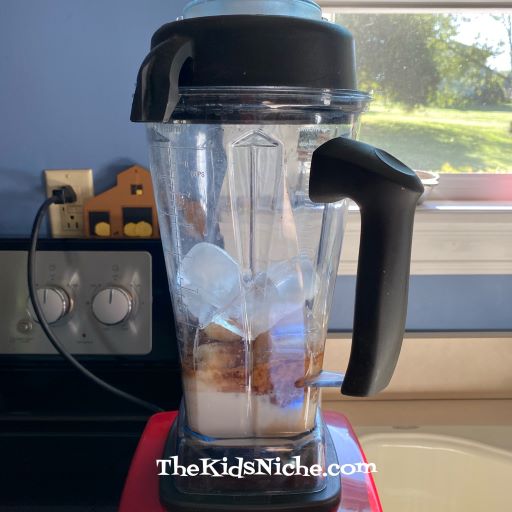
Put all the ingredients into a high-powered blender…
…and blend until smooth and creamy.
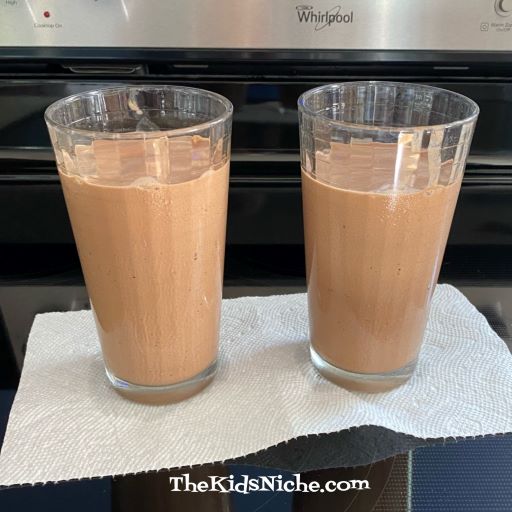
Pour into glasses and enjoy!
It really does taste like you are cheating! 😉 Here’s the directions:
Or you can find it here. Thanks to Detoxinista for sharing!!
Sorry for the lateness of this post! It’s been one of those days…
Do your kids love dinosaurs? Then I bet they would be excited to see what’s inside of a dinosaur egg! And wouldn’t it be nice if while looking for little dinosaurs that have hatched out of eggs, they also ate some oatmeal? Someone at the Quaker Oats company thought so!
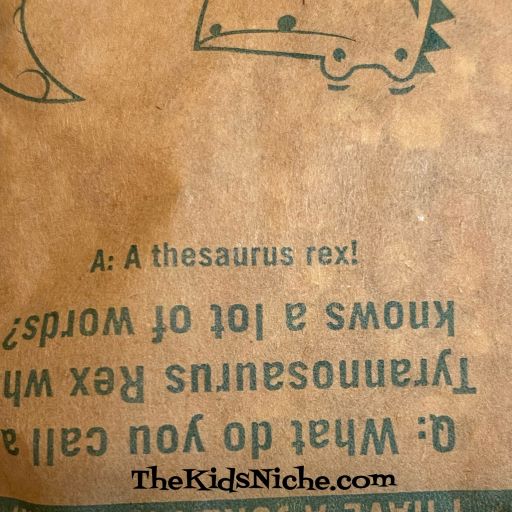
This is a fun way to get your kids excited for breakfast! It’s a really cute idea. Inside the box are individual packets of instant oatmeal that have dinosaur eggs mixed in. But first, be sure to look at the fun facts and riddle on the outside of the packets.
Just in case you have trouble seeing the answer to the riddle…
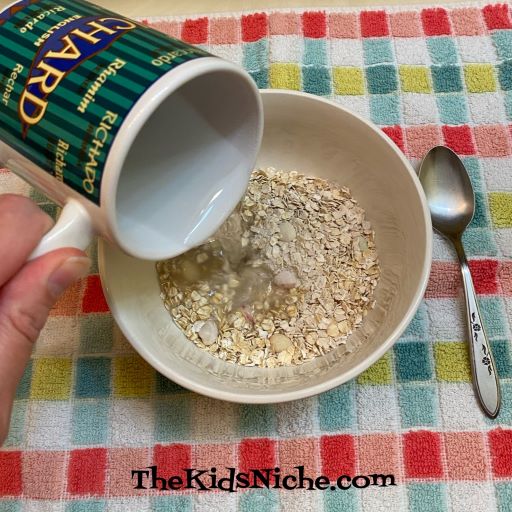
Empty a packet into a bowl and let the kids see the cool dinosaur eggs.
Add 1/2 Cup of boiling water…
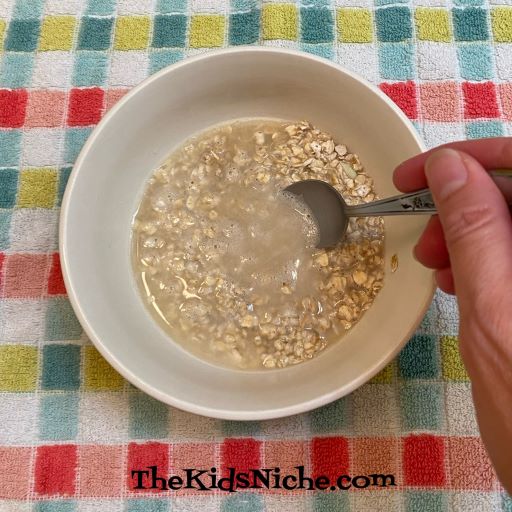
Stir…
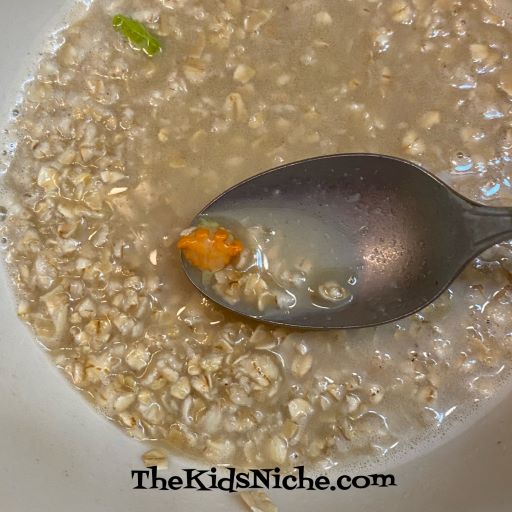
And start looking for dinosaurs! They magically hatch when you stir in the boiling water. Very cool! Here’s a green one…
And we found an orange one…
There’s also a dark red one.
Hopefully the kiddos will be taking bites of oatmeal while they hunt for dinosaurs! Don’t you wonder what a dinosaur tastes like? Do the different colors taste the same or do they have different flavors?
See how many dinosaurs you can find! Breakfast might turn into the favorite meal of the day if you can hunt for dinosaurs! 😉 Have fun and fill up those little bellies with dinosaurs!