
Happy Friday! Are you looking for a fun project that you can do with the kids this weekend? How about making your own butter? It’s simple to do and the kids will be quite impressed that they can make butter instead of only buying it at the store. All you need is a glass jar (I used a pint size) and some heavy cream. If you like salted butter, then you’ll need a bit of that too.

Fill your jar no more than half full of the heavy cream.

If you are using salt, add it now. Try maybe 1/4 teaspoon of salt to around 1 cup of heavy cream.

Put the lid on the top and start shaking the jar. Yes, shaking the jar. It’s good to shake it hard but make sure you have a good grip on it!
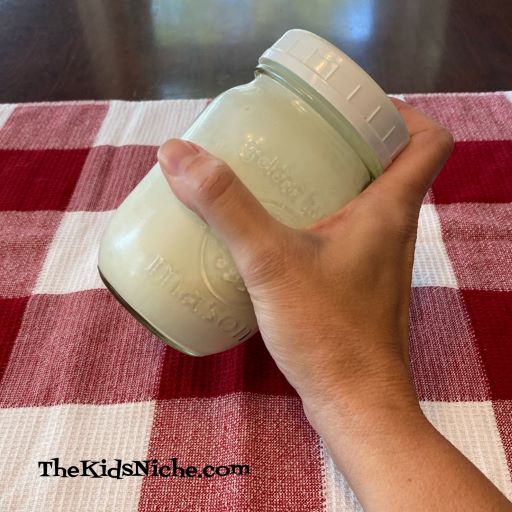
It will take several minutes so shake for around 2 minutes and then look to see if anything is changing. Then put the lid back on and shake for another couple minutes. The more people you have involved the better as each one can take a turn with the shaking. (My arms got tired doing it all by myself! Haha!) After 6-8 minutes (this can vary depending on how hard you are shaking the jar) you will have what looks like whipped cream. You’re not done yet! Back to shaking! 😉
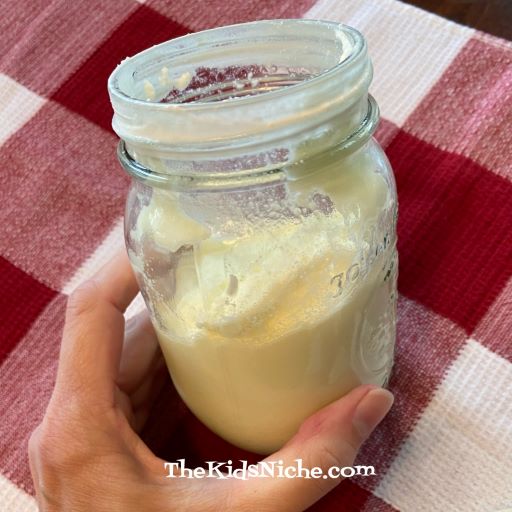
The next time you look, it might be looking like this picture and your jar will seem to be pretty full. Don’t quit yet! Keep shaking!

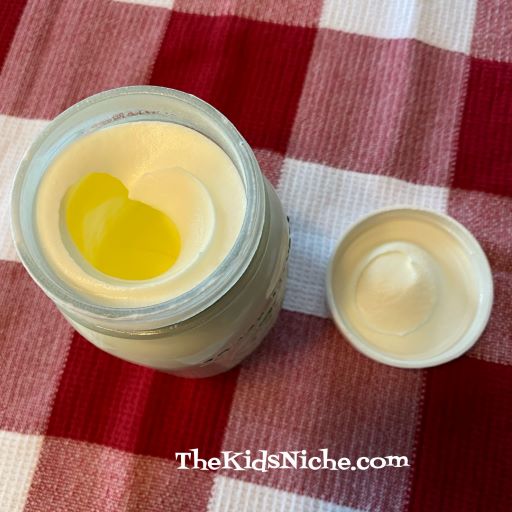
Ah ha! The cream is changing even more! Now it looks like you have less in your jar, but really your butter is starting to form and you are making buttermilk.
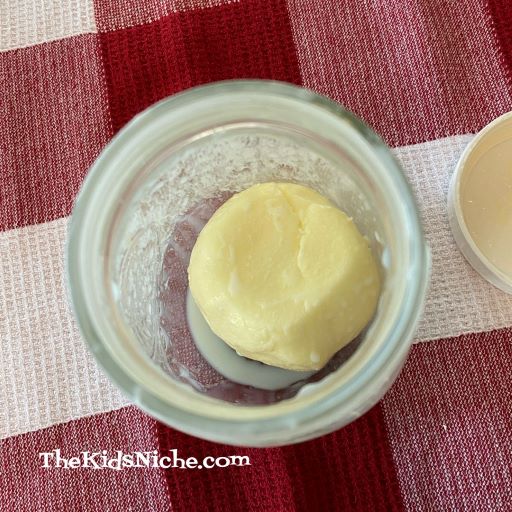
Keep shaking and the butter will start to collect together and you will have a watery liquid in the jar too. That’s the buttermilk.

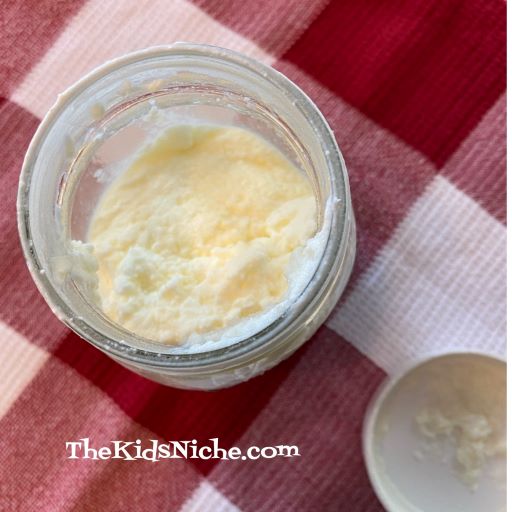
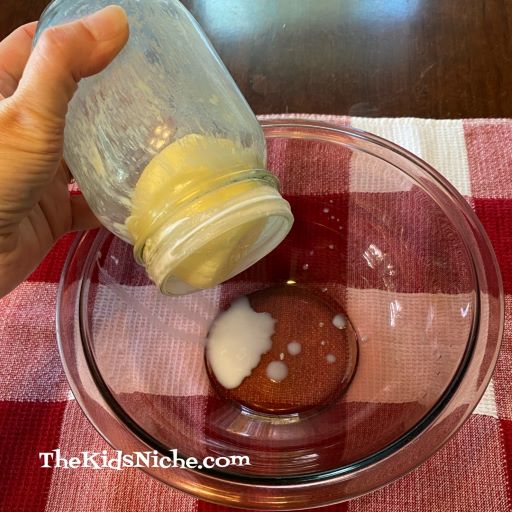
Shake hard for another 30 seconds or so. And then open the lid. Now pour the buttermilk into a bowl or glass to save for another use…maybe in making buttermilk pancakes!

You’ve made butter!! 🙂
Put your clump of butter into a medium sized bowl. You may have to use your fingers or a spoon to get it out of the jar.

Get some cold water and pour it over the butter.

Roll the butter around in the water a little to get any remaining buttermilk off of your clump of butter.

Pour this water off and discard it. Continue rinsing the butter until the water remains fairly clear. Now put your butter in a container for storing.

Grab your favorite kind of bread and butter a slice with your homemade butter! Mmmmm! Isn’t that delicious?

Congratulations! You have successfully made your own butter! 🙂 Share some with your family and friends. They will be impressed to learn that you know how to make homemade butter! Enjoy!
