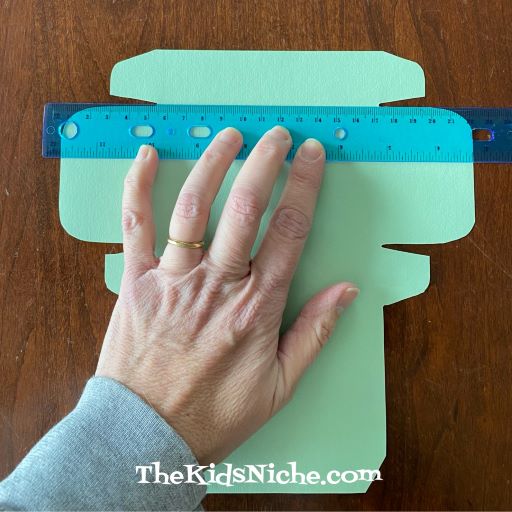
It’s less than a week now until Thanksgiving! Are you ready? We aren’t, but we are working on it! Do you need a few more decorations to make your house look festive? Here is an age old craft that you’ve likely seen…and done…many times before but this can serve as a reminder for you. We’ll call it the trace-around-your-hand-turkey. 🙂 All we need for this craft is a piece of paper, a pencil and something to color with. I used markers for my example.

Place your (or your child’s) hand on the sheet of paper.

Trace around your hand using the pencil.

Lift your hand off after you finish tracing around it and then add a line at the bottom to close up the hand.

You have the outline of your turkey! Great job! Draw the turkey’s eye, beak, feet and wattles. (Wattles on the turkey are the parts done in red on top of and underneath his head.)

I probably should have turned my paper the other direction since my hand is rather big and there isn’t much room for his legs and feet. But maybe this guy is just short! haha! The fingers of the hand will serve as the turkey’s feathers, so go ahead and color them whatever color you like.

Now you can draw on a wing and then color the turkey’s body.
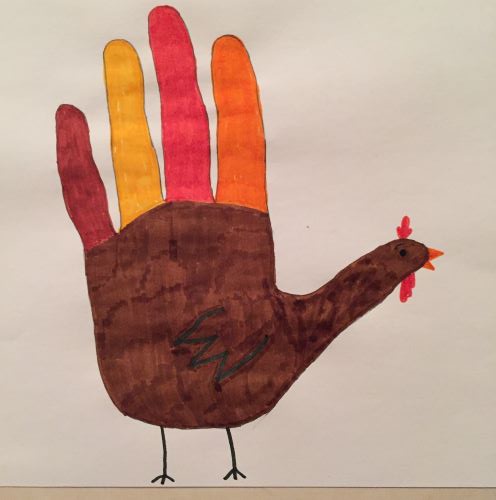
I chose to add the words “Happy Thanksgiving!” to my picture. You could also draw and color in the background with things like grass, blue sky, a barn, a tree, etc.

And you did it! How do you like your Thanksgiving turkey? I’m sure he looks great! Now for a little Thanksgiving turkey humor… 😉