There are times when you need something quiet to entertain your children. Perhaps when you go to a funeral or church or the doctor’s office, etc, it’s nice if the kids can do something quiet. If you have a notebook handy, you can make a quiet learning book fairly easily. The quiet book can, of course, be tailored to your child’s age.
Here are a few suggestions for pages you can make for your child to do.
1.) Match the capital letters. Have your child draw a line between the letters that are the same. The size of the notebook you have will determine how many letters you can fit on a page. You can do a few letters or the entire alphabet.
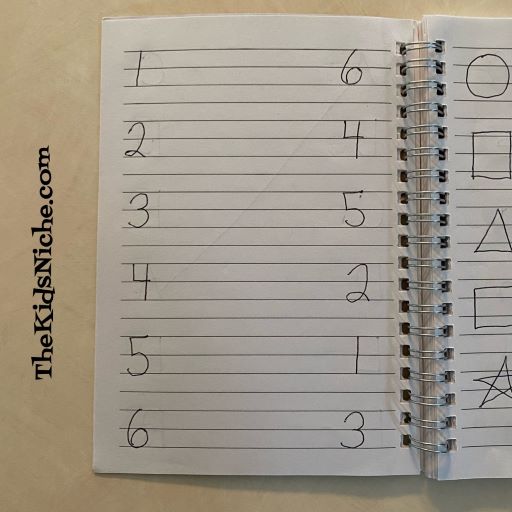
2.) Match the numbers.
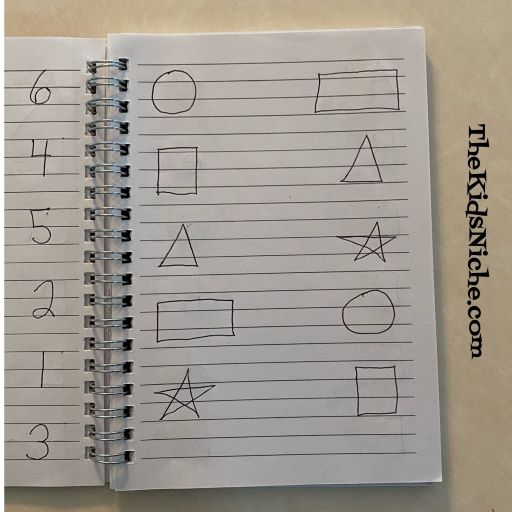
3.) Draw lines to match the simple shapes.
4.) Match the capital letters with the lower case letters.
5.) Draw a line between the matching stickers.
6.) Draw a line between the stickers that are the same TYPE of thing. For example, the 2 kittens, even though the stickers are not of the same kitten.
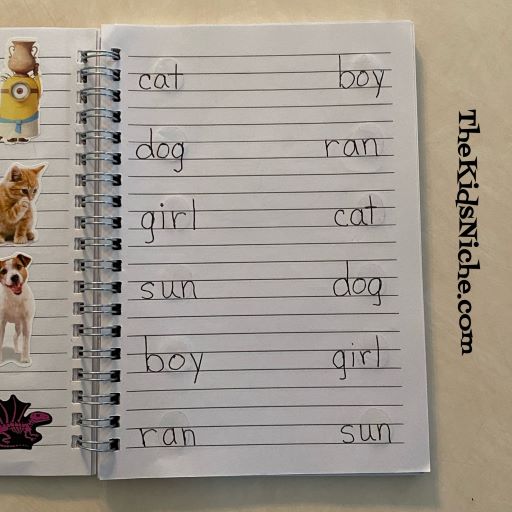
7.) Draw lines to connect the matching words.
8.) Draw lines to match the colors.
9.) Draw the same picture on the bottom of the page.
10.) Draw the same shape beside each shape on the left.
11.) Draw another caterpillar like this one.
You’ve got the idea now and I’m sure you will think of other pages to make that your child will enjoy doing. There’s no reason that a quiet time can’t also be a time of reinforcing some learning! 🙂
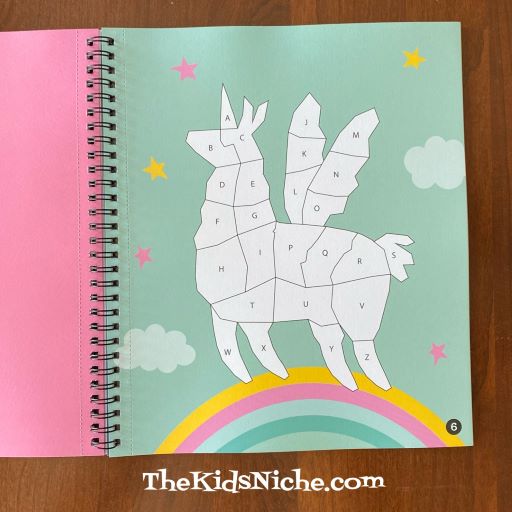
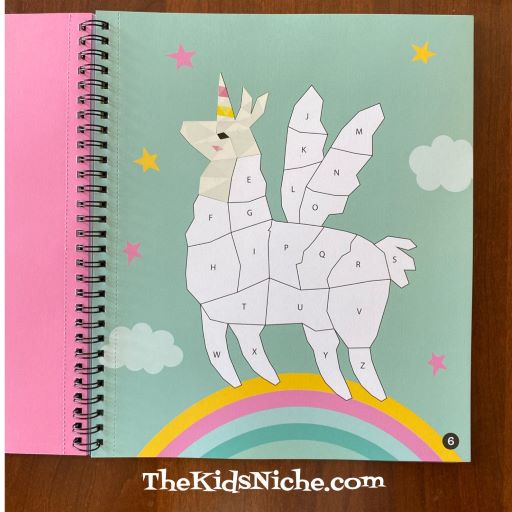
If you are looking for a FUN way for your kids to reinforce learning those pesky letters of the alphabet, here’s an idea that will seem like it’s all fun and no work! I found this book at our local Barnes & Noble store, but I see that it is also available online at the Barnes & Noble website and also on Amazon. Only $8.00! It’s called Magical Creatures Sticker by Letter Book.
Each magical creature has a page with the outline of the creature. Each outline is divided into smaller spaces and each space has a letter of the alphabet on it.
There is a corresponding sticker page for each creature and each sticker has a letter of the alphabet beside it.
You put the stickers on the outline by matching the letters.
It’s interesting to watch the creature gradually take shape.
And ta dah! It’s finished! 🙂
The picture pages are perforated so you can tear them out to share or hang them up to be admired. Our granddaughter has one of these books and it’s great for a little quiet time fun. 🙂
Hello again! Sorry you haven’t heard from me in a few days but we needed to travel out of state for a funeral. Back home now and trying to catch up again.
So today let’s look at an easy number game that can be played different ways and only requires paper, some markers or crayons and some dice. The game also reinforces learning numbers and helps with small motor skills. Shhh! Don’t tell the kids that part! 😉 Grab 1 piece of paper for each player and 1 dice to share with all the players to begin with…and a black crayon or marker and 1 marker of another color for each player.
Basic version…
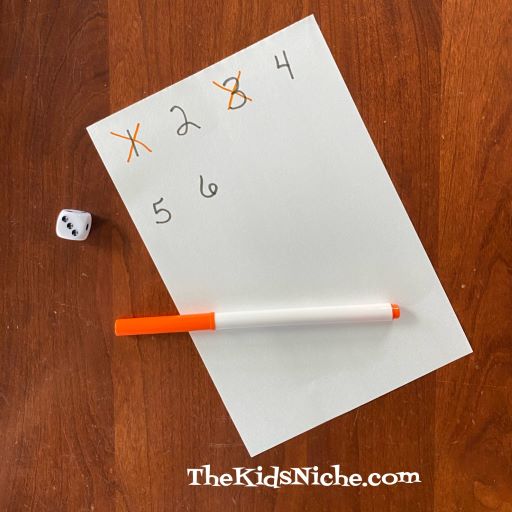
Have each player write the numbers 1 – 6 on their piece of paper. Or for the kids that are just learning their numbers, you can write the numbers for them. Leave a little space between the numbers.
Each player should roll the dice once and the player that gets the highest number will go first. To play, roll the dice once and cross off the corresponding number on your paper. Example, if you roll a 1, cross off the 1 on your paper. Pass the dice to the next player moving clockwise around the circle of players.
Continue with each player rolling the dice once and marking their paper. If you roll a number that you have already crossed off on your paper, you do nothing for that turn and play passes on to the next player.
The first person to cross off all their numbers is the winner!
Version #2…
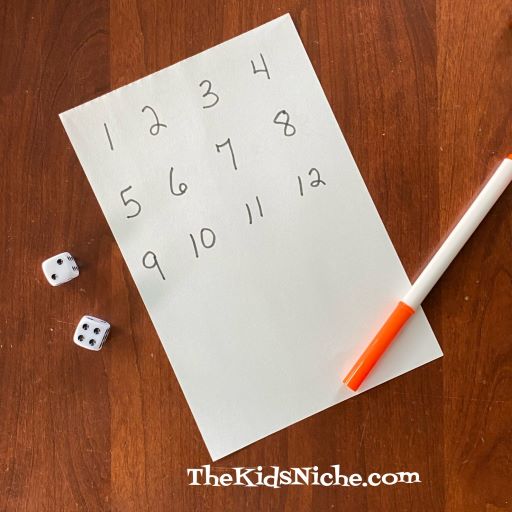
Write the numbers 1 – 12 on each player’s piece of paper. Use 2 dice for this version of the game.
This version is played in a similar manner as the basic version, but each player rolls 2 dice. You can use the number from just 1 dice OR you can add the numbers from both dice together. In the following example, the player rolled a 2 and a 6. You could cross off the 2 OR the 6 OR the 8. You can only cross off 1 number each turn. In this picture, the 2 and the 8 have already been crossed off, so you would cross off the 6.
Again, the first player to cross off all their numbers is the winner. 🙂
Version #3…
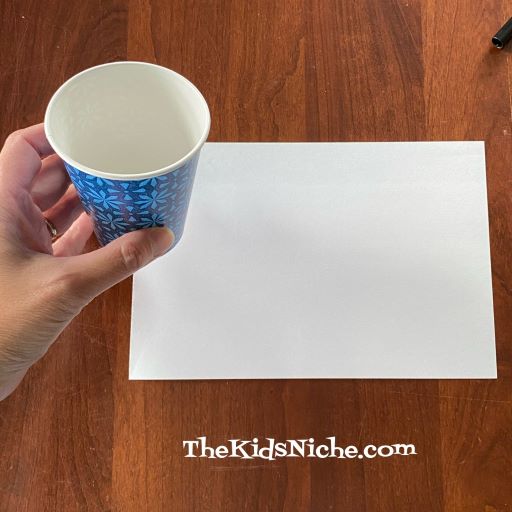
Find something that is round in shape that you can trace around to make circles on each player’s paper. I used the bottom of a paper cup.
Draw 6 circles. (Or more, depending on how you want to play the game.)
Number the circles 1 – 6. Grab a few crayons for this version of the game.
As each player rolls the dice, they can color in the matching circle. (Sneaking in some small motor skills practice!)
You can also take the opportunity to talk about the colors the players choose to use. Some questions you might ask… What color did you choose for number 3? What is your favorite color? What else can you think of that is green? (Or whatever color they are using.)
First one with all their circles colored is the winner!
Version #4…
Draw 6 circles for this version of the game, but make the number inside each circle smaller. When the player rolls the dice, they draw/color that number of objects in the correct circle. For example, if you rolled a 6, you might draw 6 dots in the number 6 circle.
The winner is the first one to complete all their circles. I can see this game getting rather silly when players draw crazy things in their circles! 😉
I’m sure you can think of even more ways to play this game, but hopefully these ideas will get you started on your way to having fun with the number game! 🙂