Hello and welcome to another post on The Kids Niche! Hope you are doing well! 🙂 Today let’s talk about a few ways to have fun playing with foam letters with the kiddos. They can practice learning the letters of the alphabet and have fun doing it. I found a bag of 2 inch foam letters that have adhesive on the back at Joann’s a while back. You could do these activities with any type of cut out letters. Your child’s age and ability will determine which of these activities will be appropriate for them right now. Let’s start with…
#1.) Give your child a set of all the letters in the alphabet and let them lay them out in the correct order. If your child is just beginning to learn about letters, start with just a few letters at a time.

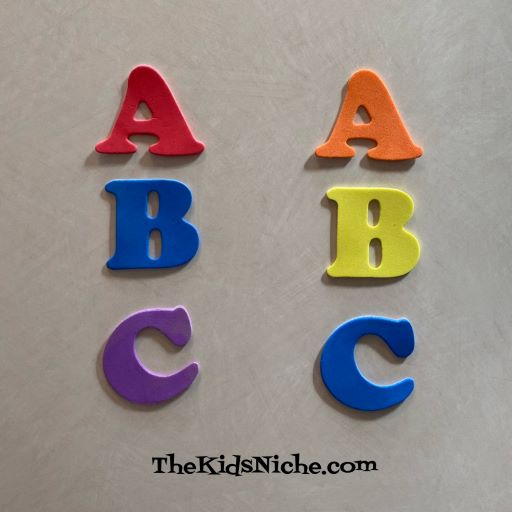
#2.) Lay out 3 each of 3 letters and let your child match the letters.


#3.) Using 2 sets of the letters, lay one set out in the correct order and have your child lay their letters out to match the first set.
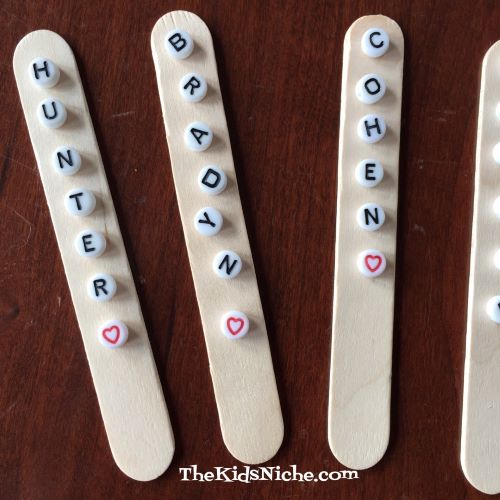
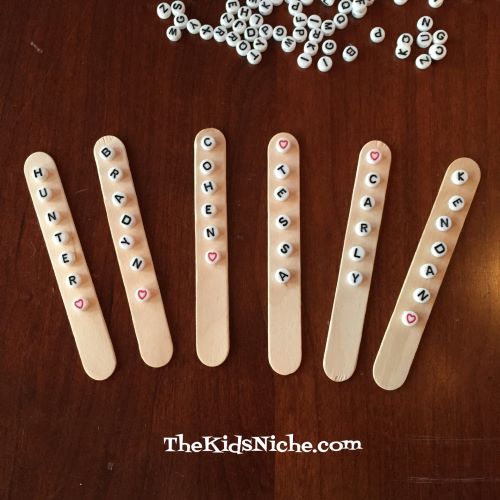
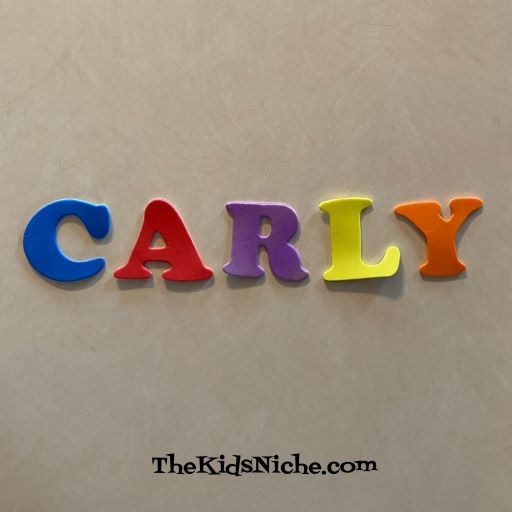
#4.) You can use the same idea in laying out the letters of the child’s name and having them put their letters in the right order also.

#5.) Another way to practice using the letters in their name would be to give them all the letters in their name and let them put the letters in the right order without having another set to look at to do it.

#6.) Practice making rhyming words. Start with the ending sound…like “at”. Then have your child add a letter to the beginning to make another rhyming word.

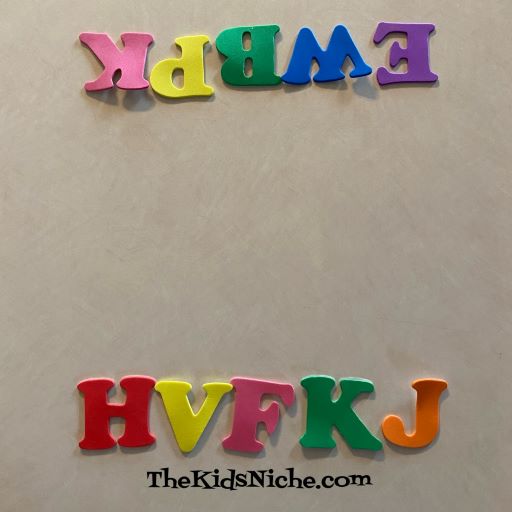
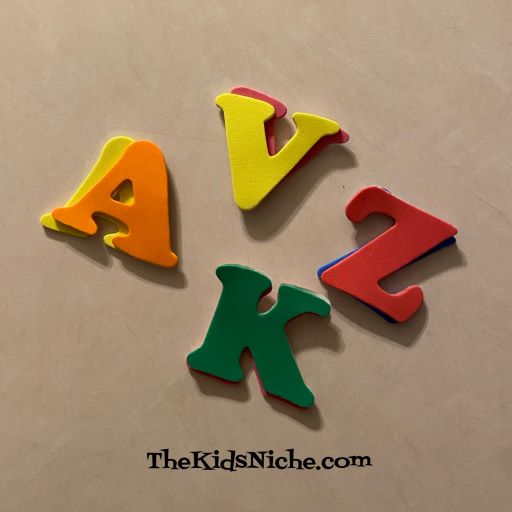
#7.) Place letters in a bag and have your child pull them out one at a time and tell you what letter they have.

#8.) Play the game of “Go Fish!” using letters instead of cards. Start by finding 2 of each letter of the alphabet.

Mix the letters up and give 5 to each player. Our example is for 2 players.
Place something between the players so they can’t see each other’s letters. I found that a large cereal box laid on its side worked nicely.

After dealing 5 letters to each player, put the remaining letters in a paper bag where they can’t be seen.

The object of the game is to get 2 letters to make a match. And the player with the most matches at the end is the winner. Play begins with 1 player asking another player for a certain letter. For example, “Do you have an H?” If the player that is asked has the letter that was asked for, they must give it to the player. If the player gets the letter he or she asked for, they get to take another turn. If the player that is asked for a letter doesn’t have that letter, they reply with “No, go fish!” The player whose turn it is then reaches into the bag…no peeking!…and draws out 1 letter. If the letter they pull from the bag is the letter they asked for, they can take another turn. If it is not the letter they asked for then their turn is over and play moves to the next person. When a player gets a match, he or she sets the 2 letters together in front of him or her. Play continues until all letters have been matched.
When a player runs out of letters, they may pull one letter from the bag. The player that has the most matches at the end of the game is the winner. 🙂
I’m sure there are more games that can be played with a bag of foam letters, but I hope you will enjoy giving some of these a try! Remember, learning can be fun! 🙂