
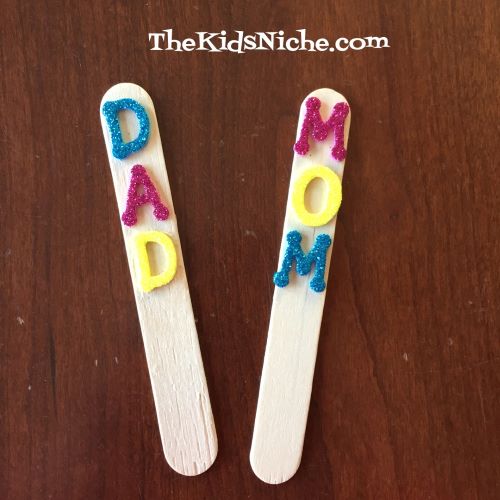
Sorry I missed a couple days this week – things got kinda crazy here as they likely have for all of you! Let’s move on to our next craft stick project! Today we’ll be adding names to sticks in two different ways. 🙂 The first way is using glittery sticker letters.

This is pretty self-explanatory, I guess. Just peel and stick the letter stickers onto the craft sticks to form a name.

You can make one for everyone in the family or make some for your friends. 🙂
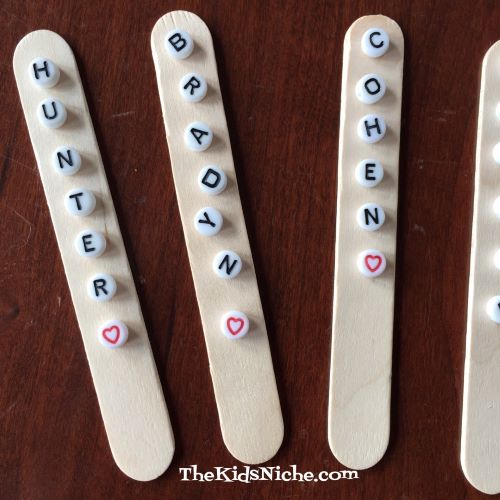
The second way to make name sticks is using the little plastic beads with letters on them.

This is a good project to help kids learn or reinforce knowing their letters by letting them sort the beads out and find the letters for their name. If they need a little help, try printing their name on a piece of paper so they have something to help them know which letters they are looking for.
You can arrange the letters straight up and down, turn them a little bit to make them a little more fun or even put them on the stick sideways.

The pack of letters I bought also had a few red hearts and they added a happy little extra to the sticks.
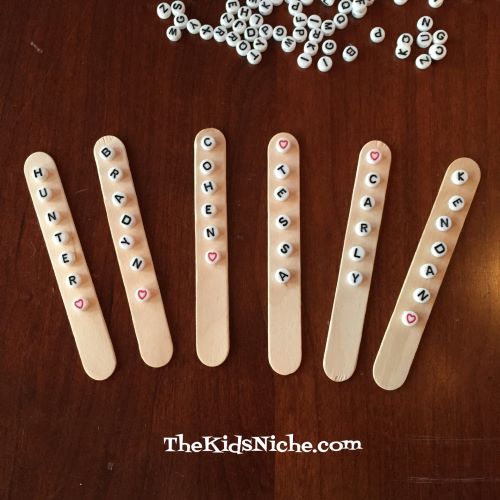
You can use the sticks for marking each person’s place at the table. Or make a snack in little paper cups and add the stick to each one. Hide the cups for the kids to find and they will know which one is theirs by looking at the stick. Its good practice being able to recognize their name! The sticks can also go in the child’s room or hang on their door by adding a piece of string. I’m sure the kids will have fun coming up with other ways to use them! Have fun! Thanks for visiting! 🙂
