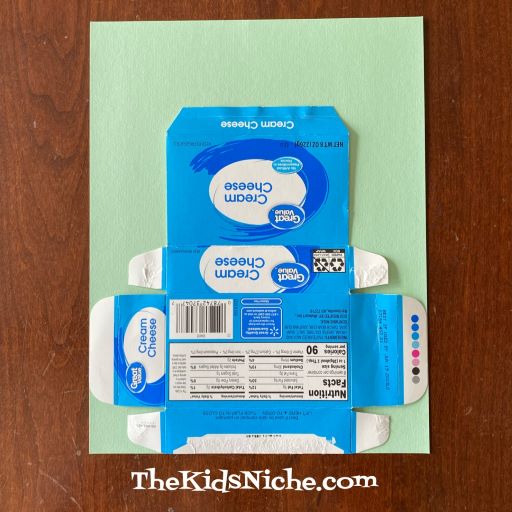
The other day I opened up a box of cream cheese and I noticed that if I opened it up completely and laid it flat that I could use it for a pattern to make another paper box. 🙂 So that’s what I want to share with you today. The next time you buy cream cheese, save the box!
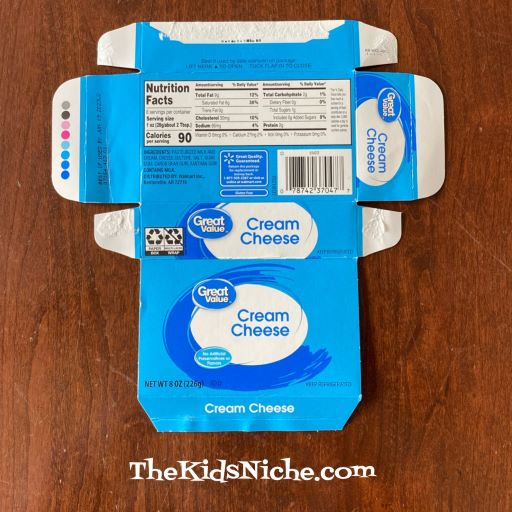
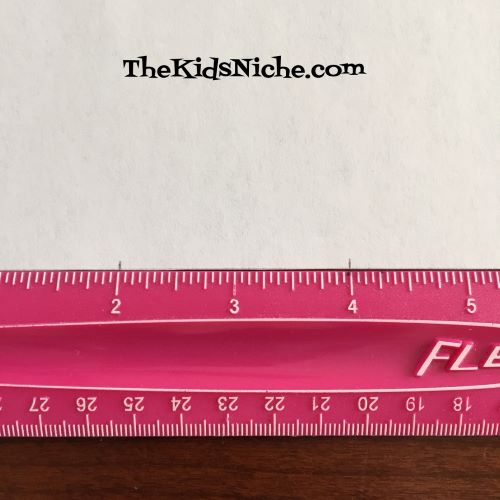
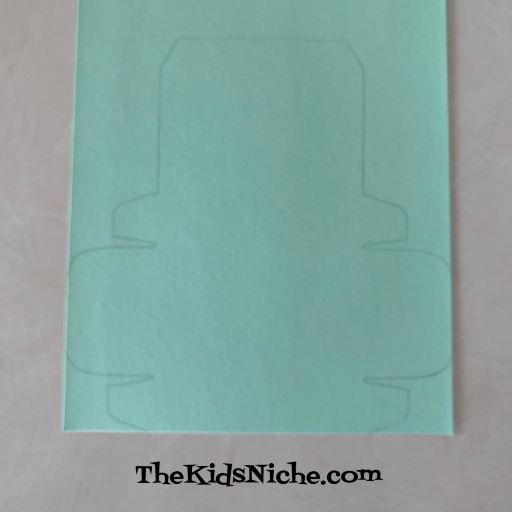
I used a piece of cardstock for making my box. Lay your pattern on the piece of cardstock. My pattern box fit just right in one direction on an 8 1/2″ x 11″ piece of cardstock.
Trace around the outside of the pattern box using a pencil.
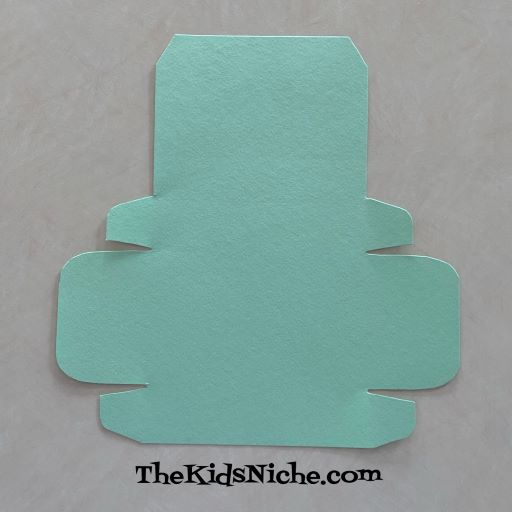
Cut it out along the line you just drew. Erase any pencil marks that you can still see after you finish cutting.
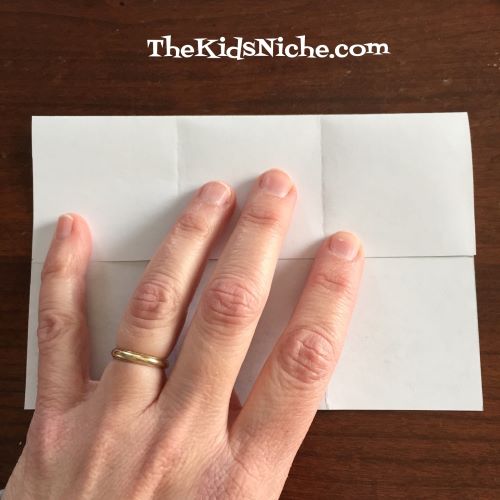
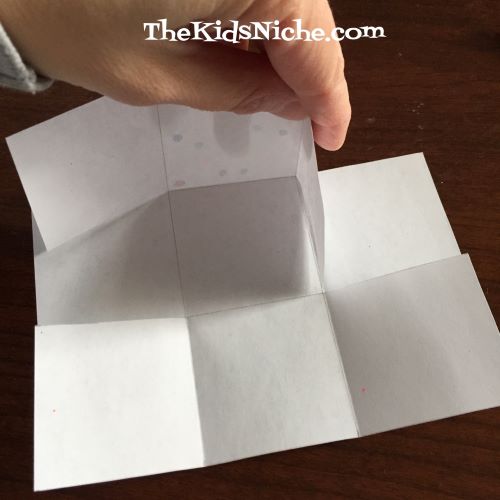
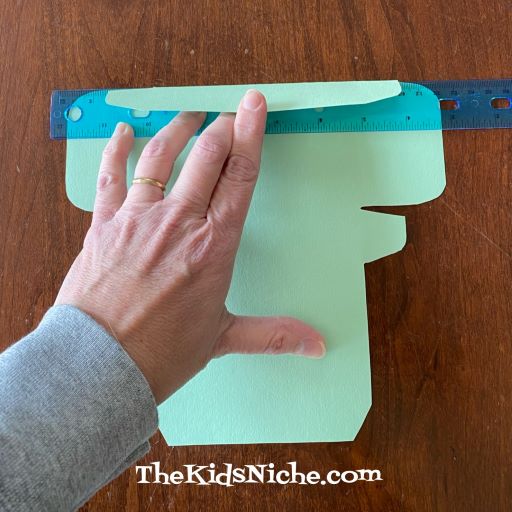
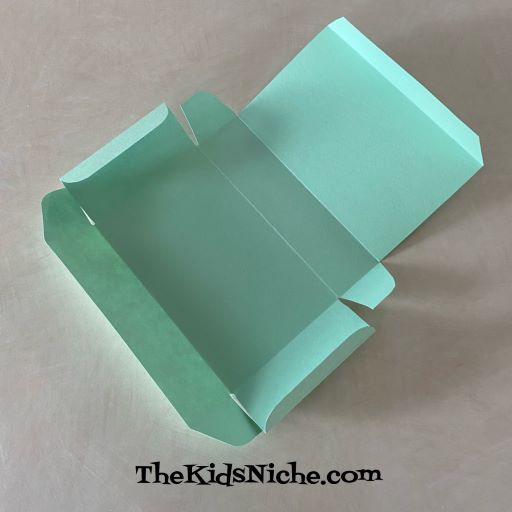
Using the pattern box as a guide, make a fold on your box every place the pattern has a fold. It’s very helpful to lay a ruler across the paper in the place you want the fold to be. This will give you an edge to press against and keep the fold straight.
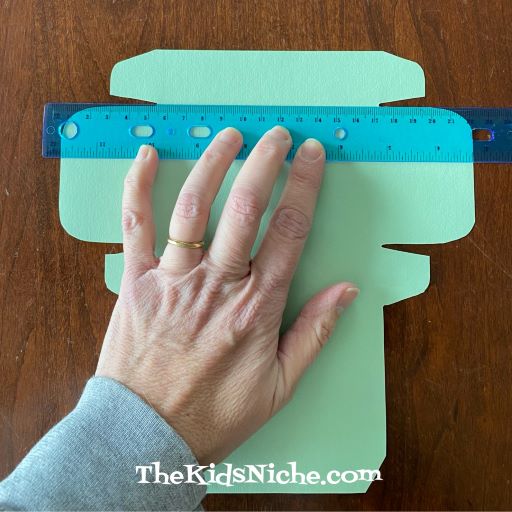
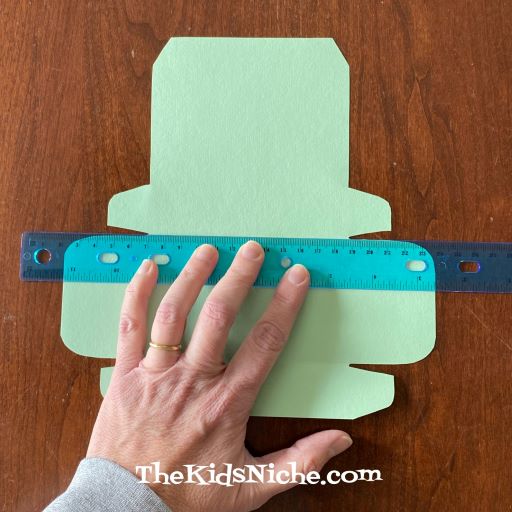
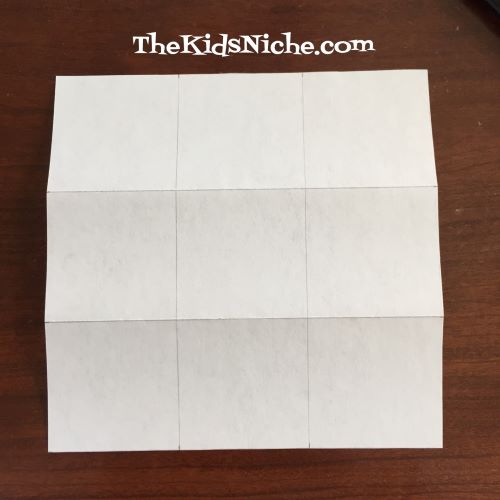
I made all my folds that go in the same directions first.
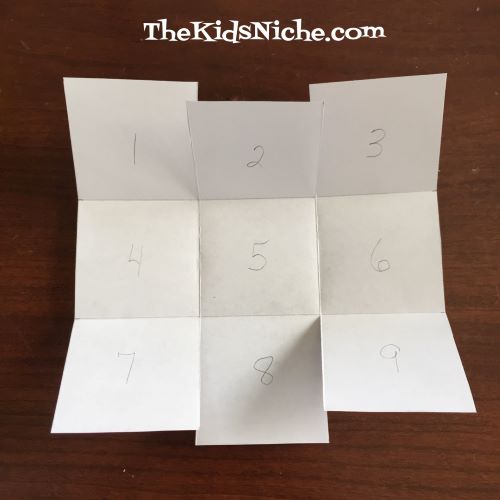
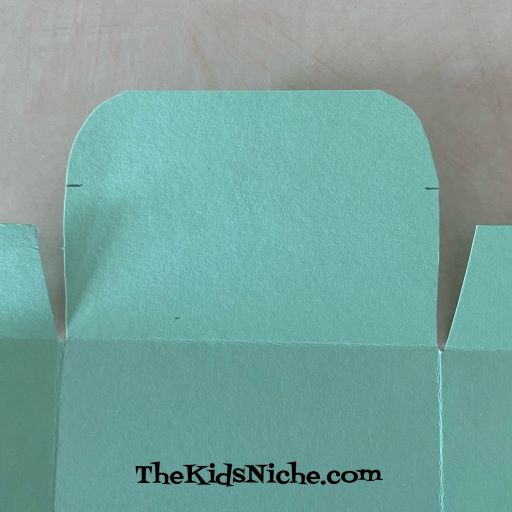
Then turn your box and make all the folds in the other direction. For a lot of the folds, you can see easily where the fold should be and use the edges for a guide for your ruler. One place that there wasn’t an easy mark was the part on the top of the box that folds down inside the box when it’s closed. I laid the pattern back on top of my box, bent the pattern up and made 2 small marks where the fold needed to be.
Now all the folds have been put in our box and it’s time to put it together!
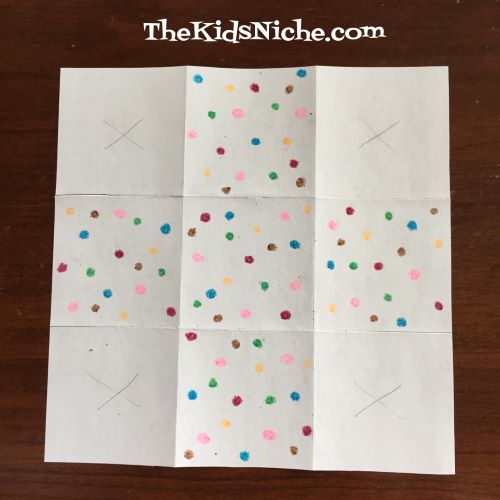
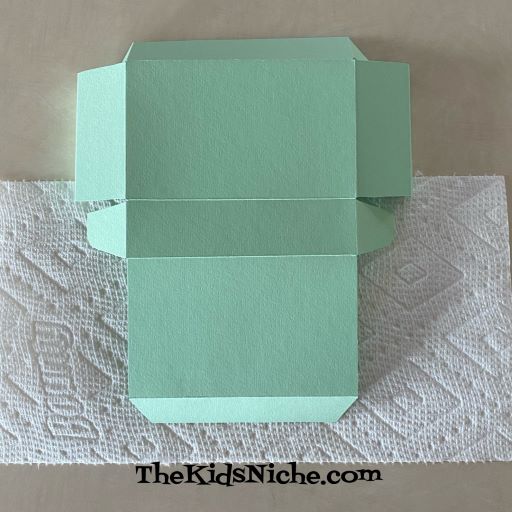
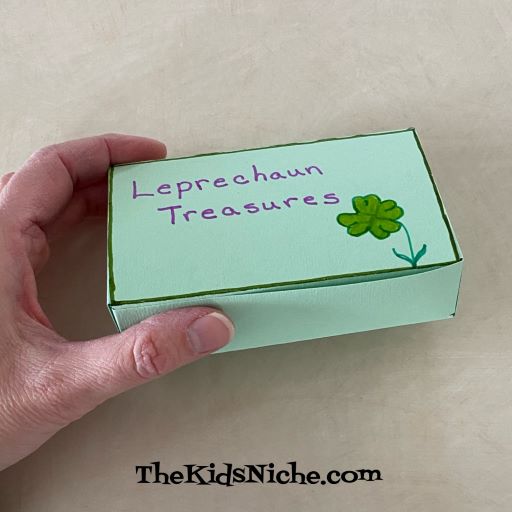
Oops, I’m getting ahead of myself! 😉 Before you glue/tape the box together, turn the box over and decorate the outside.
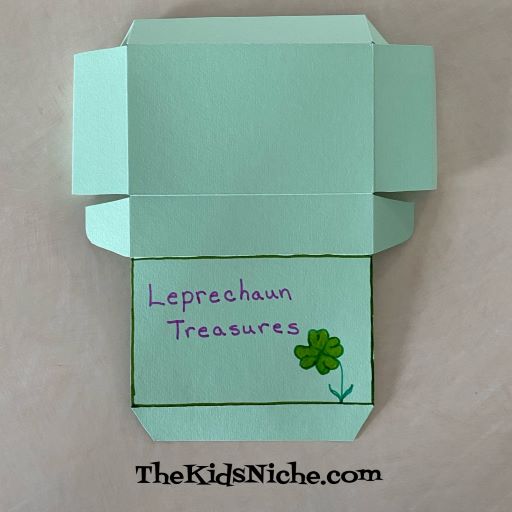
Since St. Patrick’s Day is in March, you might like to make your box for that holiday.
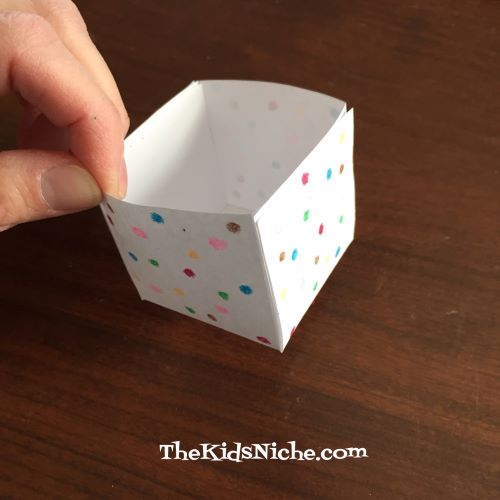
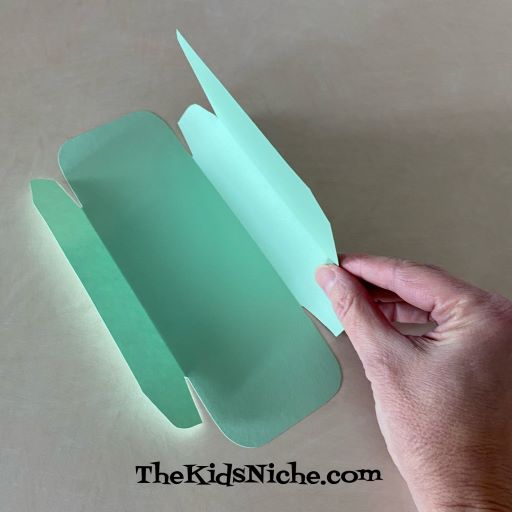
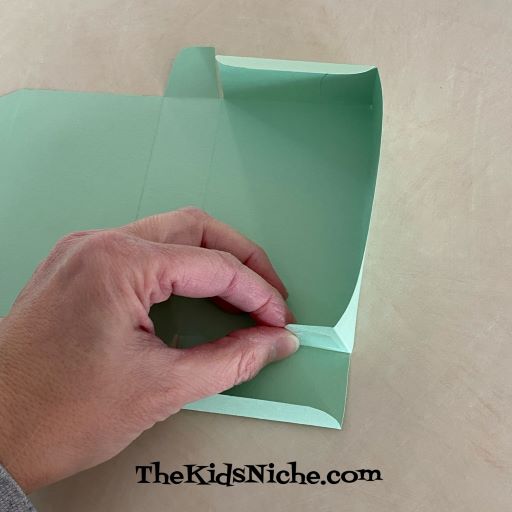
NOW to put it together! 😉 Fold the box up and put a little glue or double sided tape on the small tabs that fold inside the front of the box.
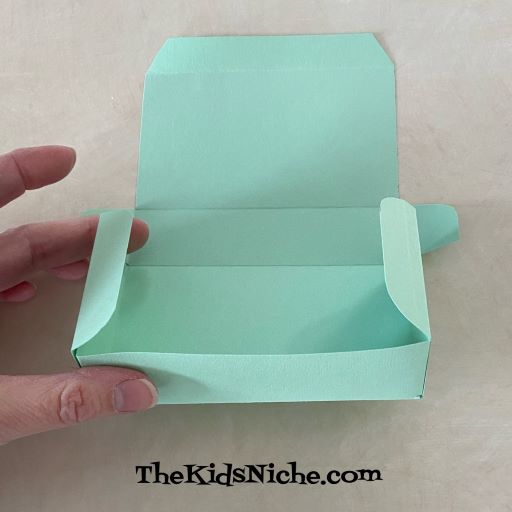
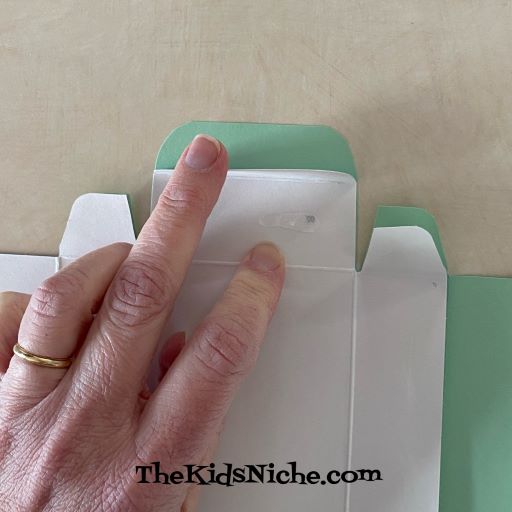
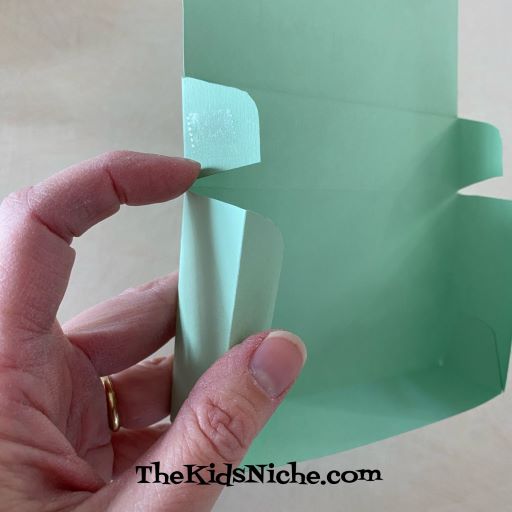
Do the same for the back side…put glue or tape on the small tabs that fit inside the box.
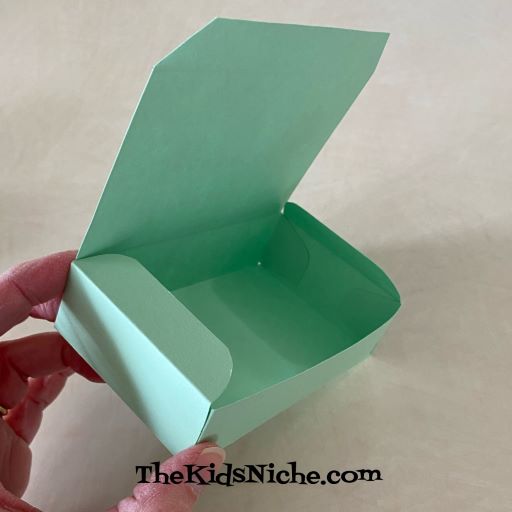
Close the top of the box and stick the front tab inside. Great job! You’ve made your first paper box! 🙂
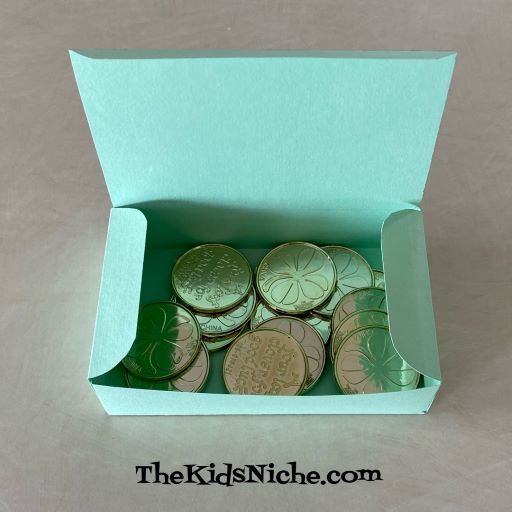
Don’t forget to hide something fun inside the box before you share it with that special person! These could be used for any holiday or special occasion that comes along. Just decorate your box to fit the occasion. And maybe even hide the box to be found at the end of a treasure hunt! 🙂
I hope you will have fun making your own surprise boxes! 🙂