
Are you stuck at home and wishing you had some little treat boxes for your kids? You can make some with just a piece of paper and some glue or tape! Let me show you how. If you have card stock paper it will make a sturdier box, but I made one with printer paper, so you don’t need anything fancy. Using a piece of scrapbook paper will mean you don’t even need to color the box. Let’s start by making a 6″ square piece of paper.

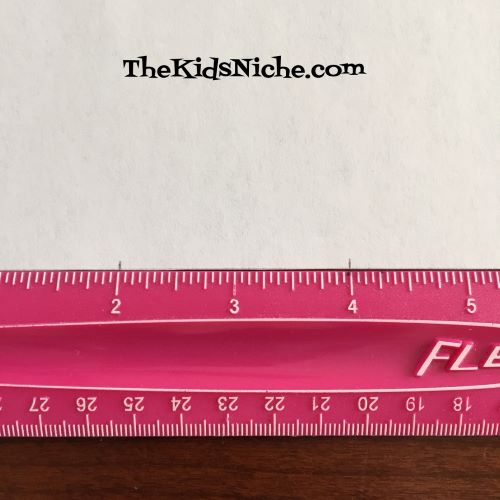
Using a ruler, mark each side of the paper at 2″ intervals.
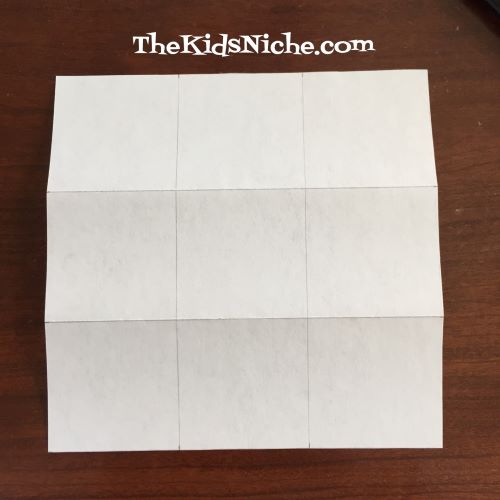
Draw 4 lines – 2 in each direction – across the box at the 2″ and 4″ marks.
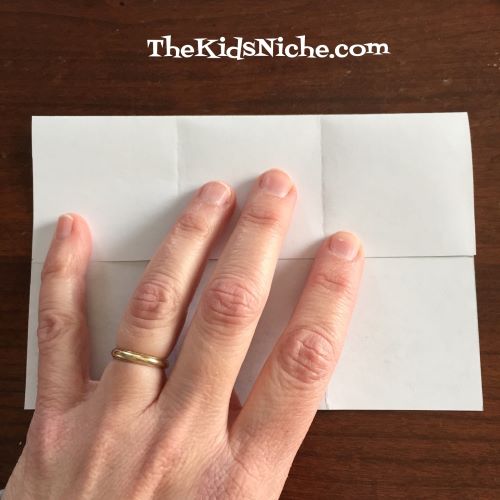
Line your ruler up with each line and bend the paper up and run your finger along the ruler edge to make a crease in the paper.

Remove the ruler and press the paper flat to make a stronger crease.
Make a similar crease along each line for a total of 4 times.

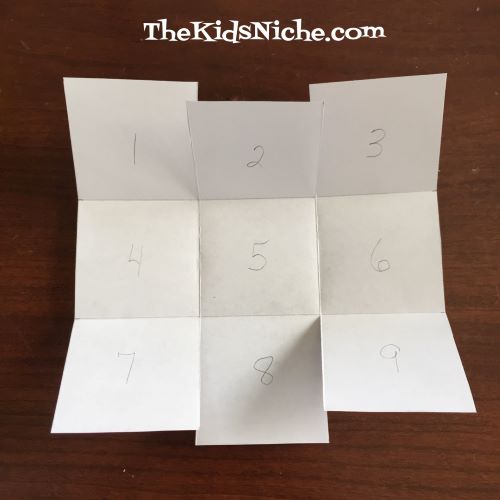
Now we will make 4 small cuts. Using the following picture, cut on the crease between squares 1 & 2, then between 2 & 3, then between 7 & 8 and finally between 8 & 9 – ONLY up to the first crease!
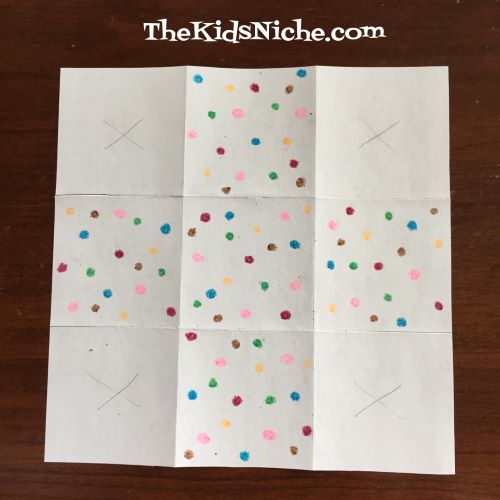
Next turn your paper over. Color or draw on the squares EXCEPT for each corner square. You can make an X on the 4 corner squares so you’ll remember which squares to color.

Here’s an example of what it will look like after the correct squares have been decorated.
After you are finished decorating your box, it’s time to fold the paper up into a box. Begin by bringing up 2 opposite sides of the paper.

Fold one end square piece in until it matches up with the crease on the bottom.
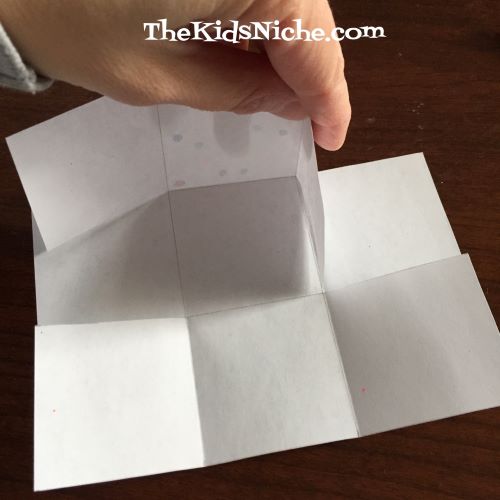
Fold the end in from the opposite side so the 2 pieces meet and cover each other.

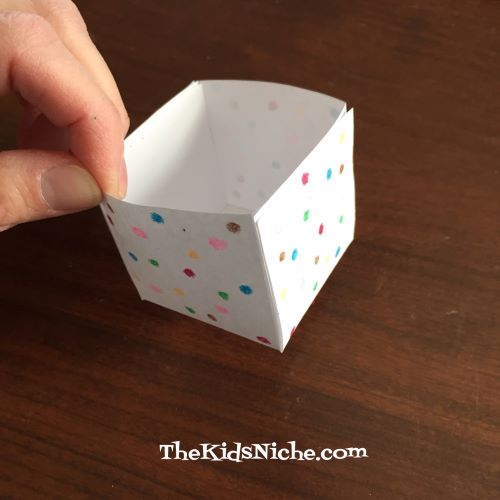
Using tape or glue, fasten the 2 pieces together.

Now fold the bottom square up to meet the box. Glue or tape it together.

Turn your box around and repeat the steps for the other side. And you’ve made a treat box! 🙂
Fill it with whatever special goodies you have on hand and enjoy!

I’m sure it will bring a smile to your children’s faces. Thanks for stopping by!
