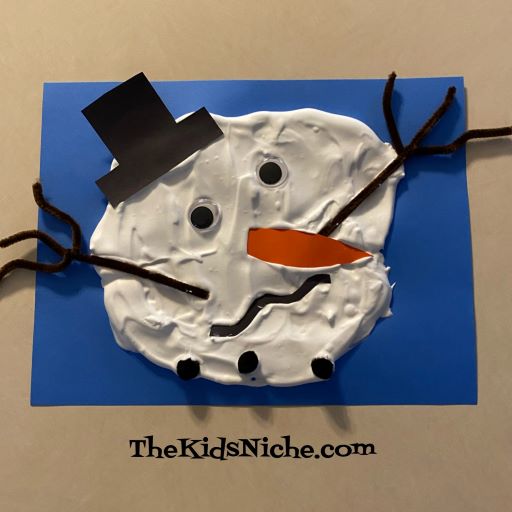
Today is the last day of February! Who is ready for Spring?! 🙂 To celebrate that winter will (hopefully) be leaving us soon, we made a melting snowman!
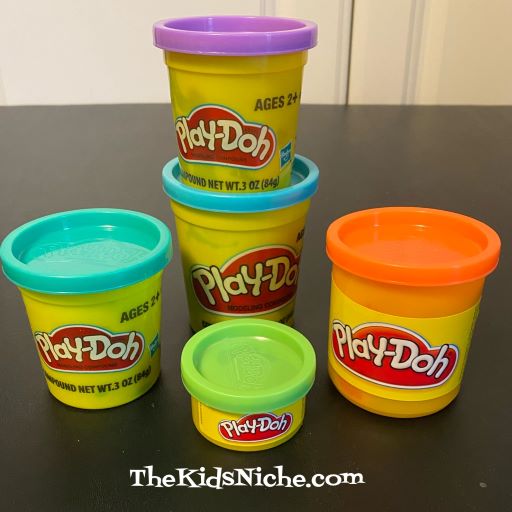
You will need some shaving cream (I used Barbasol), some Elmer’s glue, 2 big wiggly eyes, a piece of cardstock (a darker color shows up the best), some brown or black pipe cleaners, 3 small black pom poms or buttons and some colored paper. (You can make the snowman parts all out of colored paper if you’d like to.) You will need a bowl and spoon for mixing and a disposable bowl and spoon works best for easy cleanup.
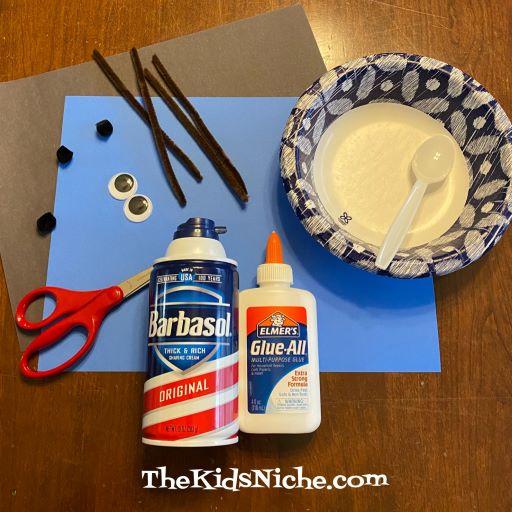
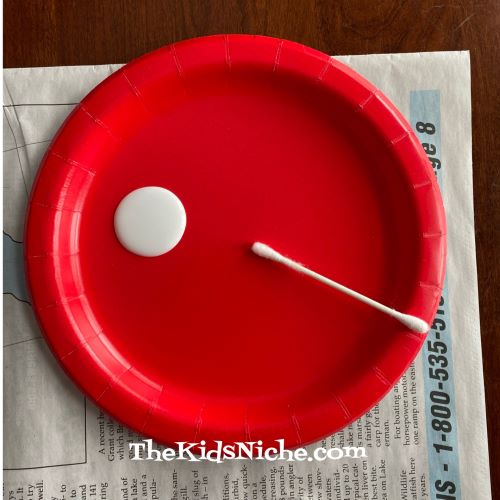
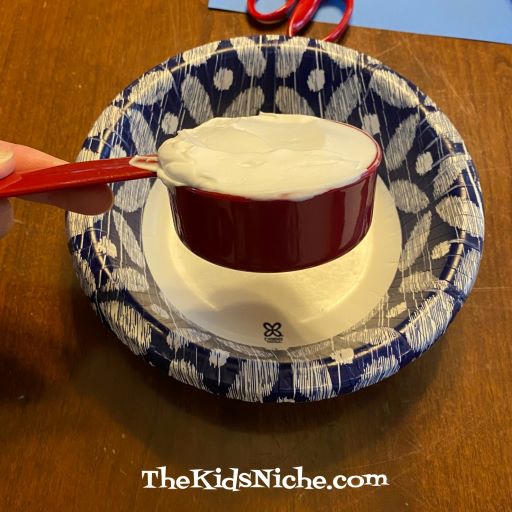
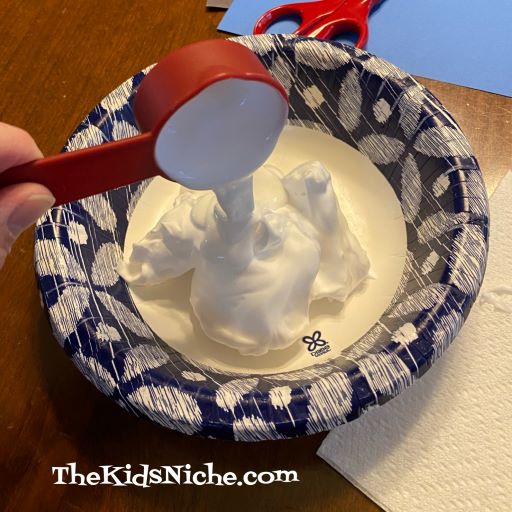
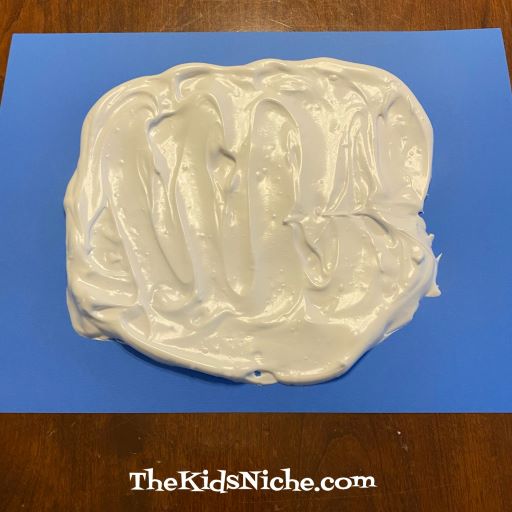
Mix 1/2 Cup of shaving cream and 1/8 Cup of Elmer’s glue in the disposable bowl.
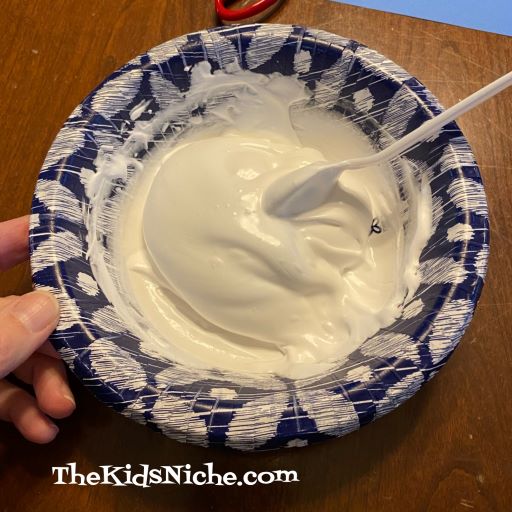
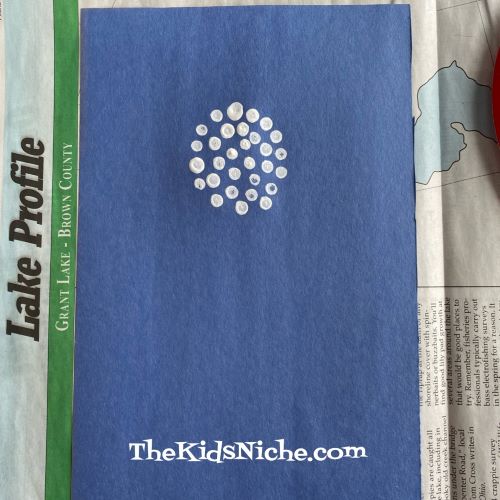
I suggest you wash your measuring cups right away to prevent the glue from drying in them. After you’ve mixed the shaving cream and glue together, spoon it out onto your piece of cardstock.
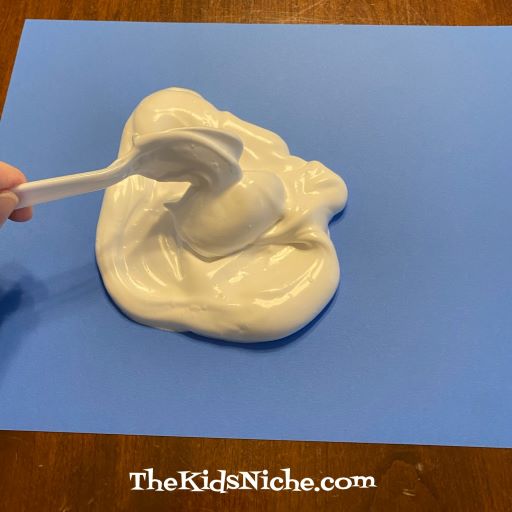
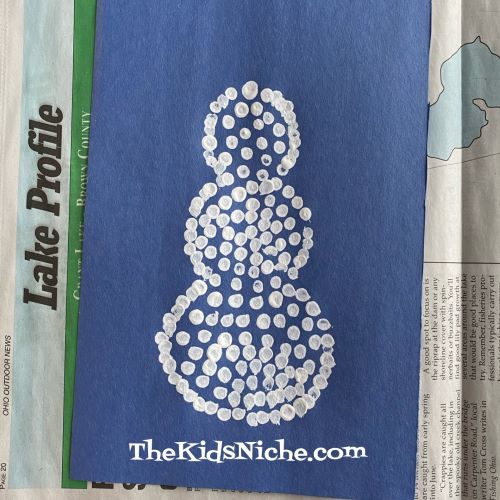
Spread the mixture using the back of the spoon until you have the shape you want for your melted snowman.
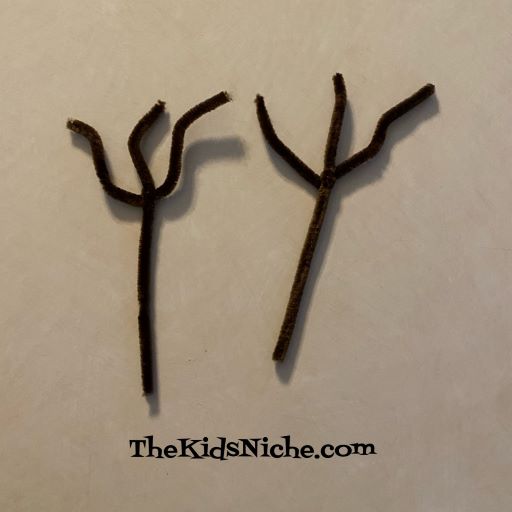
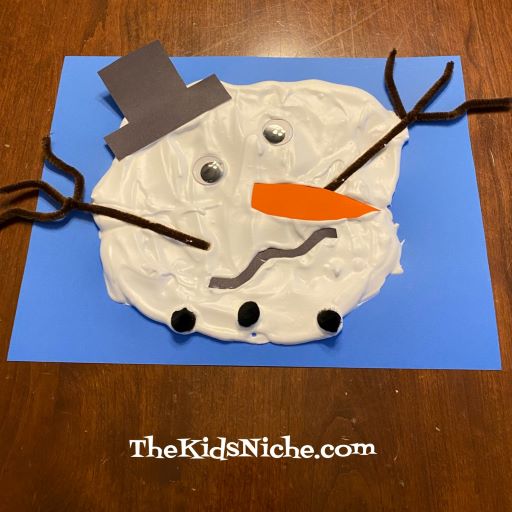
I cut 2 brown pipe cleaners in half and wrapped one half-piece around another to make some stick arms for the snowman. You can also cut some arms out of paper instead.
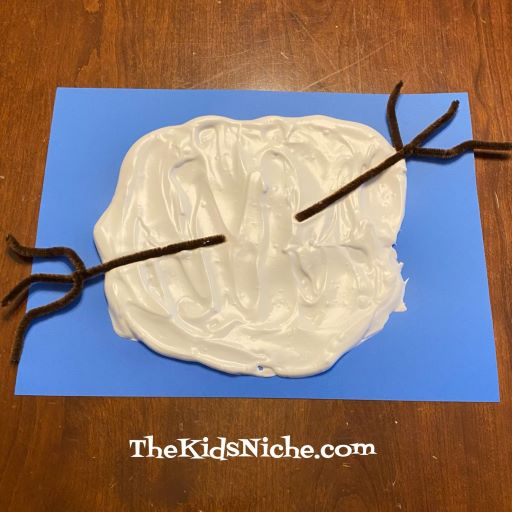
Stick the arms onto the melted snowman. I started out with my arms too high and I moved them down a little farther.
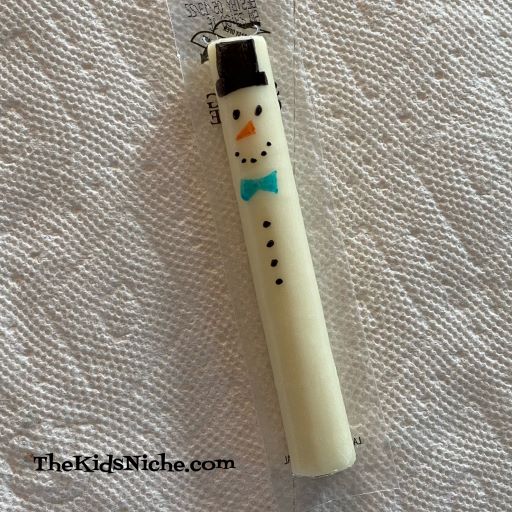
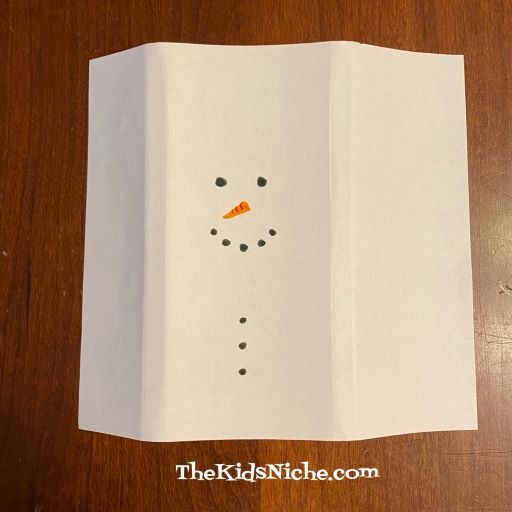
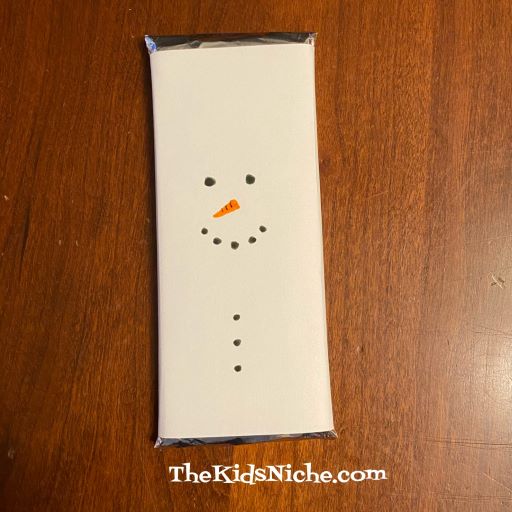
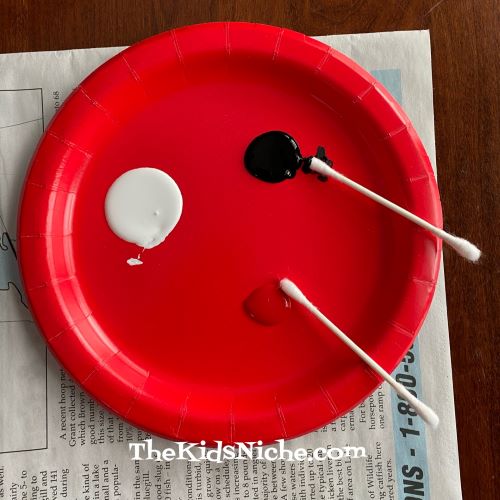
Add 2 wiggly eyes, some black pom poms or buttons and an orange carrot nose and a black hat cut from paper.
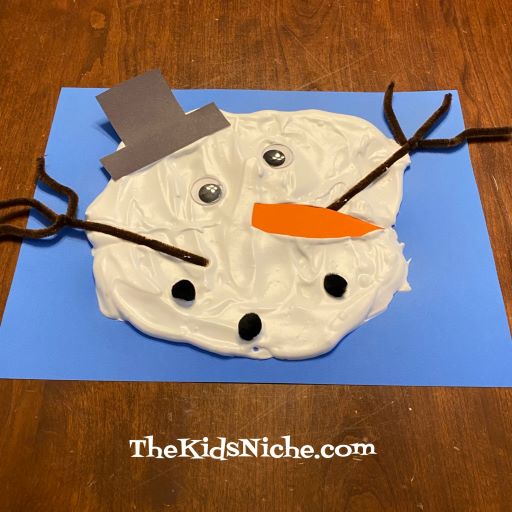
I cut a thin squiggly line from black paper for the snowman’s mouth.
Allow your snowman to dry for a couple of hours. It will still be puffy and soft to the touch but not sticky. And there you are! The last of the snowmen have melted on this last day of February! (Keeping my fingers crossed that we are done with snow, but we might not get that lucky!) 🙂