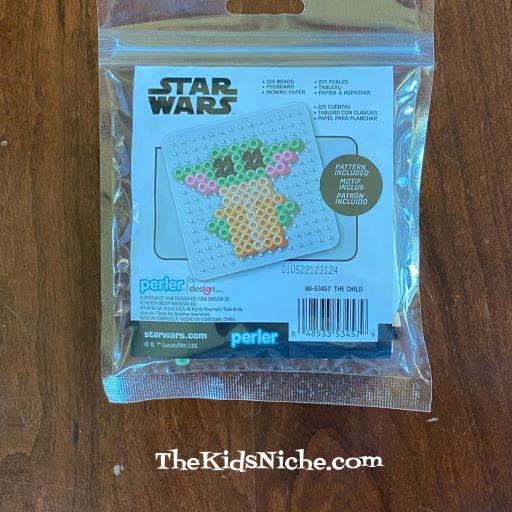
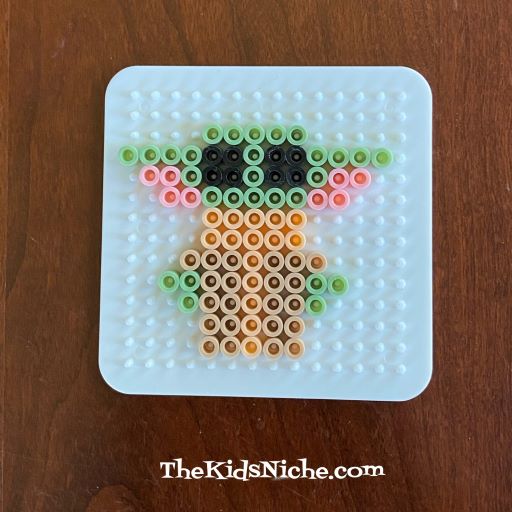
Have you ever done a project using Perler beads? I have seen them for years but I finally tried a small kit and found out they are actually pretty neat! If you haven’t tried them yet, I’ll give you an overview of how they work. Here is the cute Star Wars kit that I bought and tried:
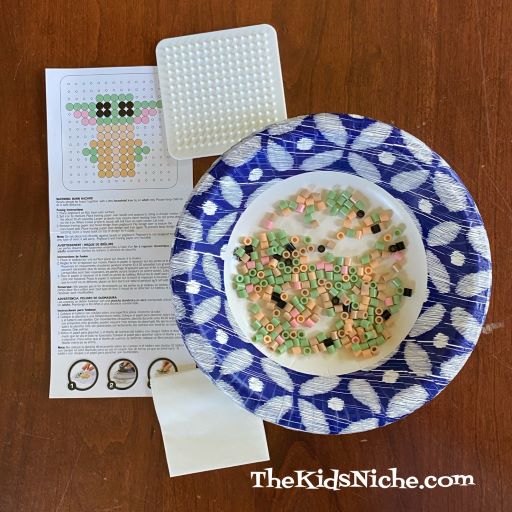
(Isn’t “Baby Yoda” adorable?!) This is everything that was inside this kit (minus the paper bowl): 225 beads (enough to make 2 “Baby Yoda”), a pegboard, instructions and ironing paper. You will also need an iron. I used the paper bowl to contain the beads and keep them from running away. 😉
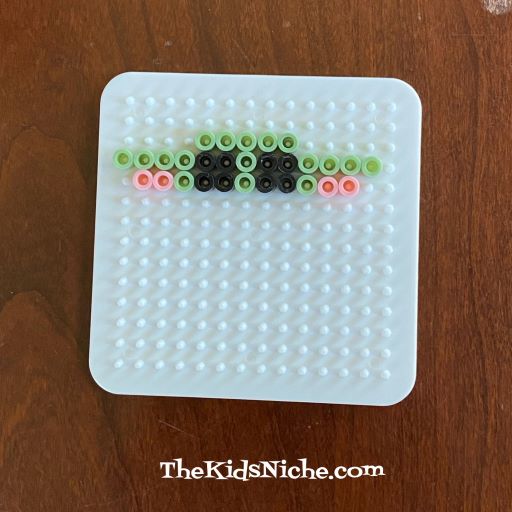
Follow the instructions for where to begin placing the colored beads on the pegboard.
Keep putting beads on the peg board by following the pattern in the instructions.
Adding a few more beads…it’s starting to take shape!
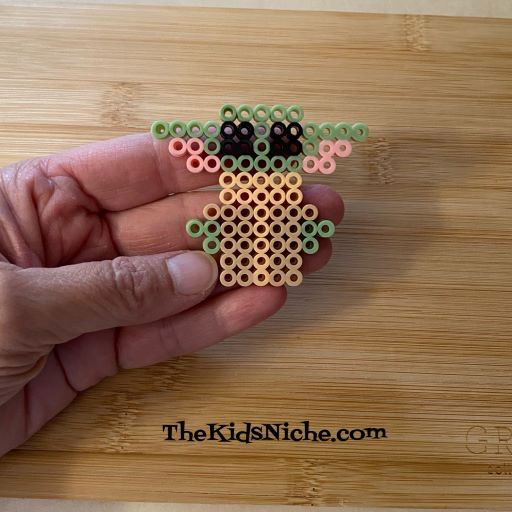
And there he is! All the pegs are in the correct order! We’re ready for fusing!
Heat your iron to a medium heat. Place the pegboard on a solid heat-safe surface. I used a wooden cutting board.
Cover the beads with the ironing paper – very important! Your iron should not touch the beads directly. Using a circular motion, iron over the beads and ironing paper for 10-20 seconds. When ironed properly the beads will still have an open center.
Set a heavy book or something similar on your project while the beads cool down to prevent it from warping. Peel the ironing paper back slowly to check that the beads have fused together. If there are still loose beads, iron over them a second time. (This happened to me.)
After the beads are sticking together, carefully remove the design and turn it over. Again, cover it with the ironing paper and iron the second side. Remember to place the heavy object on top again to prevent warping. The pegboard and ironing paper are reusable.
Tah dah! Your project is finished! 🙂
You could slip a thin string or thread through one of the holes if you’d like to hang your project up. Perler beads come in soooo many colors and there are kits of all types available! Be sure to look for a fun Perler beads project the next time you are in your favorite craft store! Have fun! 🙂
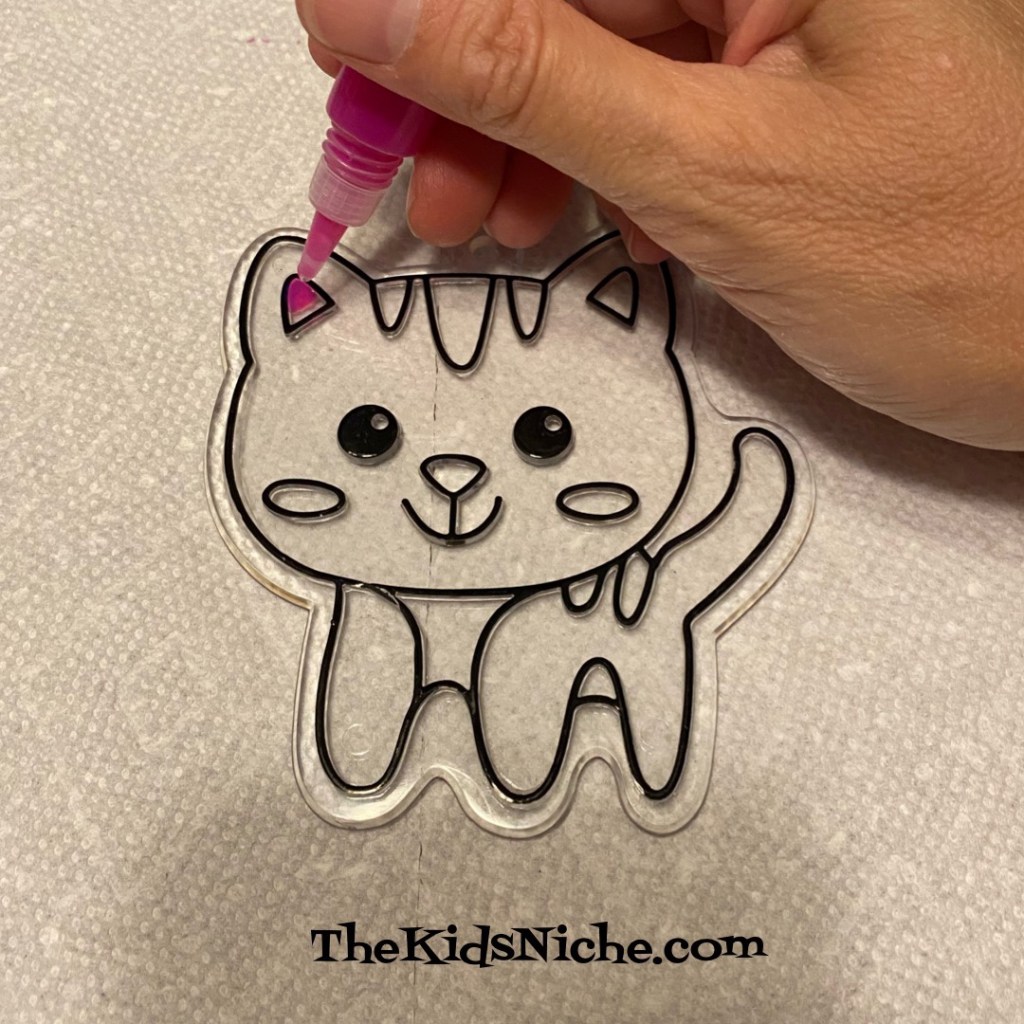
Have you ever made a sun catcher? They are fun and simple to make and look so pretty hanging in the sun! I found these supplies for the project at our local Walmart store: you will need sun catcher paint pens, suction cups with a hook and, of course, an unpainted sun catcher.
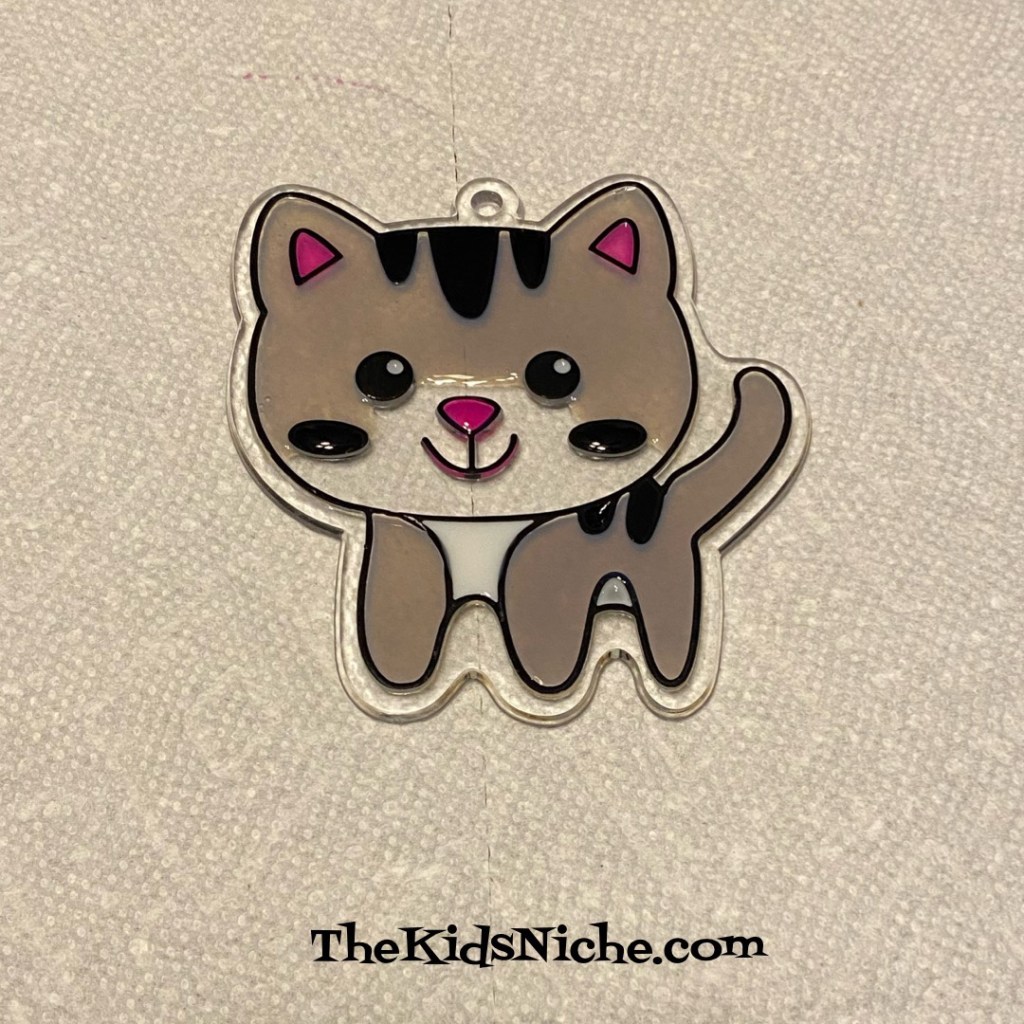
Open the pack of sun catcher paint pens and select your first color. I began with pink for the kitten’s nose and the inside of her ears. Squeeze a very small amount of pain onto the sun catcher.
Use a toothpick to pop any bubbles you see in the paint and to help spread the paint around.
Keep adding paint in your desired colors to your sun catcher.
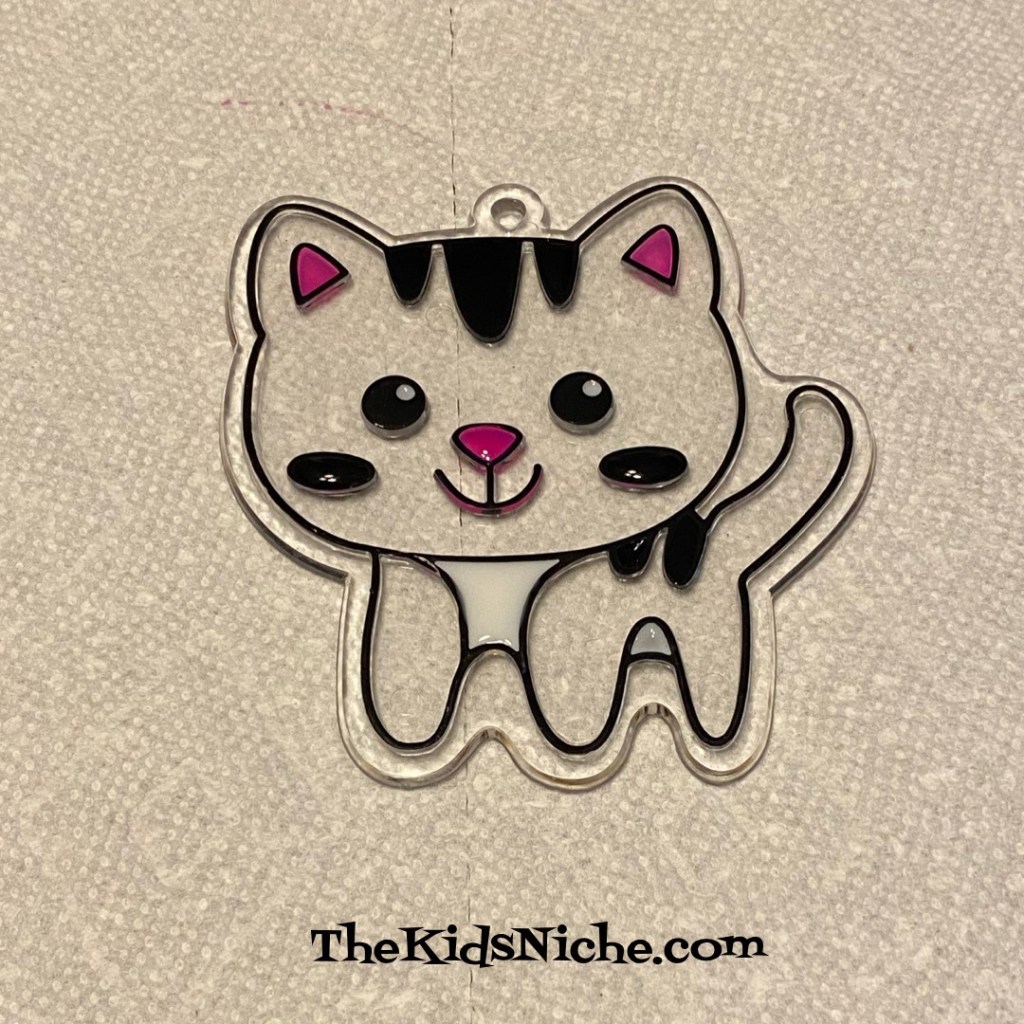
I wanted my kitten to have a white face but the sun catcher wasn’t divided into a section there, so I painted in the gray area of the face first and then let the sun catcher dry overnight.
The next morning, I added white paint into the section I left open. And after drying for a few hours, this kitten was ready to be given to our grandson as part of his birthday present. The sun catcher was painted to look like his cat, Chloe. 😊
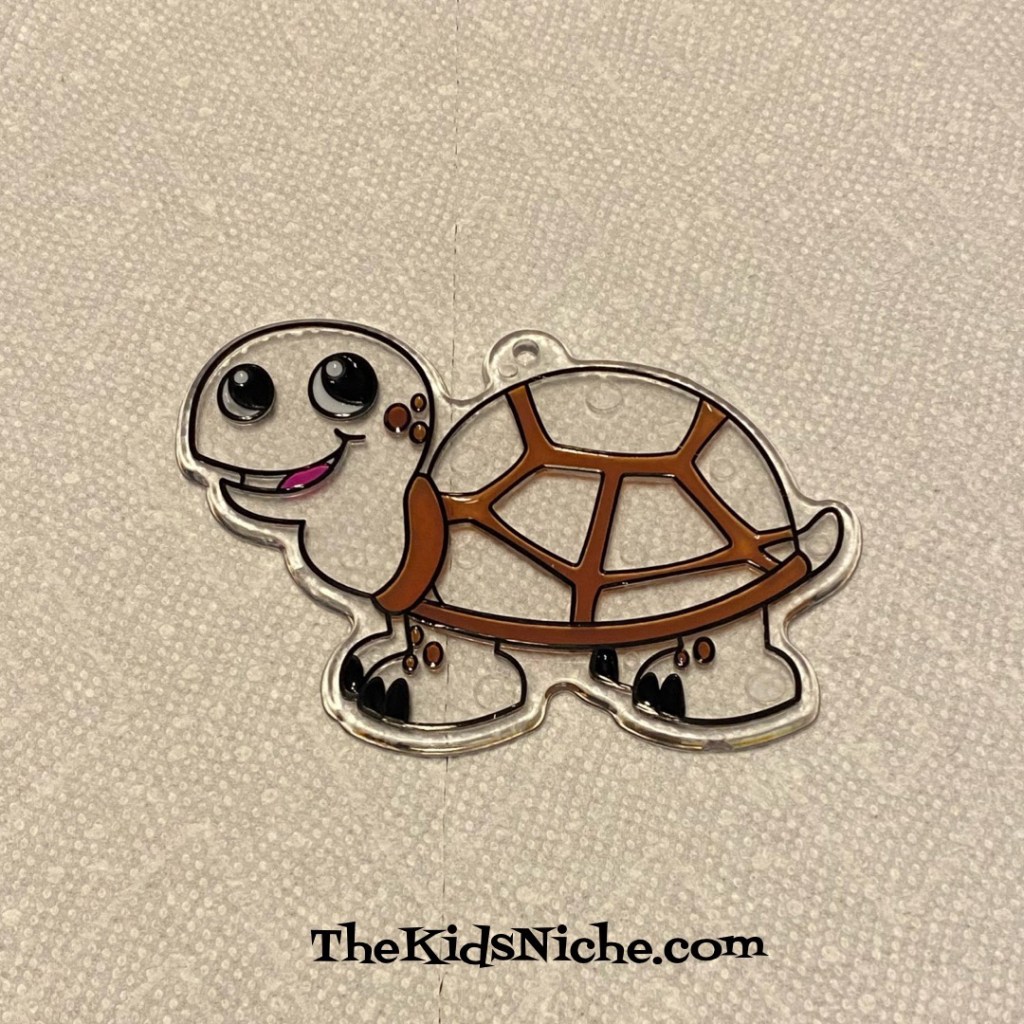
I also enjoyed painting a turtle sun catcher to give to our son who has a turtle for a pet.
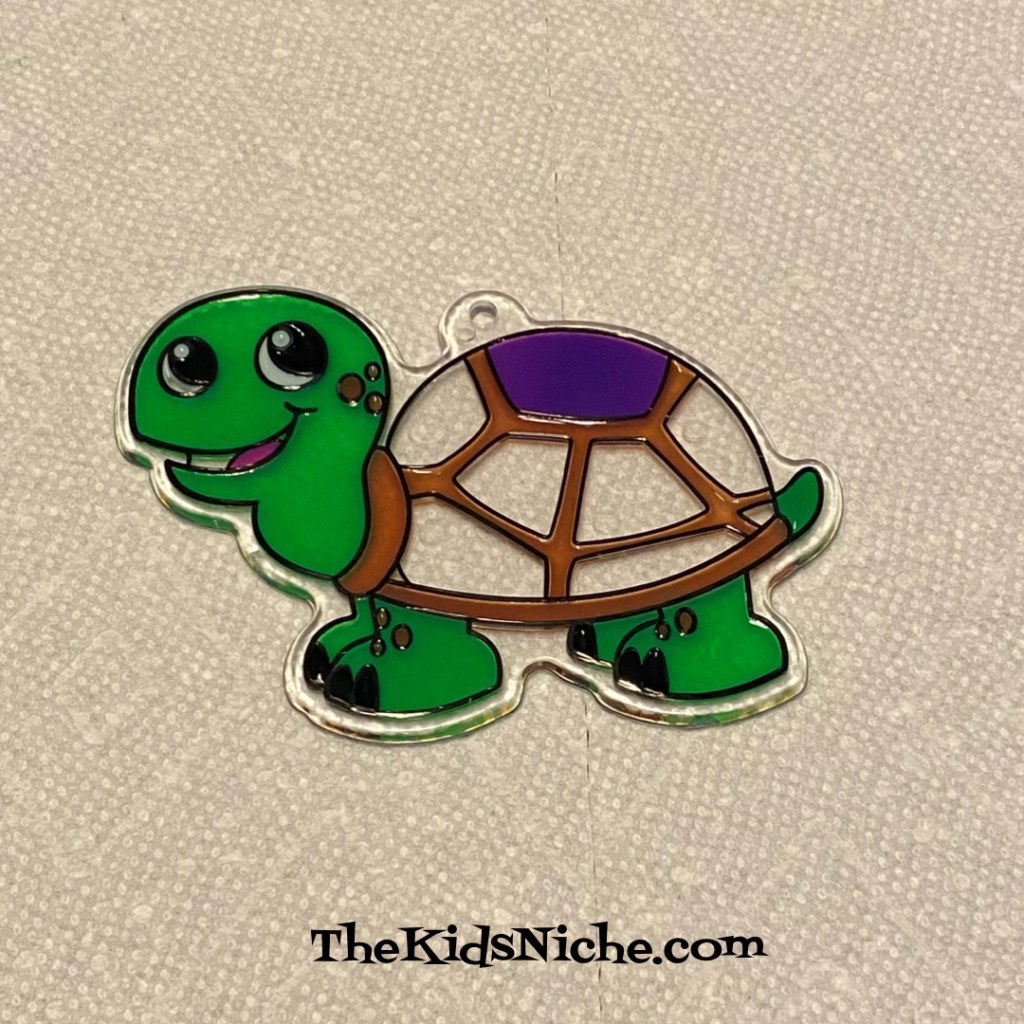
Added green and purple paint…
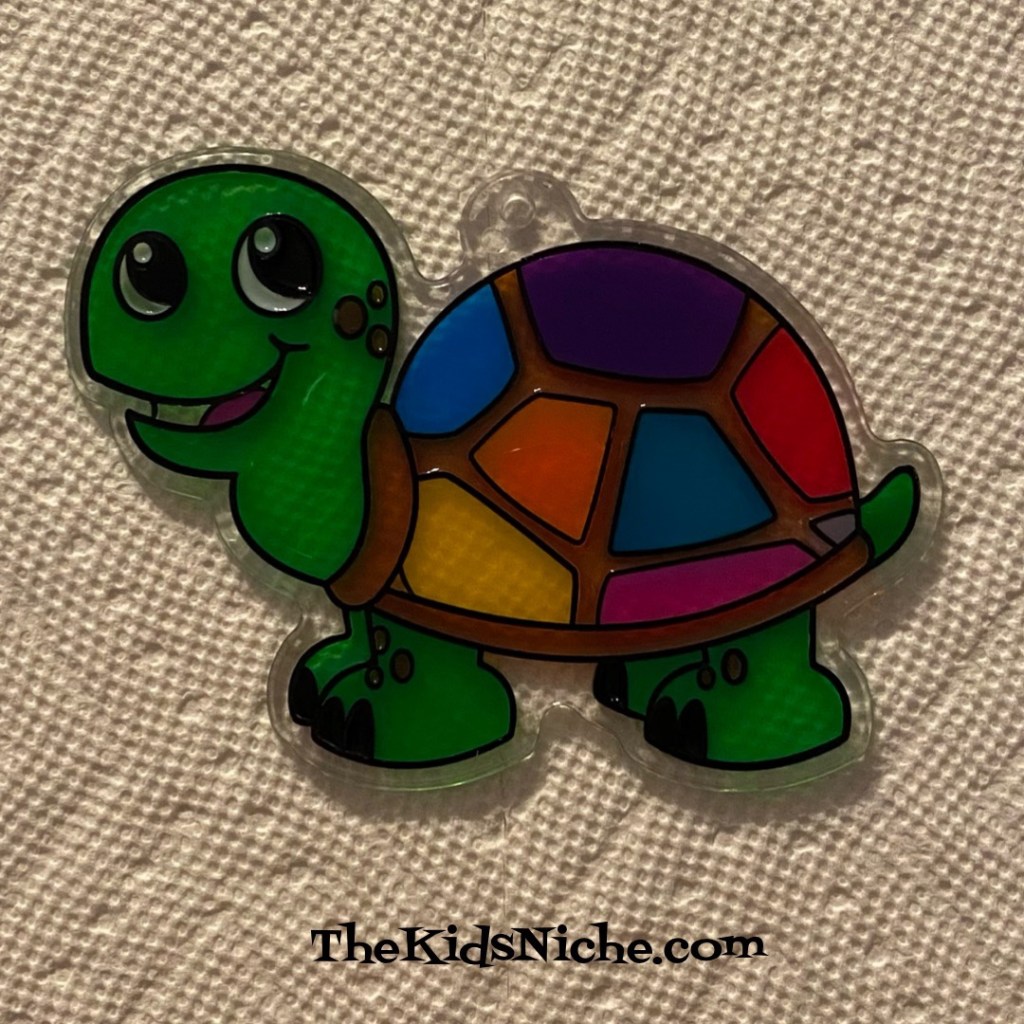
And several more colors to finish her! I think she turned out pretty cute! Put the hook through the hole in the top of the sun catcher and use the suction cup to attach it to any window. (Or a turtle’s aquarium!) Watch the sun shine through! 😃
There are lots of different sun catcher shapes at Walmart and they are probably also sold at craft stores. Have fun making some sun catchers of your own and catching some sunshine with them! 😃
Here we go again with another re-purposing idea! Today we’re turning an empty Ovaltine container into a fun place to store something awesome. Never heard of Ovaltine? It’s an awesome chocolate powder that turns ordinary milk into yummy yummy chocolate milk! Mmmm! 🙂 It’s sad when the Ovaltine container is empty, so here’s a way to cheer you up even when the chocolate is gone. 😉
The Ovaltine container is made partially of cardboard so be careful cleaning it. You can wash the inside of the container but avoid getting the outside wet. Dry it quickly and completely and you’re ready to start decorating. There are many colors and prints available in Duck Tape, so find one you like.
I found this neat variegated blue with tiny stars.
Remove the lid of the container and set it aside for later. Wrap the first piece of duck tape around the top on the container, being careful to keep it as straight as possible. Following along the top edge will help.
For the next piece of tape, I chose to go along the bottom edge in the same way I did the top edge.
Add one more strip of duck tape around the middle of the container, overlapping on both the top and bottom strips of tape.
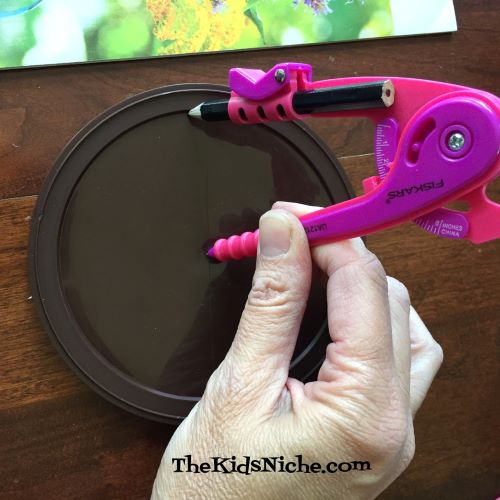
The can part is done! Now let’s make the lid look great too. If you have a compass, you can place the point of the compass in the center of the lid and extend the pencil to meet the inside edge of the lid.
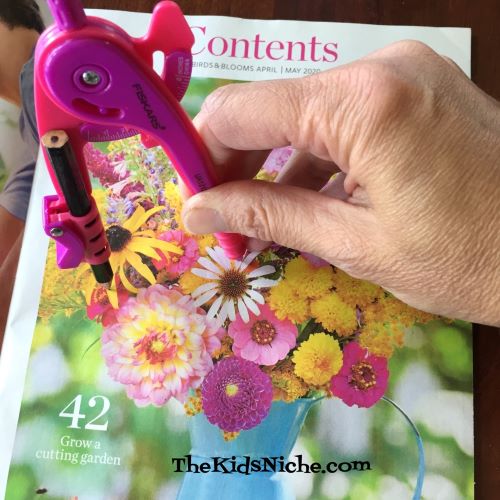
Keeping the compass in this position, you can draw a circle that will fit the lid. A great place to find a cool picture for your lid is by using old magazine pages.
Draw the circle using the compass and cut the picture out with scissors. Using glue or double-sided tape, attach your picture to the lid. Here are a few pictures I found that I liked. Flowers…
More flowers…
A hummingbird with flowers…
Maybe you like animals better than flowers? How about this adorable kitten?
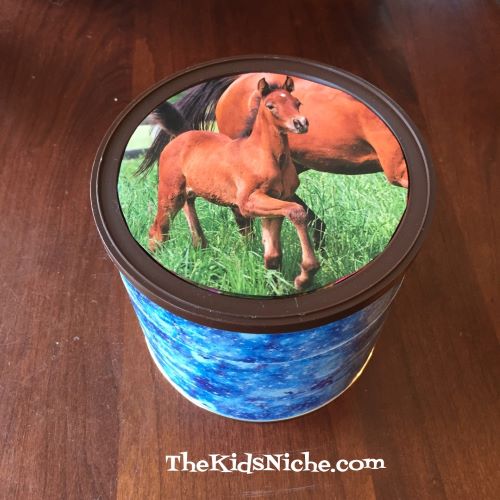
Or this beautiful foal?
There are so many things you could use to decorate the lid! You could color your own picture or use a circle of colored paper and decorate using stickers. Let your mind think up something fun to use from things you have around the house. If you don’t have an Ovaltine container, look around for something similar…duck tape works on just about any surface. If you use double-sided tape on the lid, you can change the picture later when you’re ready for something new.
I hope you enjoyed this project and you use your imagination when looking for containers to re-purpose using duck tape! Thanks for stopping by! 🙂