
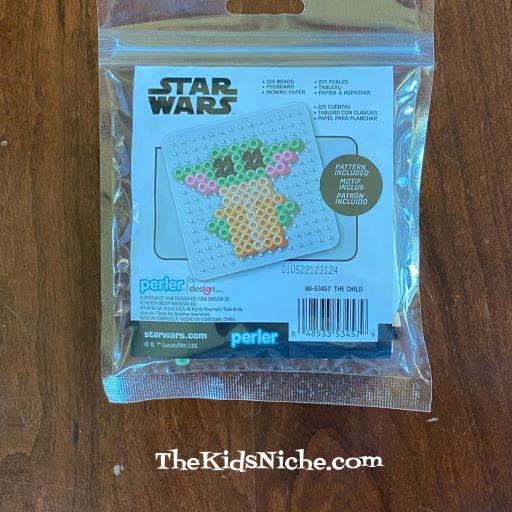
Have you ever done a project using Perler beads? I have seen them for years but I finally tried a small kit and found out they are actually pretty neat! If you haven’t tried them yet, I’ll give you an overview of how they work. Here is the cute Star Wars kit that I bought and tried:
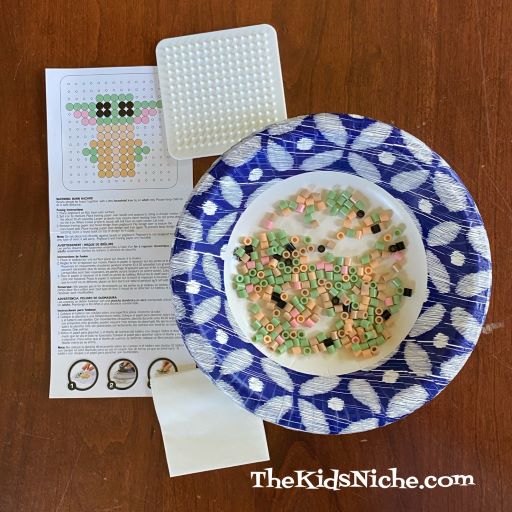
(Isn’t “Baby Yoda” adorable?!) This is everything that was inside this kit (minus the paper bowl): 225 beads (enough to make 2 “Baby Yoda”), a pegboard, instructions and ironing paper. You will also need an iron. I used the paper bowl to contain the beads and keep them from running away. 😉
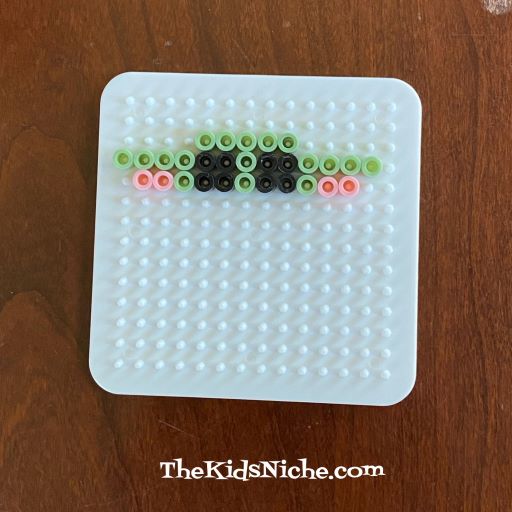
Follow the instructions for where to begin placing the colored beads on the pegboard.

Keep putting beads on the peg board by following the pattern in the instructions.
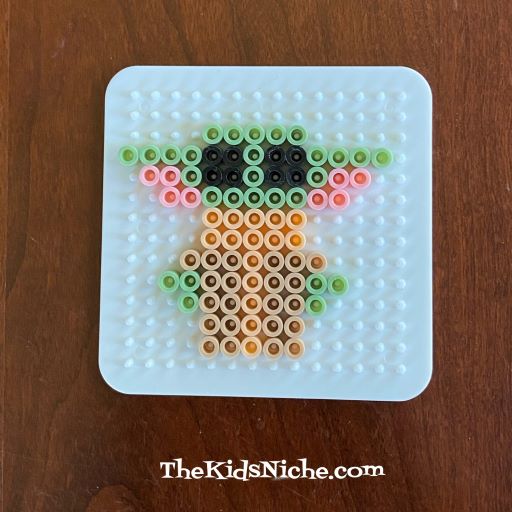
Adding a few more beads…it’s starting to take shape!

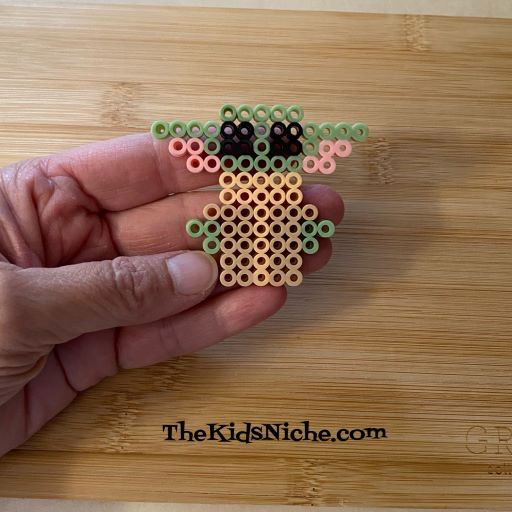
And there he is! All the pegs are in the correct order! We’re ready for fusing!
Heat your iron to a medium heat. Place the pegboard on a solid heat-safe surface. I used a wooden cutting board.

Cover the beads with the ironing paper – very important! Your iron should not touch the beads directly. Using a circular motion, iron over the beads and ironing paper for 10-20 seconds. When ironed properly the beads will still have an open center.

Set a heavy book or something similar on your project while the beads cool down to prevent it from warping. Peel the ironing paper back slowly to check that the beads have fused together. If there are still loose beads, iron over them a second time. (This happened to me.)
After the beads are sticking together, carefully remove the design and turn it over. Again, cover it with the ironing paper and iron the second side. Remember to place the heavy object on top again to prevent warping. The pegboard and ironing paper are reusable.
Tah dah! Your project is finished! 🙂
You could slip a thin string or thread through one of the holes if you’d like to hang your project up. Perler beads come in soooo many colors and there are kits of all types available! Be sure to look for a fun Perler beads project the next time you are in your favorite craft store! Have fun! 🙂
