It’s been a fun week of making washcloth animals! If you missed making the bunny, you can find it here: https://thekidsniche.com/2020/05/11/washcloth-animals-1-bunny/ If you missed the bear, this is where you can find it: https://thekidsniche.com/2020/05/13/washcloth-animals-2-bear/
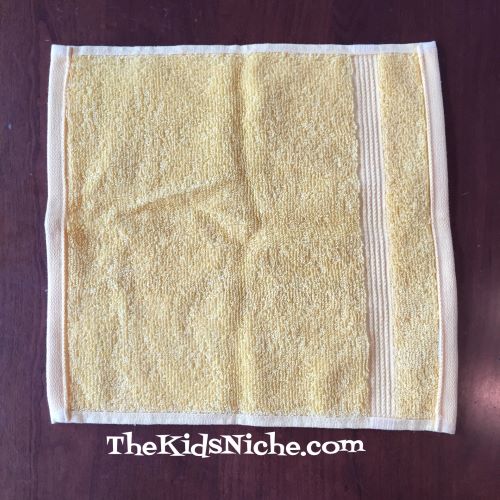
So let’s make one more washcloth animal! This little chick is quite adorable and fun! You’ll need 1 washcloth (a yellow one makes him super cute), 1 regular size rubber band, a piece of ribbon or twine, 2 wiggly eyes and a small piece of orange construction paper.

Lay the washcloth out flat on your work surface.
Starting at one corner and working across on the diagonal, roll the washcloth up tightly into one long thin roll.

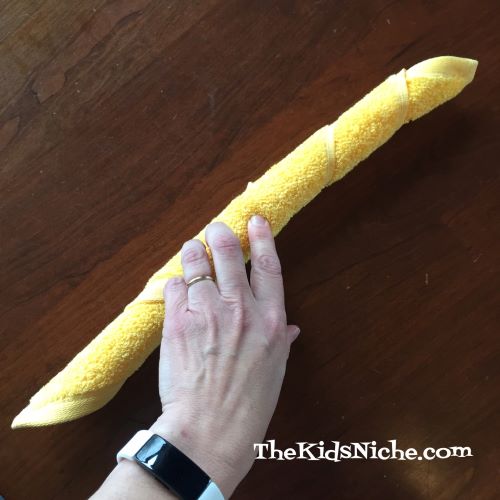
The place where the end of the washcloth is in the center, you will want to make sure it gets folded inside with the next step.

Fold the rolled up washcloth in half.

Bend one side down so that the tip reaches the bottom or is just slightly longer.

Fold the second side down in the same manner.
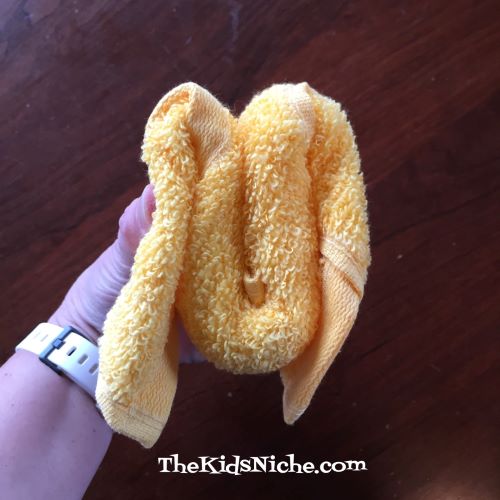
Squeeze the top part a bit to make a rounded head and wrap the rubber band around it several times.

Glue on the 2 wiggly eyes.

Tie a piece of ribbon or twine around the chick’s neck to cover the rubber band.

Using the orange construction paper, cut a rectangular piece about 1 inch by 1/2″.

Fold it in half.

Keeping the folded edge on top, cut from the center of the bottom up to the top outside edge on both sides so you end up with a triangle.
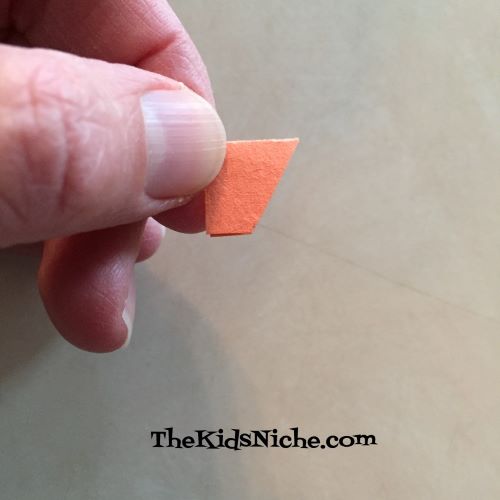
Open the triangle and you have a beak for your chick.

Glue the beak in place and your adorable little chick is done! 🙂

Thanks for visiting my blog! I hope you’ve had fun making washcloth animals with me! 🙂 Tune in next week to see what other kinds of fun things we’ll be doing!