
Back on April 3, 2019 I suggested you to save your old crayons and crayon shavings for another project.
https://thekidsniche.com/2019/04/03/coloring-fun-for-everyone/
Well, today is the day we’re going to talk about using them! Coloring with crayons wears them down and you need to sharpen them to make those lines go where you want them to, right? Just like you sharpen a pencil. So that’s what I’m talking about when I say crayon shavings. When I was little, my mom saved our crayon shavings until we had enough for this project. It was something that didn’t happen often so it was especially exciting when it did! A note on saving crayon shavings…you can save each color into a separate container or put all the colors together in one. It depends on how you’d like to use them. My mom saved them all mixed together but I bought a small box of crayons and a pencil sharpener just for this project demonstration and so I saved each color separately. Here’s what you’ll need: crayons or crayon shavings, wax paper and an iron and ironing board…construction paper is optional. If you have crayons or pieces of crayons, you will need a pencil/crayon sharpener too.
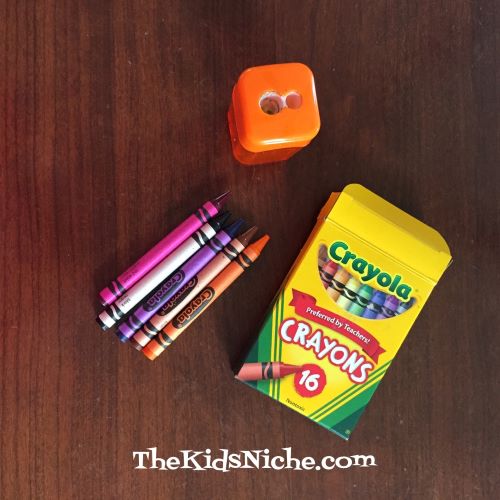

If your crayons are already made into shavings, you’re ready to start! If you have crayons, the first thing you’ll need to do is use the pencil/crayon sharpener to make them into shavings. Remove the paper wrapper first. You’ll need something to hold the shavings. Very small containers with lids would be best, but I didn’t have any of those on hand so I put my shavings into Ziploc sandwich bags with the zipper seal. Static electricity is a bit of a problem when using those, but its really not a big deal. Tear off a medium sized piece of wax paper and lay it on the ironing board. If all the colors of the shavings are mixed together, let your child pinch some between their fingers and sprinkle them around on the piece of wax paper. A little bit goes a long ways!

Once their design is complete, tear off another piece of wax paper approximately the same size as the first one. Carefully lay it over top of the first one, being careful not to move the shavings and mess up the design. 😉 So just to clarify, the crayon shavings are BETWEEN the two pieces of wax paper. Turn your iron on to a very low setting, with NO steam. PLEASE only parents or older children do this part so no one gets burnt!! Carefully and quickly press the iron onto the top piece of wax paper and lift it off quickly. The crayon shavings will melt and make a beautiful design!

You can leave it as is, or cut it into a square or circle or whatever shape you want. I used a dinner plate and laid it on top, upside down, and traced around the edge and then cut it out.

If you have a hole punch, you can punch a hole in the top edge of the wax paper and use a piece of yarn or string to hang it up. (My hole punch seems to have gone AWOL.)
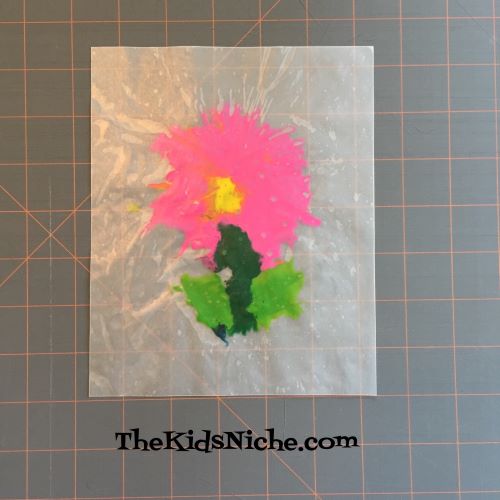
If your crayon shavings are separated by color, you can do more elaborate designs. Older kids might enjoy this more. Here’s my attempt at a flower. (I think I might have used too many shavings.)


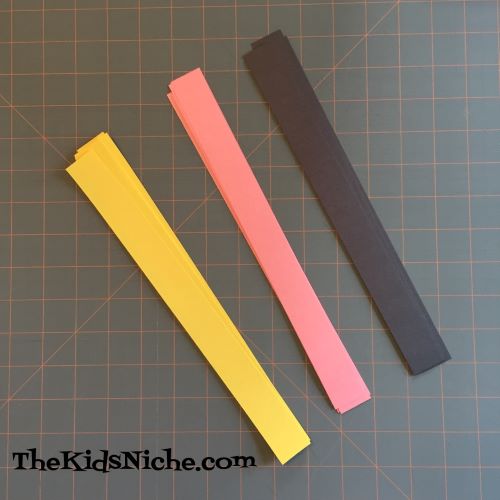
Another way to keep these and to hang them up is to cut 1 inch strips of construction paper.
Cut your picture down to the size desired.
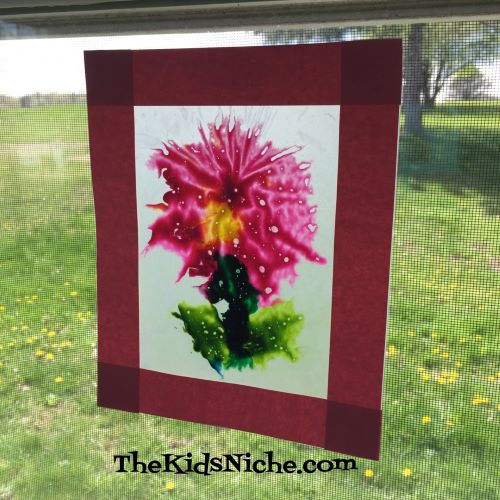
Using double sided tape (sticky on both sides) add paper strips around the edges to make a frame. Again, putting a hole in the top side and adding a piece of string will make it easy to hang up. I didn’t try using glue but I doubt it will work very well with the wax paper.

Something that makes these creations look extra special is hanging them where the sun can shine through, like on a sunny window. They look like they are stained-glass! 🙂
I’ll share one more picture that I made…just couldn’t resist! (Though now I promise to save the rest of my crayon shavings for the next little people that come to visit us!)

Yep, a rainbow! There’s all the shavings lined up…aaaaaand PRESTO!

This time I added a frame in a little different order. Before cutting the wax paper down to size, I added the construction paper strips to frame the rainbow.

And then I trimmed away the excess wax paper.

Once the pictures are complete, be sure to hang them in a sunny window where everyone can enjoy their crayon shavings masterpieces! 😉

