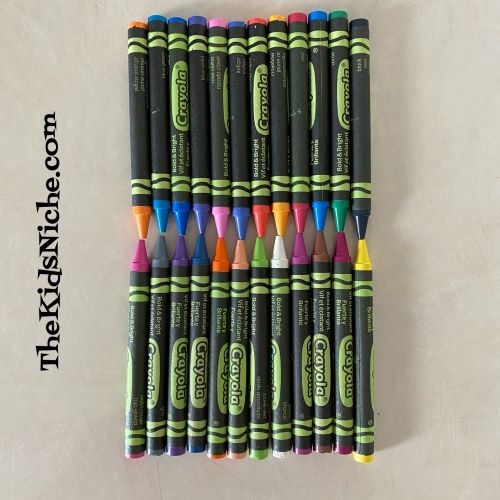
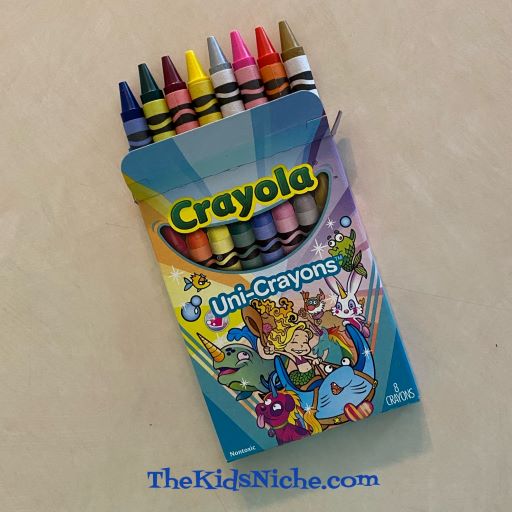
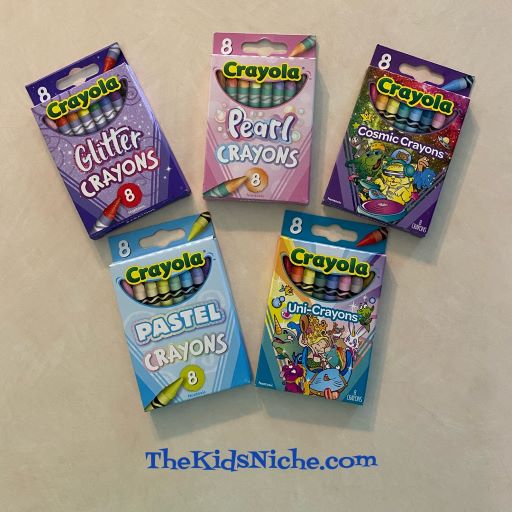
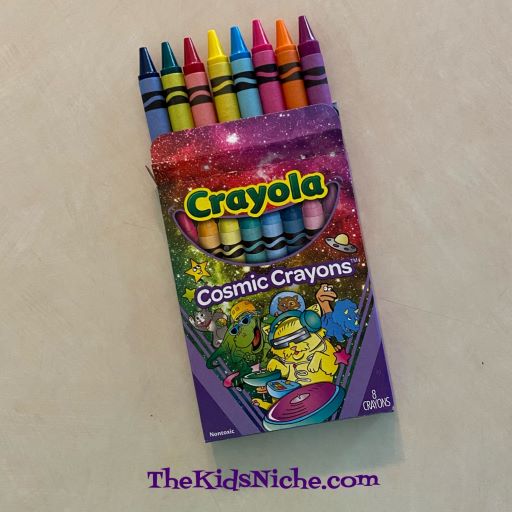
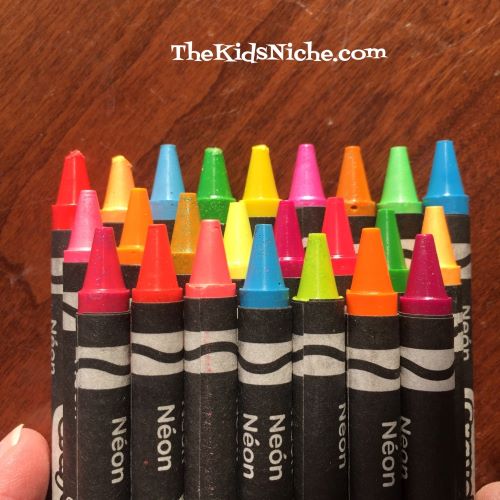
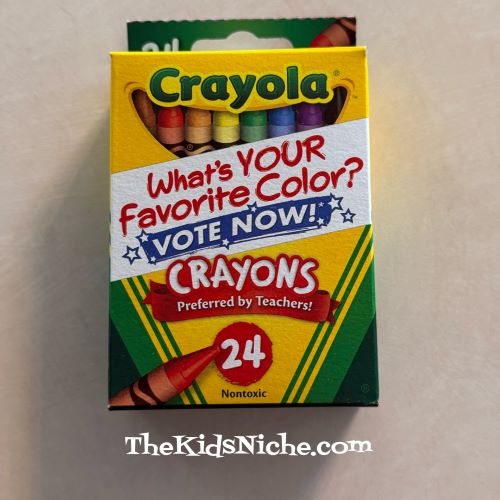
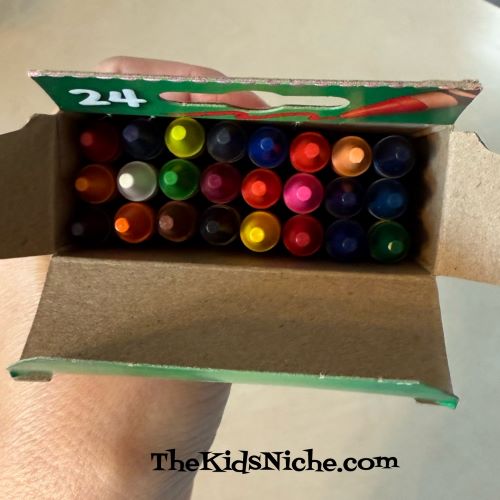
Does anything smell better than a bunch of crayons? 🙂 Do people still get excited to open a brand new box of crayons? That was a huge highlight for me when I was little and starting a new school year! Oh, to think of all the things those crayons were going to color! 🙂 I spotted these crayons yesterday in a local store and saw that you can vote for your favorite color!
Oooo, how do you pick ONE favorite color?! 😉 There are sooo many great colors!
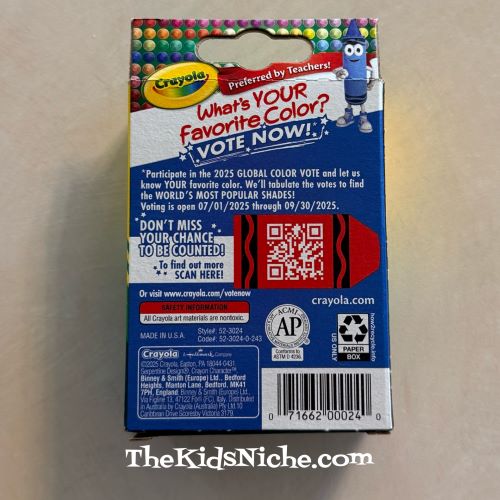
If you would like to participate in the voting, there is a QR code on the back of the box that will take you to the right website for voting. Or you can visit http://www.crayola.com/votenow.
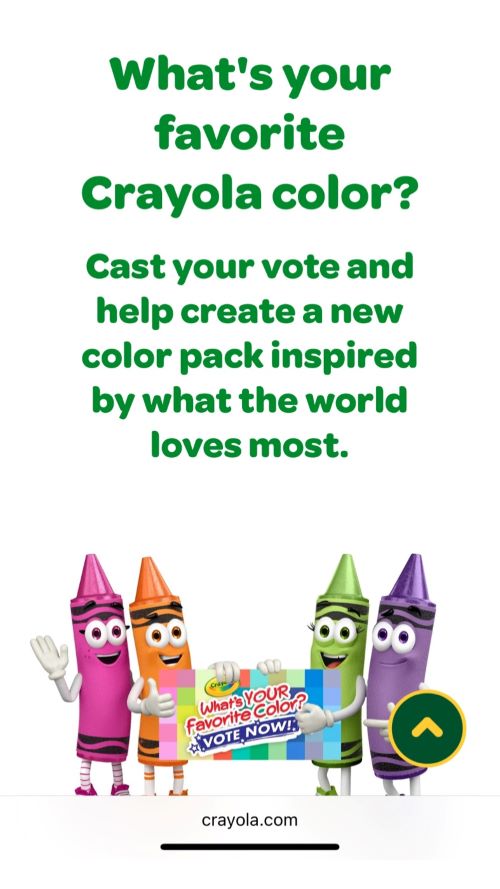
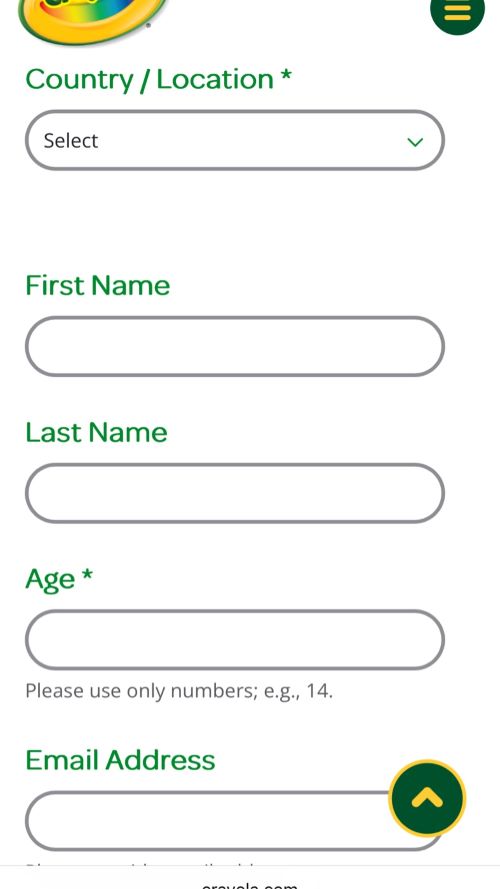
Here’s what you’ll find at the website:
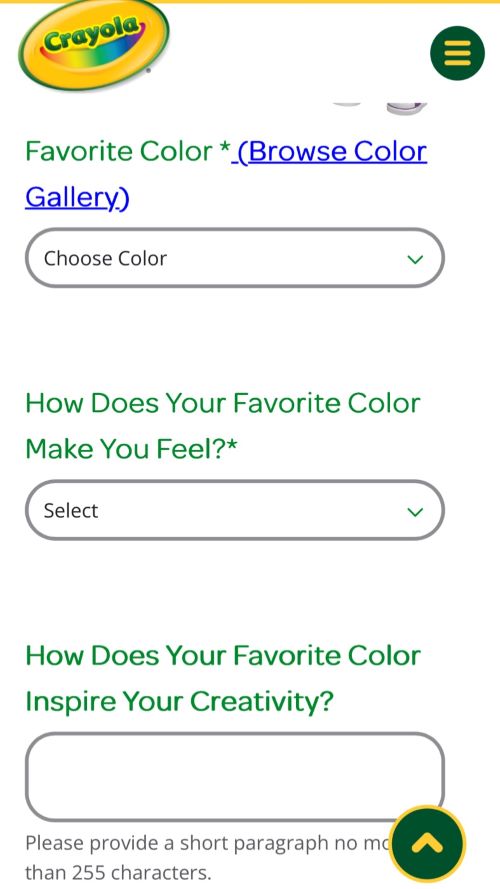
If you would like to vote, you’ll need to hurry! Voting closes on September 30, 2025. (Sorry I didn’t find this sooner!)
Happy Voting! I’m still trying to decide which color is my favorite… 😉