
How about a quick and easy project to make something that kids can play with for hours? Sound good? I’m talking about making bean bags! There are different ways to make bean bags but this is a quick and easy way that will have your kids playing and enjoying themselves in a hurry!

For this project I chose a pack of pre-cut squares of fabric that are 5″ square. I sewed my bean bags with my sewing machine but you could also sew them by hand.
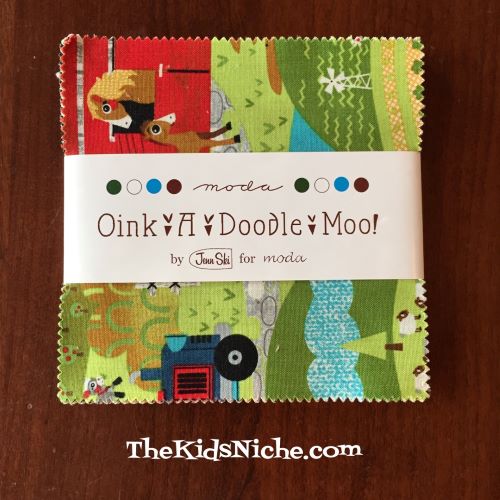
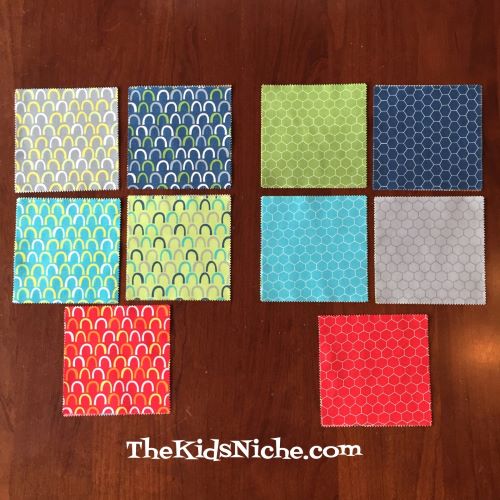
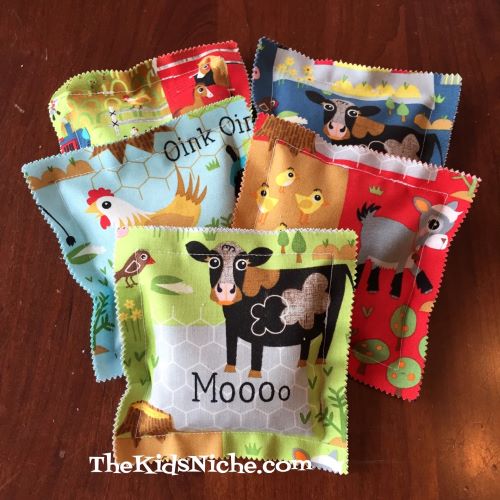
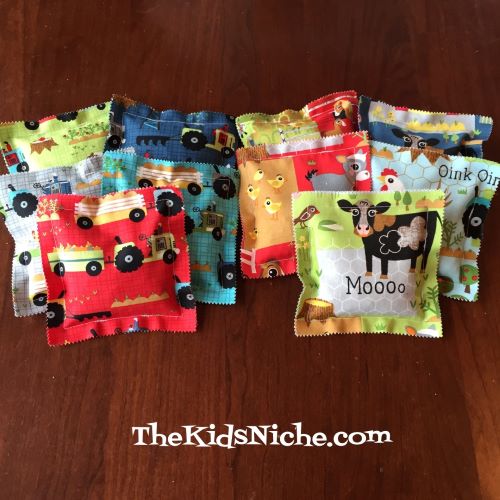
I love using the pre-cut fabric squares because the squares are ready to go! And this bunch has a “pinked” edge (cut with pinking shears) and so you don’t have to worry about the edges of the fabric unraveling. I wanted to make 2 sets of bean bags that look different so it’s obvious which group they belong with in case there are 2 people or 2 teams playing against each other. I chose farm animals for one set and farm machinery for the second set.

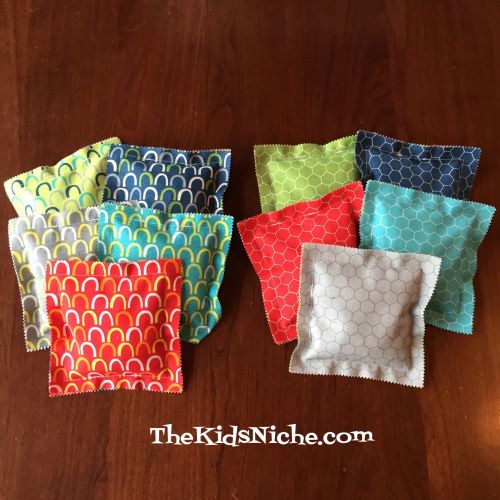
I also chose the fabric for the backside to be different for each set too.
Let’s start sewing! Take a front piece and a back piece and match them up putting wrong sides of the fabric together.

I used a 1/2″ seam allowance for sewing around the outside edge of the fabric square. I found it helpful to mark each side corner in 1/2″ so as you are sewing down the side, you will know when you have reached the point by the corner that you need to turn the square for sewing down the next side.

You need to allow an inch or a little more open on one side for adding in the beans. Start partway down one side and then sew all around the outside edge using the 1/2″ seam allowance until you come back to the side you started on. Then stop sewing, leaving a large enough opening to put the tip of a funnel in for filling the bag with beans.

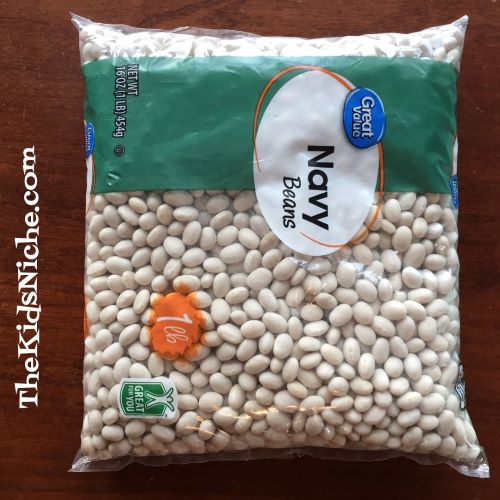
I recommend back stitching several stitches each time you begin and end sewing because this will catch the threads enough that you don’t have to worry about tying knots. You can just clip the threads and move on. Now for filling! You can use whatever type of dry beans you would like to use. I chose dry navy beans.
Insert the tip of a funnel into the fabric opening.
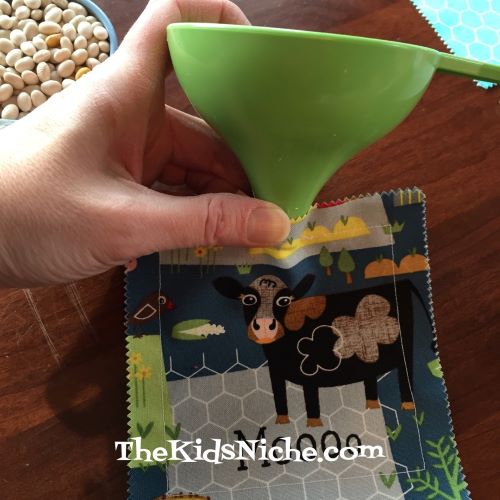
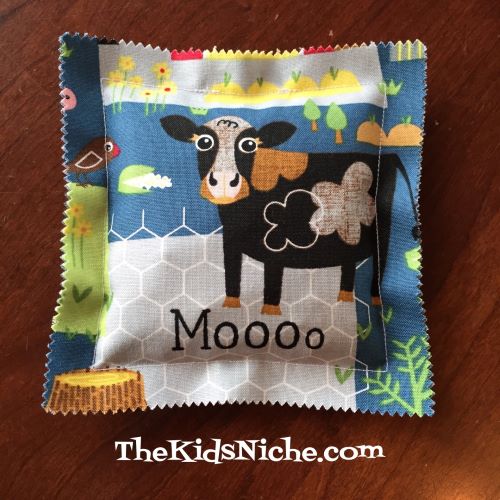
I used about 1/2 cup of dried beans for each bag. Slowly pour the beans into the funnel. If the beans back up in the funnel, gently shake it to get the beans to fall through. After filling each bag with beans, go back to your sewing machine and sew the small opening closed. Again, stitch forward and back a few stitches so you can safely trim off the threads without needing to tie knots. And there you have your first bean bag done already!
I made 5 bean bags for each of 2 sets.

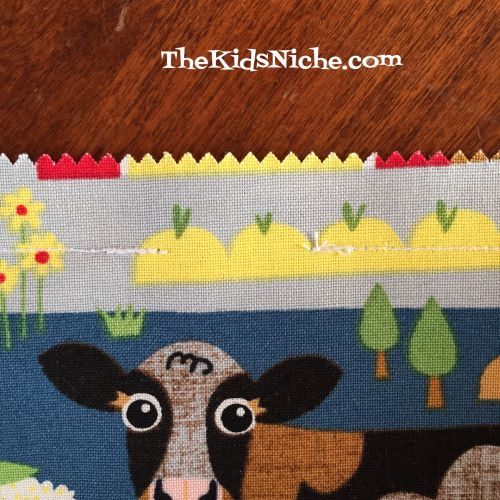
Here’s the back side view:
Wasn’t that quick and easy? I love the bright fun colors and patterns! There is just something awesome about bouncing a bean bag in your hand. Tune in tomorrow for some fun ideas of what to do with your new bean bags! 🙂

One thought on “Making Easy Bean Bags”