
Here is a kid-tested-really-awesome experiment that you’ll have fun trying out with your kids! Making water tattoos is something I had never heard of until last night when 2 of our grandkids sent us some videos of their experiment making them. I’m so glad they shared this experiment with us because it looked so cool that I had to try it myself and now I want to share it with you! Here’s what you need: a white plate or dish, a dry erase marker and some water.

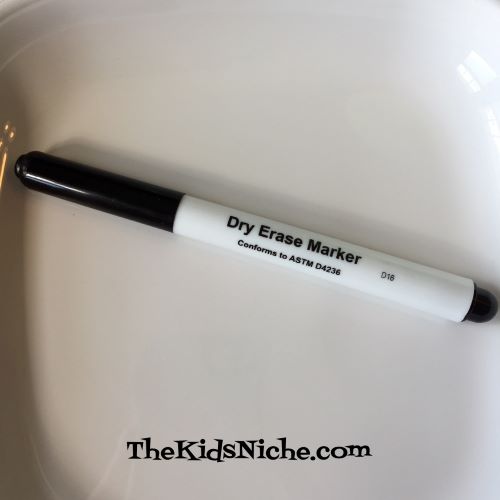
Make sure you have a dry erase marker for this experiment.
Using the dry erase marker, draw some small simple pictures on the plate. The less complicated the better. I drew a heart and a spider.

Pour water very slowly onto the plate and watch your drawings. If it works, they will come loose from the plate and start floating! The heart I drew didn’t work, but the spider did! Notice how its in a different position floating on the water in the following picture.

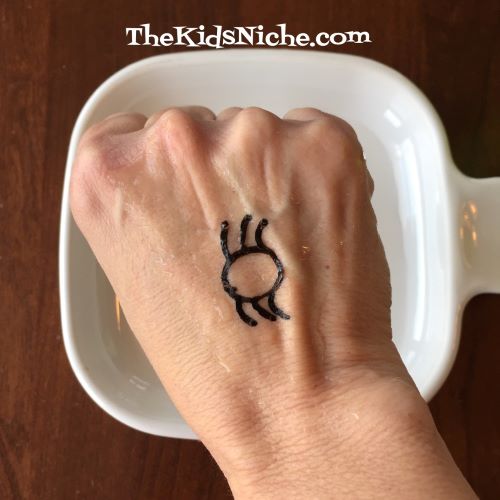
Isn’t that cool??! 🙂 Now, if you lay the back of your hand on top of the floating picture and press your hand down a bit, when you lift your hand you should have a tattoo on the back of your hand! The spider picture worked for me.
How fun is that?! 🙂 Don’t worry if it doesn’t work the first time. Dry your plate off and try again. Make sure to pour the water slowly and beside the pictures you drew, not directly on it. Here are 2 videos our grandchildren sent us that show even better how to make water tattoos. 🙂 Thanks, kiddos, for sharing this fun idea with us! 🙂
