
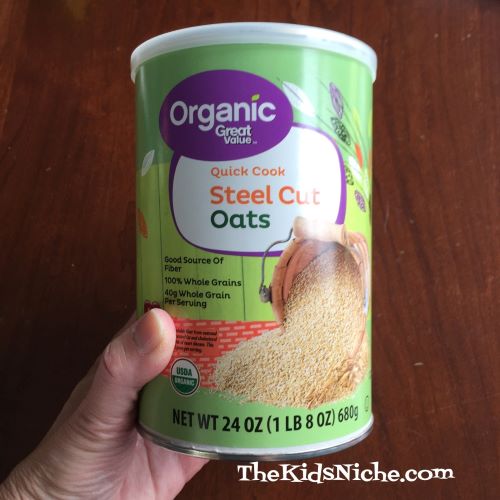
When you were a child, did you ever have a place where you stored your special treasures? A box or a can that was just yours and you kept important little things hidden in it? Maybe it was a special picture that you colored or a keepsake from a vacation trip or a picture of you and your best friend or a really cool seashell or stone that you found or any number of other things. Today let’s make such a spot for your kids to hide their special mementos! You can use a box if you have one, but I used an empty oatmeal container.
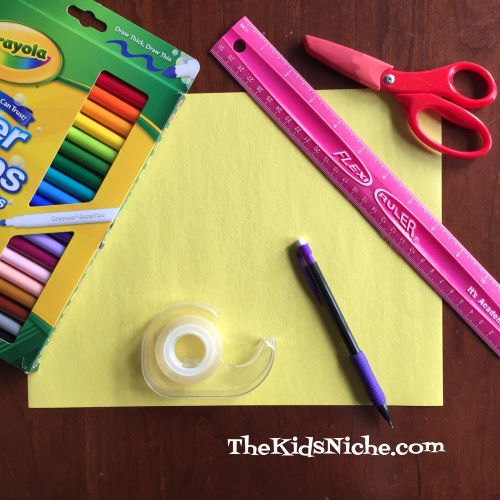
First remove the lid and take a slightly damp paper towel and wipe out any tiny bits of oatmeal that might be left behind. Keep the lid off for a while so the container will dry completely inside. Now collect the other items we’ll need for this project such as a piece of construction paper, markers, a ruler, scissors, a pencil and tape.
Using the ruler, measure to see how long the side of the can is. We will be wrapping a piece of construction paper around it, but first we’ll need to cut the paper to the right size to fit top to bottom.

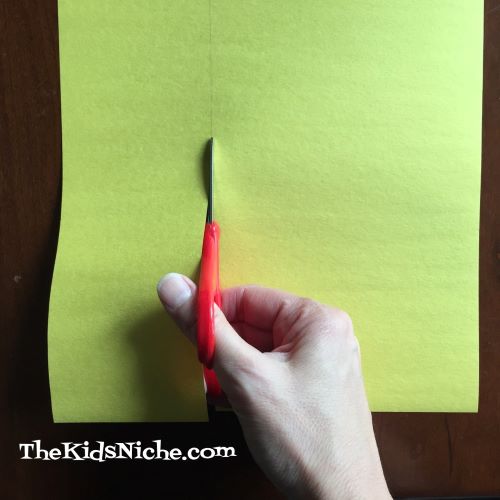
My container measured 5 3/4″ long in between the top and bottom rims. The size of my construction paper was 9″ x 12″. Take your piece of construction paper and mark a spot on each end whatever the length of your container is. Draw a line between those 2 dots and then cut along the line. For example, since my container was 5 3/4″ long, I cut my construction paper to a piece that was 5 3/4″ x 12″.
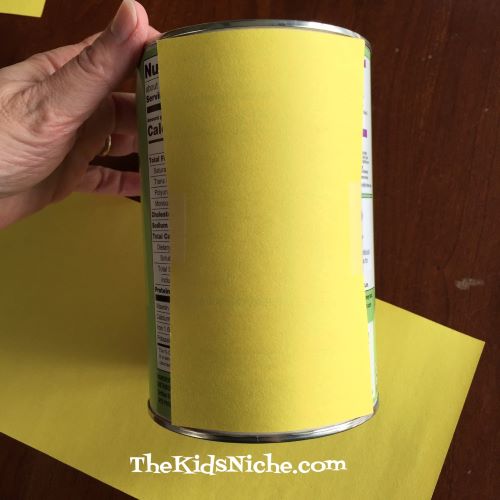
Take the piece of paper that you cut and wrap it around your container to see if it will wrap all the way around. Mine was a bit short and the edges didn’t meet.

I used the leftover piece of construction paper to cut another piece that was 5 3/4″ long and the width of the paper that was left.

I taped it on to the backside of my oatmeal container.
Now wrap the first piece of paper you cut around the container to make sure it will fit…but don’t tape it down just yet.
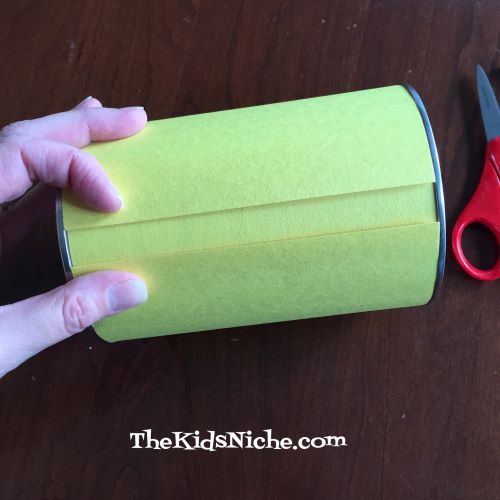
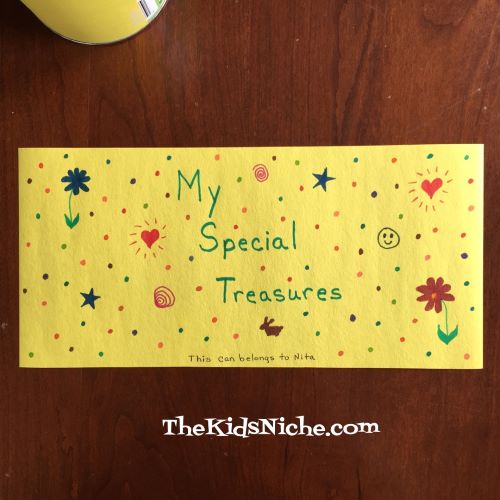
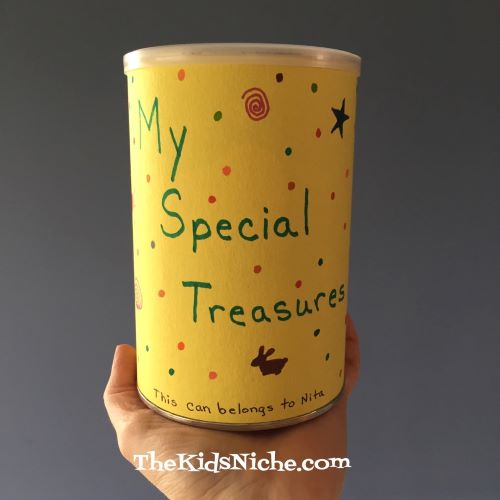
Mine fit just fine so then I was ready for the next step. Lay the first piece of paper you cut down on your table and write, draw and color whatever words and designs you would like to have on your special treasures container. I chose to write “My Special Treasures” in large letters and then in tiny letters at the bottom I wrote “This can belongs to Nita”. You can decorate your container in your own way. I drew some flowers, a bunny, a couple hearts, some designs and lots and lots of polka dots.
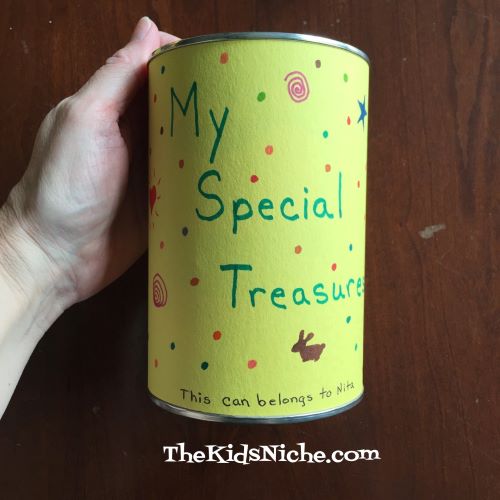
Once you have decorated your paper, its time to tape it onto the container. I used double-sided tape so that I could tape on the back side of my design. You could also tape it from the front side or use glue to hold it in place. I like the idea of using tape because later you can remove this cover and put on a new one.
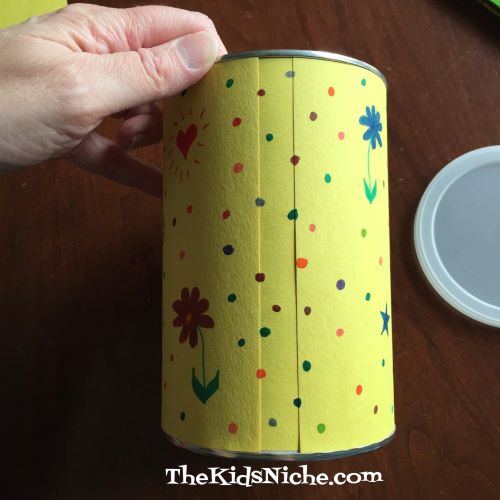
On the back side of the container where I added the extra bit of paper so the container would be completely covered, it looked like this.

You can leave it like this or you can add a few more tiny designs to make that part blend in with the rest of your design. Since I had drawn so many polka dots, I just added a few more on this part.
And that’s it! Place the lid back on the top and go find some treasures to store inside!
I hope you’ve enjoyed our fun craft for today! May you find lots of wonderful things to store in your special treasures container! Thanks for stopping by! 🙂
