
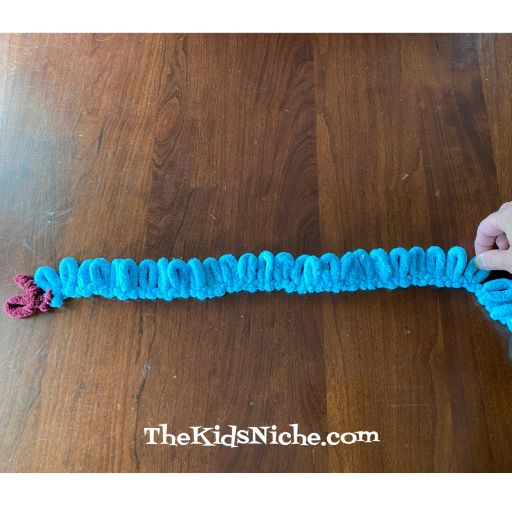
Hello again! (Sorry I didn’t get a post up yesterday but I wasn’t feeling too well.) Have you seen the loopy yarn in the stores and wondered what in the world you do with them? Take a look here! This project today is done using the Off The Hook Magic Yarn (Emoji). I found it on clearance at Joann Fabrics store for only $3.97.

If you “knit” (using just your fingers) in the right way, you will have an emoji face when you are finished. Super cute! Let’s begin! Remove the paper wrapper from the yarn and look for the “start here loop” which is a different color from the rest of the yarn.

Count out 26 loops, not counting the “start here loop”.
Take a hold of the 26th loop…
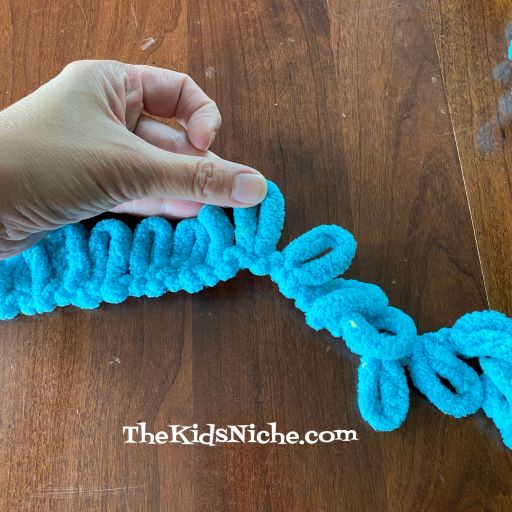
…then take the 27th loop and pull it through the 26th loop.
Keeping the long line of loops in front of the row you counted out, continue following the line and pulling a loop through each loop in your first set of 26 loops.

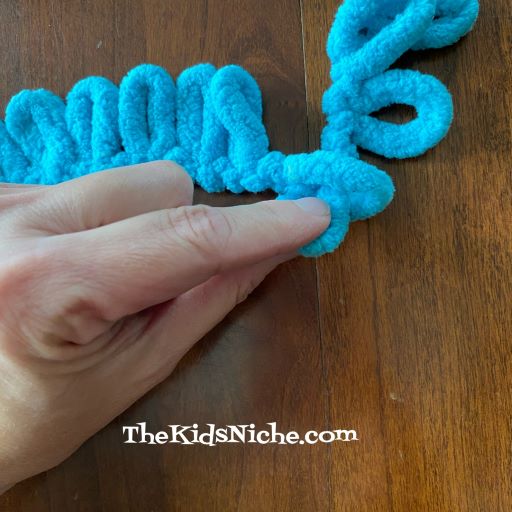
In this next picture, you can see that 2 loops are done.

Continue pulling loops through as you work your way back across the row.

Stop pulling the loops through when you have done 21 loops. The extra 6 loops will be used at the end.

Now it’s time to work on the second row. Place the yarn back across in front of your work. This will make it easier to keep track of which loop is the next one in line. It’s important not to miss any loops. Your picture will start to take shape as you work…if you keep the loops in the correct order.

Another row is done! At the end of each row, count and make sure you have 21 loops in that row. (I had 22 loops one time so I had to go back and gently pull the loops back out until I found my mistake and corrected it.)
The pattern is starting to show up as we keep doing rows of loops! 🙂

A couple more rows finished…
Another way to help make sure you are staying on track is to look at the backside of your work and make sure there aren’t any loops sticking out the back. If there are, just back up to the loop and find where you went wrong and fix it.

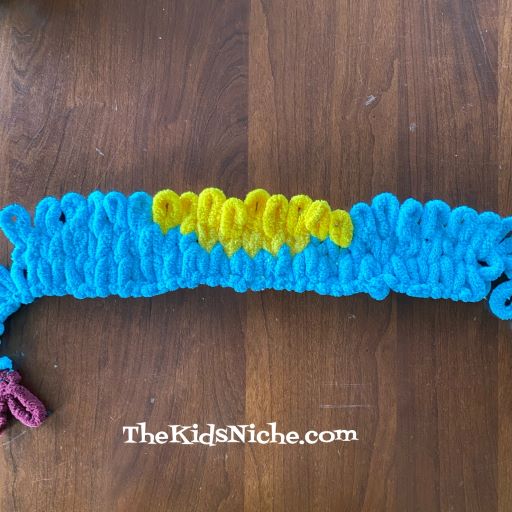
Making more progress! You can see the mouth now.
Looks like the eyes are forming!

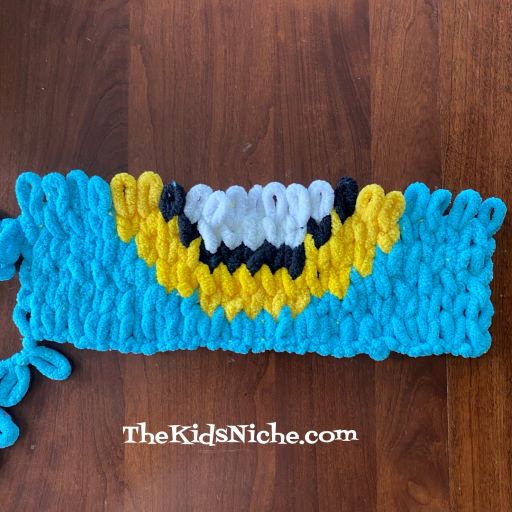
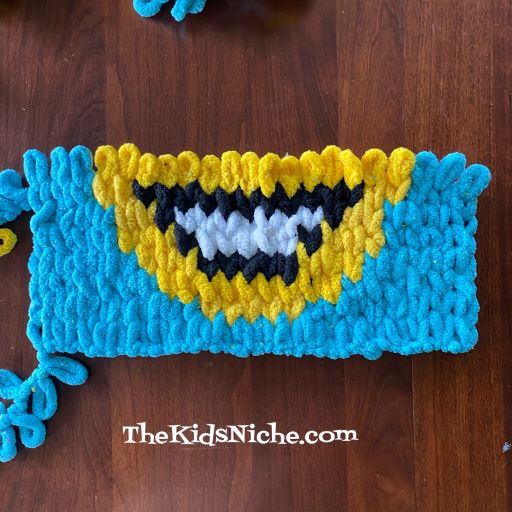
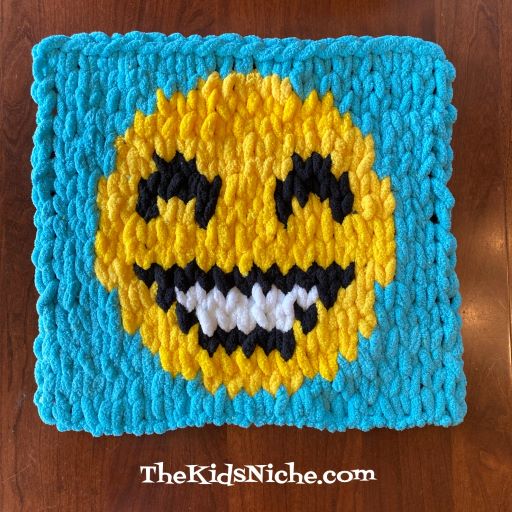
There! You can see the emoji! This point is after 16 rows are done.

Now it’s time to start binding off with this row. To start, pull 2 loops through just as you have been doing.

Take loop #2 and pull it through loop #1.


Make a 3rd loop in this row like you were doing.
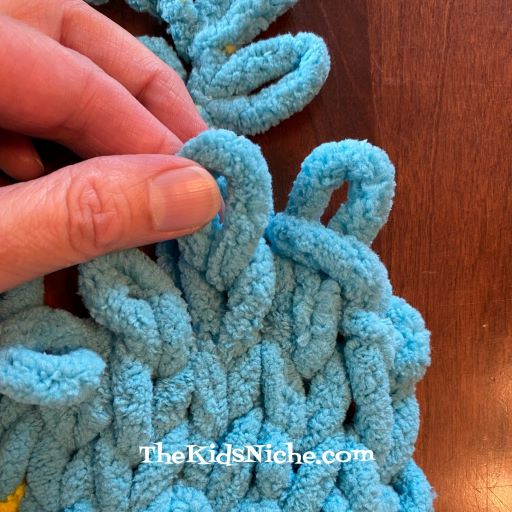
And then pull loop #3 through loop #2. See how you are making a finished edge with no more loops sticking up?

Continue working in this manner until you have gone completely across your work and have just 1 loop left.

Now looking at the extra 5 loops at the top of your work, carefully cut at the bottom of each of the 5 loops so the yarn will open up into one longer string.
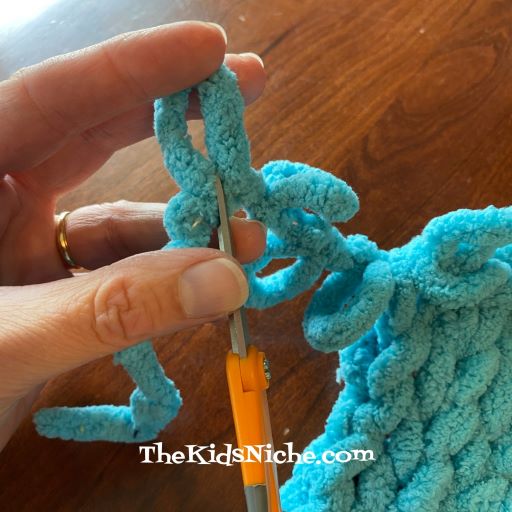

Do the same thing with the extra 6 loops at the bottom of your work.

Back to the top string…flip your work over and then feed the string through the 1 remaining loop.
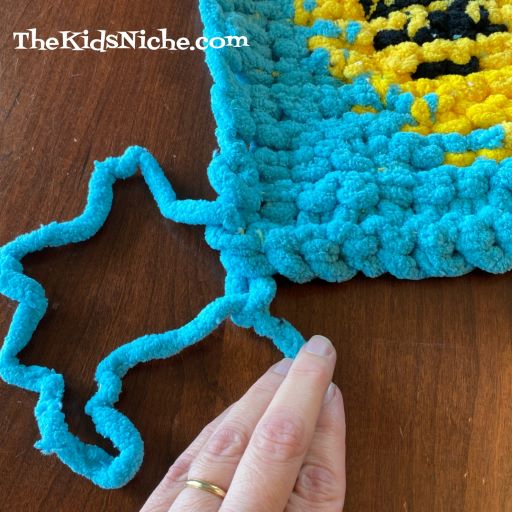
Pull it snug and then weave the extra yarn into the backside of your work to anchor the string. Repeat the weaving in step with the bottom string.

After you have woven the ending strings in through several places, you can cut off the extra.
And there is your finished project!! Great job! Now you have a fun smiling emoji to hang up, maybe in your bedroom.
I hope you’ll give this project a try! Happy “knitting”! 🙂
