
Riddles for Kids
Let’s share some riddles today! Put on your thinking caps and let’s go!
1.) I’m tall when I’m young and I’m short when I’m old. What am I? Answer: A candle!
2.) What is full of holes but still holds water? Answer: A sponge!
3.) What needs an answer but doesn’t ask a question? Answer: A telephone!
How did you do? Did those make your brain work overtime? Hope you had fun solving them! Have a fun day! 🙂
Kazoos! Bless you!
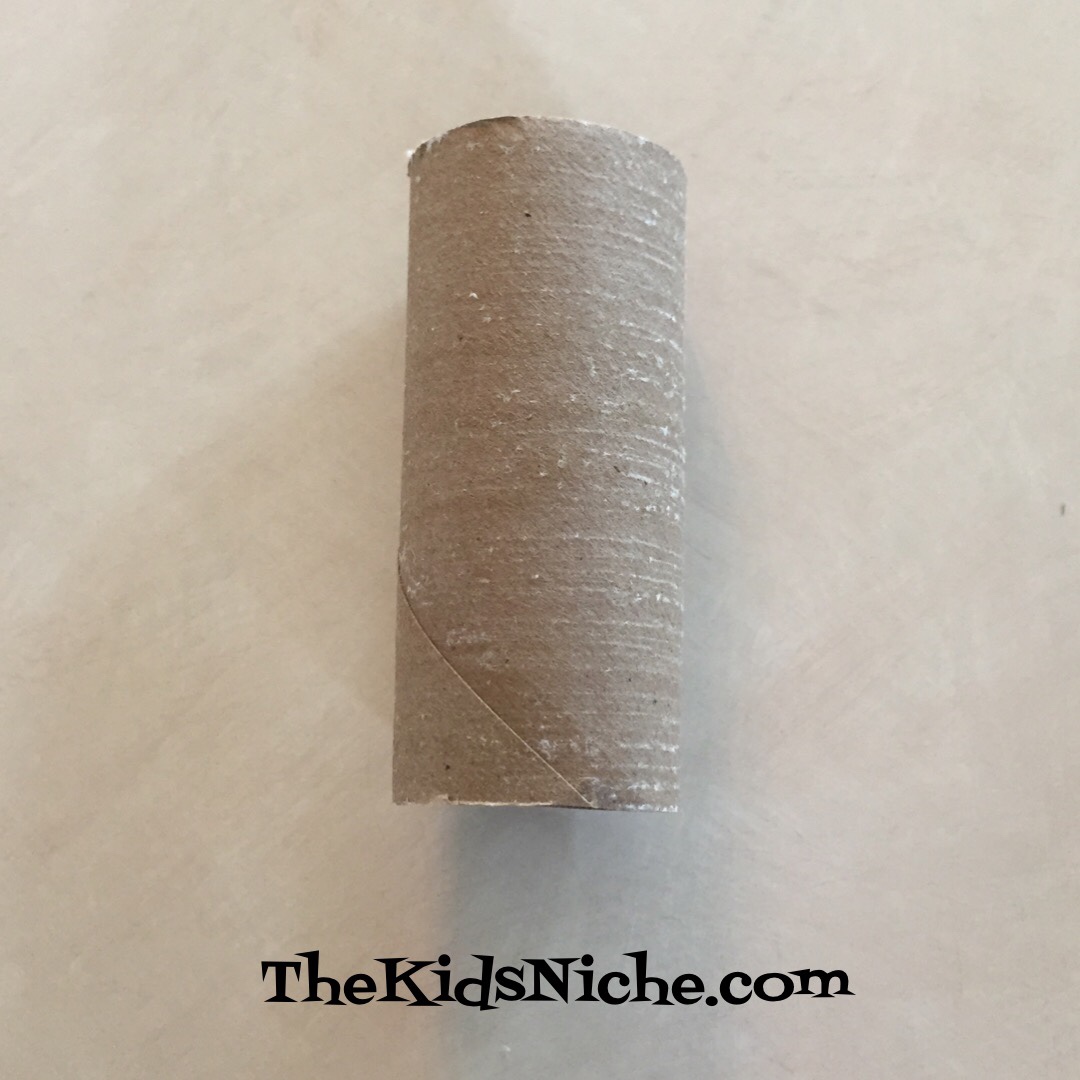
The sun is shining here! (For the moment…) Let’s make a fun little instrument that will help the kids let off a little steam! An instrument? Yep, a kazoo! This project is super easy and needs only an empty toilet paper roll, wax paper and a rubberband. Crayons or markers or stickers add a little more fun. 
What is a kazoo? It’s a small instrument that makes a cool buzzing sound when you place it on your mouth and you hum or sing into it. Let’s begin making one with an empty toilet paper roll.
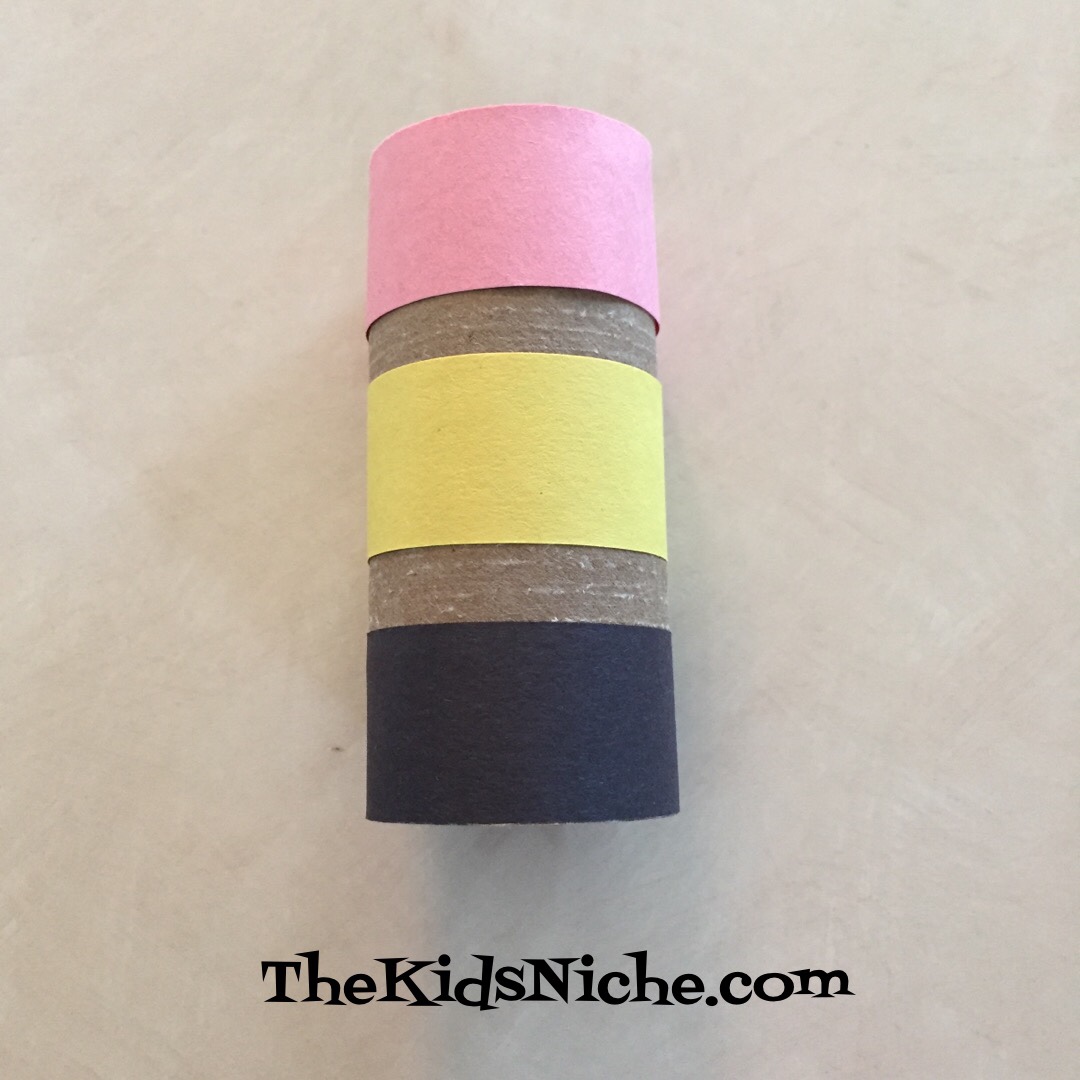
Decorate it any way you like. I added some strips of construction paper to mine.
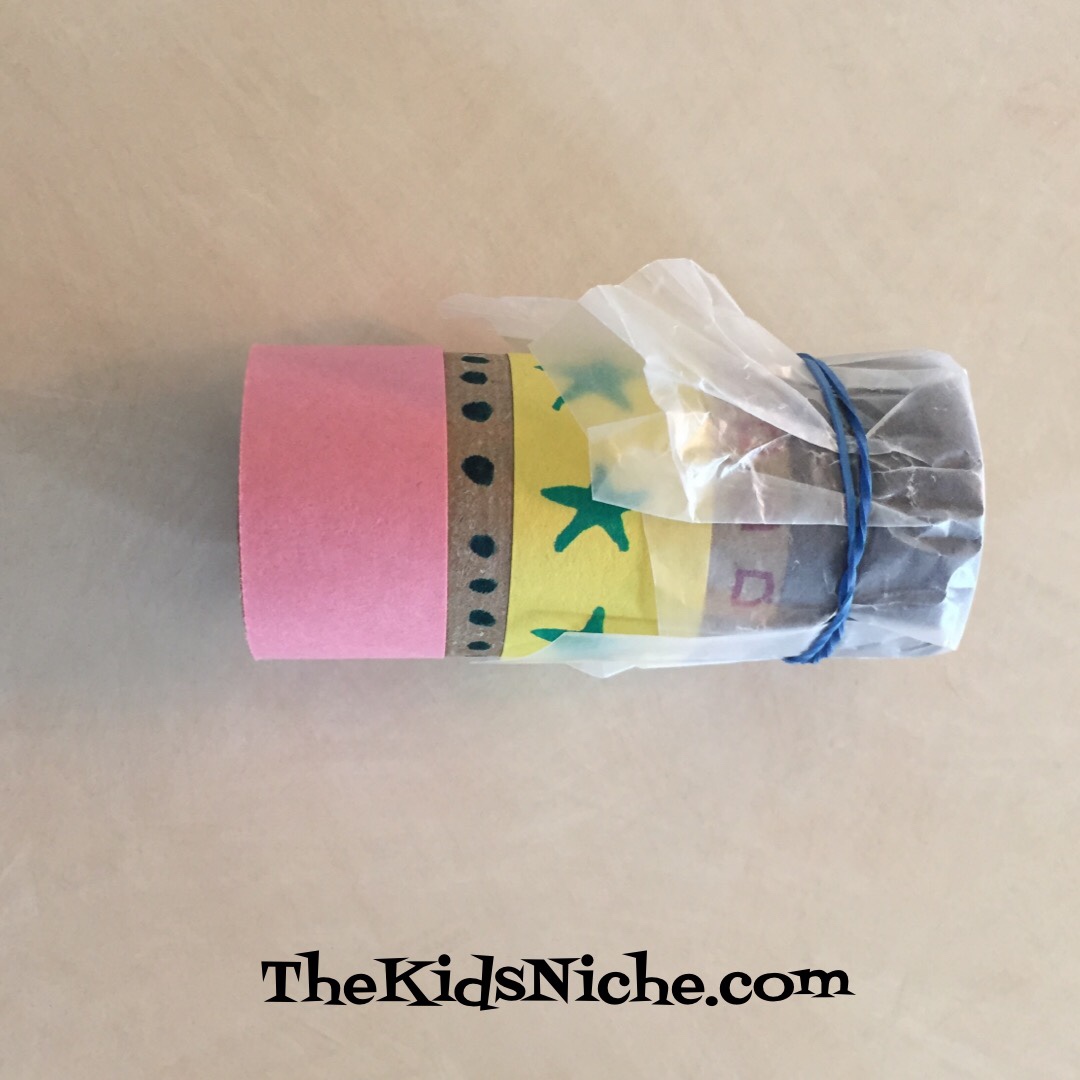
Then colored on some dots, squares and stars to snazz it up a bit.

Take a piece of wax paper…either a square or a circle…and cover one end of the tube. Hold it in place with a rubberband. Your kazoo is complete! The fun really takes off when you place the open end of the kazoo around your mouth and start humming! It makes a very cool buzzy sound. Make one for each member of your family or play group and have a parade! It might be easier on your ears if everyone is humming the same song, but I’m betting the kids don’t care if each of them hums a different tune! 😉😂 Have fun!!
Making a Caterpillar
Are you having all this crazy rainy weather that we are getting in Ohio? Are you going bonkers with your kids shut up inside, not able to go outside to play and burn off some excess energy?? ARGH!! Here’s an idea to keep them entertained for a little while! Let’s make a caterpillar! Items you’ll need for this project are a cardboard egg carton, paint, markers or crayons, scissors and a pipe cleaner is nice, but not a have-to-have. This idea came from one of our grandsons. A few years ago he gave me a caterpillar he had made and I have kept it ever since. 🙂 I came across it again a couple days ago and thought I would share my version with you. Here is my grandson’s caterpillar:

Isn’t it cute?! He did an awesome job making it! 🙂 Now let’s show you how to make your own! Start by cutting the egg carton bottom off…and then cutting the bottom part in half lengthwise.

If your egg carton is like mine, you will need to trim a bit off of the cut side to make the caterpillar sit flat. The edge right by my finger has been cut.

Next, draw a face on one end with a black marker.

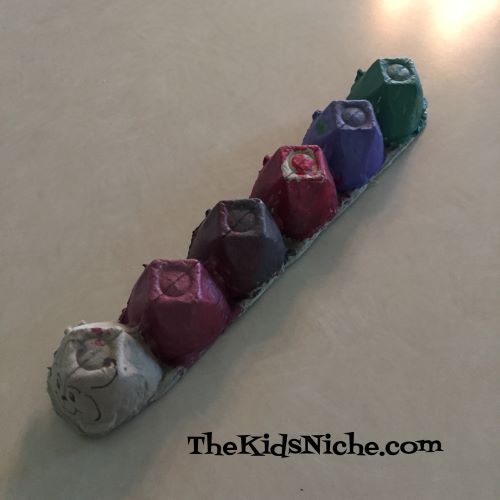
If you don’t have a pipe cleaner, you can also draw 2 lines for his antennae. Color each section using the color of your choice. You can use paint, crayons or markers.

Your caterpillar can be all one color or you can color each section a different color.

If you are using a pipe cleaner, poke 2 very small holes in the top of the head section for his antennae. I tried to use the point of a knife, but as you can see I ended up making a slice on one side instead of just a tiny hole. Oops! 😉

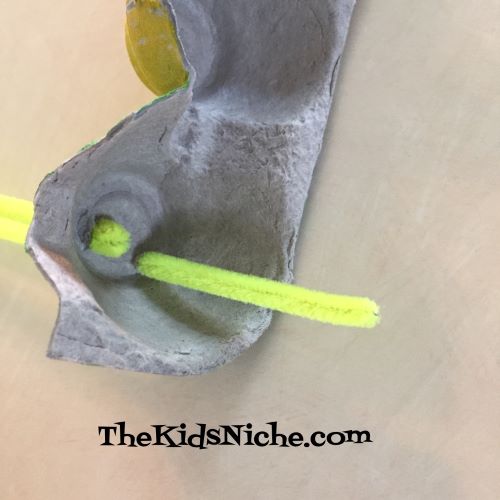
Cut the pipe cleaner in half and stick a piece into each hole. Push it through far enough that you can bend the end over a few times on the inside of the head to keep the antenna from pulling back out. Pull the pipe cleaner pieces back up so most of the piece is sticking up above the caterpillar’s head.
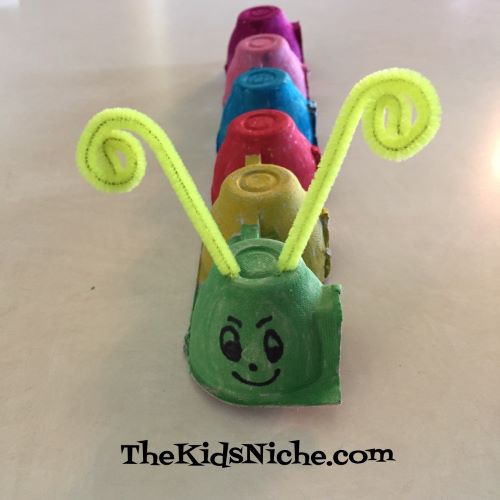
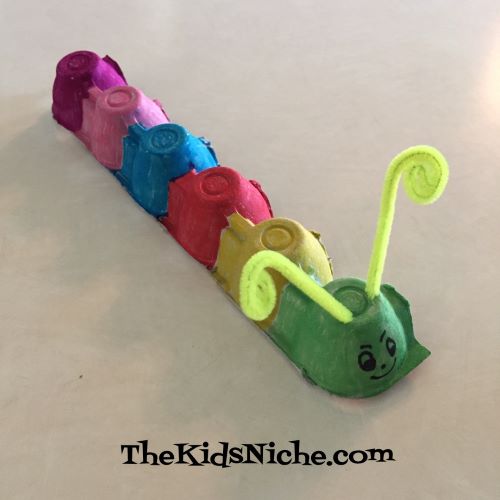
Roll the top end of each piece of pipe cleaner into a spiral and your caterpillar is done!
For an added bit of fun, you could read “The Very Hungry Caterpillar” by Eric Carle while your little one holds her/his caterpillar. 🙂

I would love to see your caterpillars if you would care to share your pictures with me!
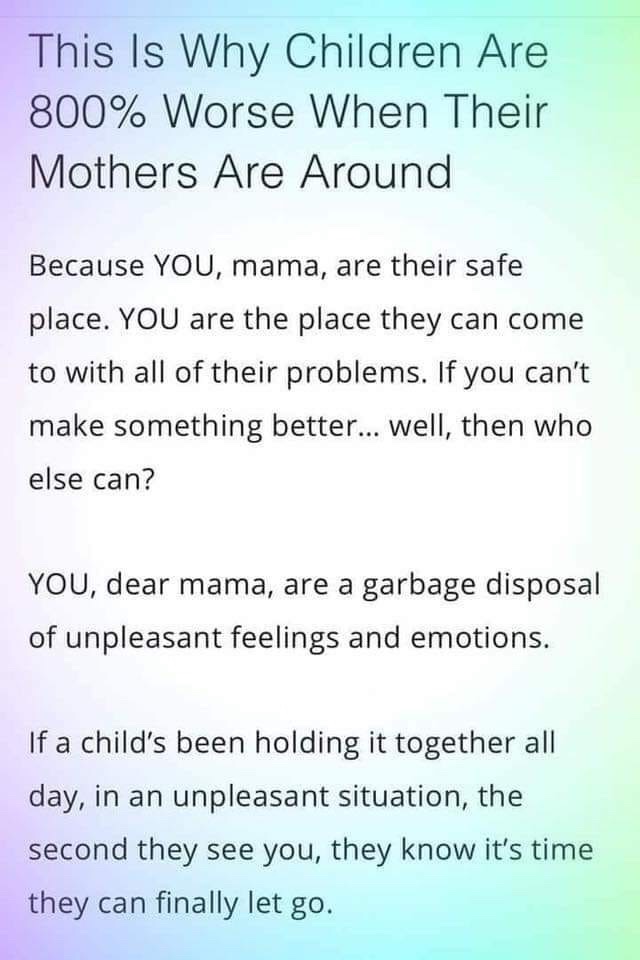
Are Your Kids Worse When You Are Around?
Here is one person’s take on it. What do you think?
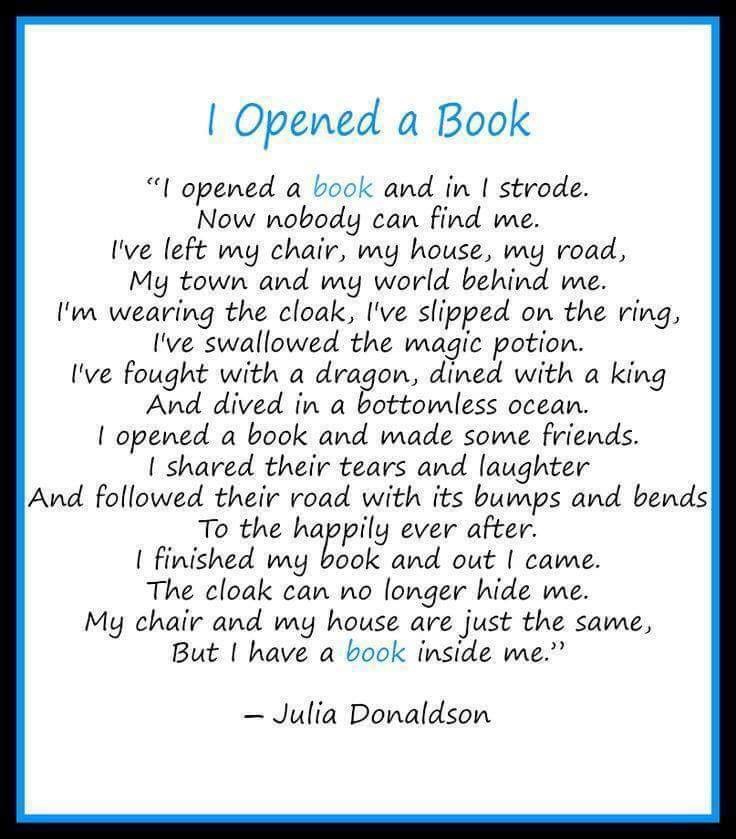
Travel with a Book
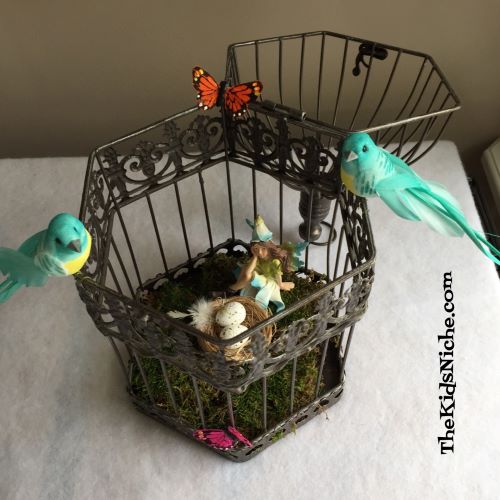
Birdcage Fairy Garden
Here’s another dirt-free fairy garden idea for you and your kids. I used a lot of the same supplies that I had from the indoor fairy garden I posted about yesterday. If you missed that post, here’s a link to it: https://thekidsniche.com/2019/06/05/an-indoor-fairy-garden/
For today’s project, I had a birdcage that I hadn’t decided what to do with it. Having the fairy garden supplies handy got me to thinking that it would make a cute display using them.

I put a little of the sheet moss in the bottom, but didn’t glue it down so I will be able to change it out later if I decide I want to.


I sat a bird’s nest in the bottom of the cage. And then using the wire connected to the bottom of the birds, I fastened the birds to the cage.

Here is a closer up picture so you can see the wire wrapped around the cage holding the birds in place.

Next, I added a fairy, sitting beside the bird nest. She looks like she is waiting for the eggs to hatch!

A couple of butterflies added also by twisting the attached wire around the cage, and voila! It’s done!

Another very quick, easy and super fun project! Nothing is glued down, so this project can easily be changed later. Hope you’ll give it a try! 🙂
An Indoor Fairy Garden
Do you or your kids love Fairy Gardens but don’t want the mess of dirt and keeping plants alive? Here’s a fun project you can do with your kids while keeping your hands free from mud and dirt! I love getting my hands in the dirt to plant flowers but not everyone does. This craft might be more for kids that are a little older or for younger ones with lots of supervision because of using a hot glue gun. I have been slowly collecting Fairy Garden pieces as I have seen them on sale because they can be a bit pricey in the stores. Some stores are having sales now so keep your eyes open for good deals!

Let’s look at what you might need…a container of some kind. This is a wooden box but you can use almost any type of container.

I got all my supplies out so I could pick which pieces I wanted to use. These are artificial succulents. Any small artificial plants will work. I cut these into smaller pieces so they would fit.

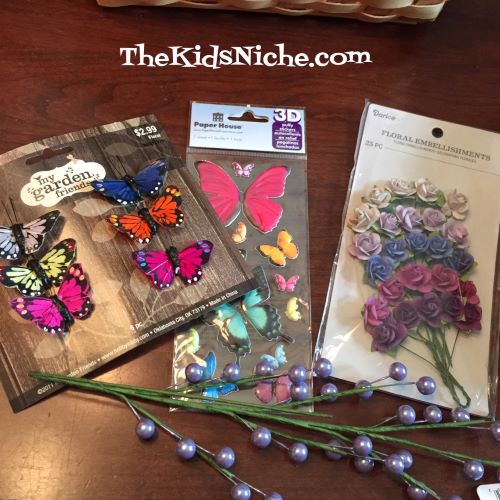
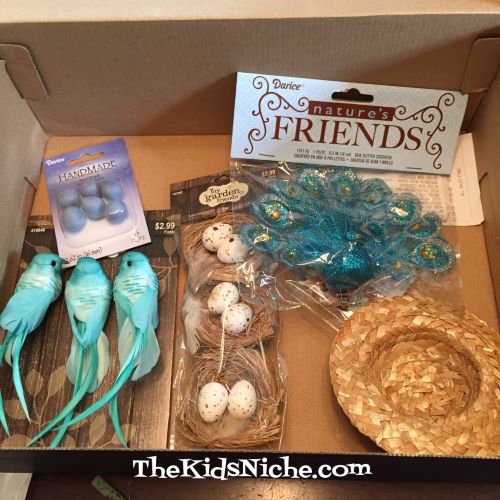
Some butterflies and flowers…
I used this sheet moss for the bottom of my container. You will need something similar.

And, of course, Fairy Garden figures…fairy prince, fairy princess, fairies, gnome, animals, etc.
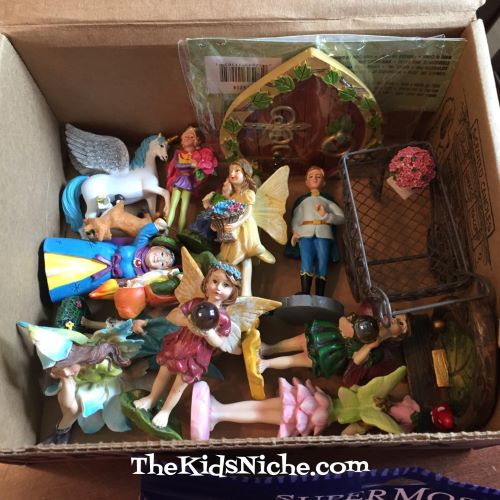
I used some birds and a bird nest and a little straw hat to put the bird nest in.
These are the figurines I decided to go with for this project.

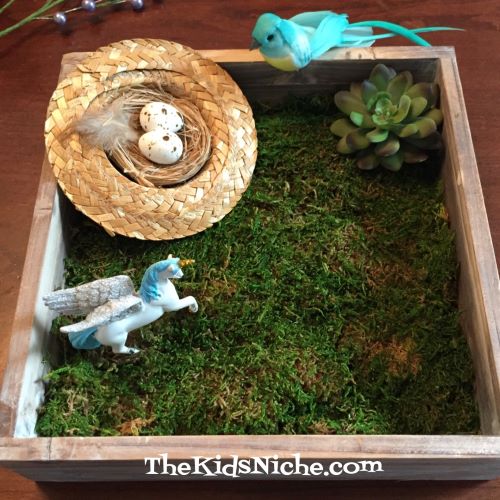
Let’s begin! 🙂 The first thing to do is to line your container with the sheet moss or whatever similar product you are using. Trim it to fit your container. Lift each corner and put some hot glue underneath it and then push it back into place.

Place your items in the container without gluing them down so you can move things around until you have them just the way you want them.

Once you decide where each item will go, you are ready to glue them in place.
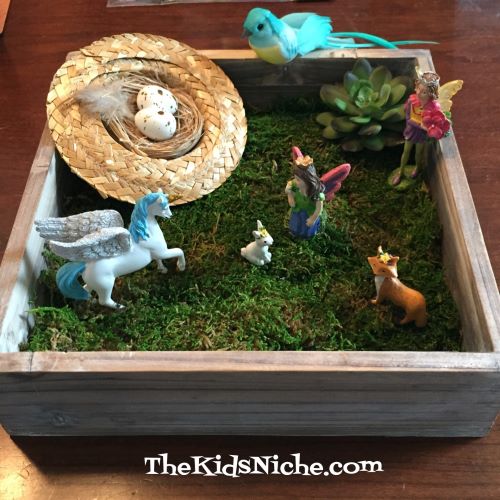
As I mentioned earlier, I used a hot glue gun to glue the bottom of each item in place.

Here’s my finished Indoor Fairy Garden! No watering needed! 😉 The view from above…

A front view…

Once you have all the items collected, putting the garden together goes fairly quickly. It’s so much fun! Now you and the kids can dream of stories about what is happening in your Fairy Garden!
Summer Reading Fun
Here’s a great summer reading challenge you and the kids can join! Let’s see if we work together if we can meet the goal! I signed up and I hope you will too! Everybody loves Dr. Seuss, right? 😃
Read Aloud Storytime
Reading aloud to children is such a wonderful thing to do for them! You can help them learn to love reading and to become better readers themselves. So I would like to make some videos for you and your kiddos of books being read out loud. Maybe it can be a special time to enjoy together or perhaps they can listen to a story while you finish making dinner or some other chore. So here is my first attempt at posting a video to YouTube. Today’s book is a wonderful story titled “Is Your Mama a Llama?” Hopefully this will work! 😃
https://www.youtube.com/channel/UCO6ZEzGxr3aIiAQNviprscw
Please “like” and subscribe if you enjoy this video! 😊
