Easter is coming closer! Are you looking for some fun Easter crafting ideas to do with your kids? Be sure to check out your nearest Dollar Tree store! Today I want to share with you an adorable little bunny kit I found there.
This is a very easy kit to put together with the kiddos. It’s made with foam stickers. Be sure to save the little picture that shows you where each piece belongs. Here’s what you’ll find inside:
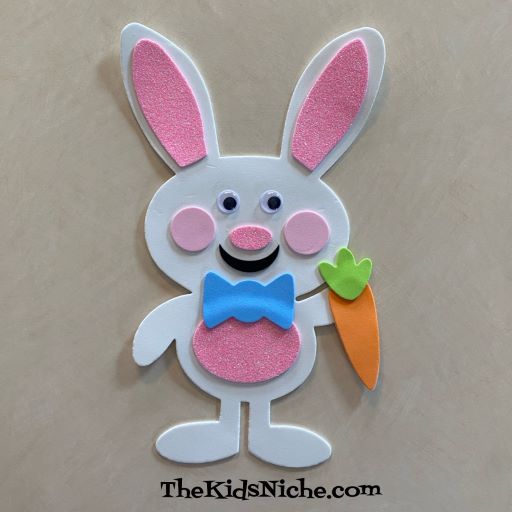
First I punched out the pink glittery pieces which are 2 pieces for the inside of the bunny’s ears, a little pink nose and a pink tummy. Then I added his eyes.
Next I did his mouth and bow tie.
It’s time to stick 2 pink spots on for his cheeks.
Now there’s just the 2 pieces of the carrot left to do. I suggest peeling off only the top part of the backing for the carrot so you won’t have an entire sticky piece hanging there.
Put the top of the carrot onto the bunny’s hand.
Lastly, put the green carrot top onto the top of the carrot. And you’ve finished your adorable bunny! 🙂
Find a cute place to put him to help decorate your house for Easter! 🙂 Hope you can find these bunnies at your local Dollar Tree store!
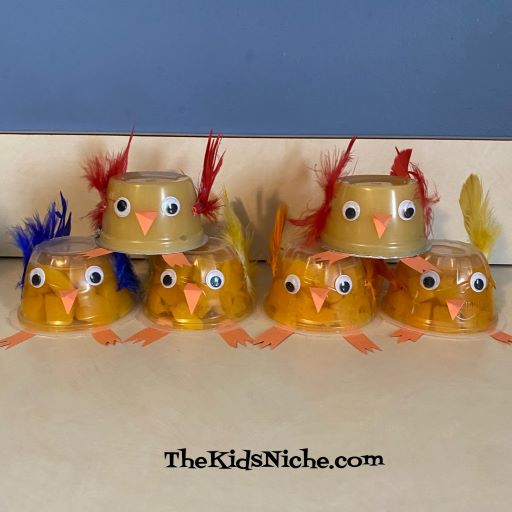
Hello again! The grandkids have gone back home with their mom and dad and it’s very quiet at our house again. We had a wonderful week of fun and just enjoying being together. 🙂 But now it’s time to share some more fun with you! One thing we made while the grandkids were here was some Easter chicks.
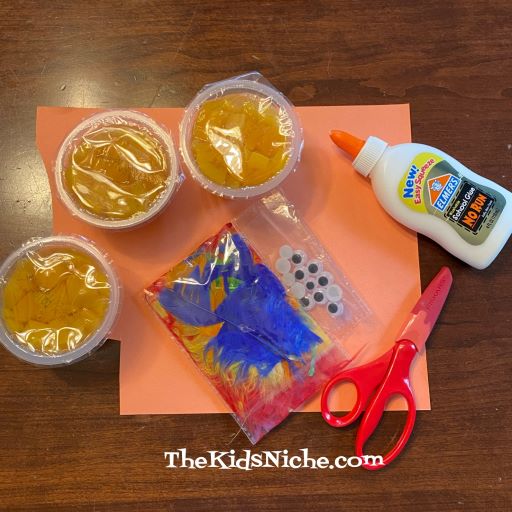
You will need some fruit cups, some orange construction paper, some fake feathers, some wiggly eyes, a pencil, scissors and glue. We found out by trial and error that using a glue gun works the best and keeps everything in place better than regular Elmer’s glue.
We used peach cups but mandarin oranges would be about the same color.
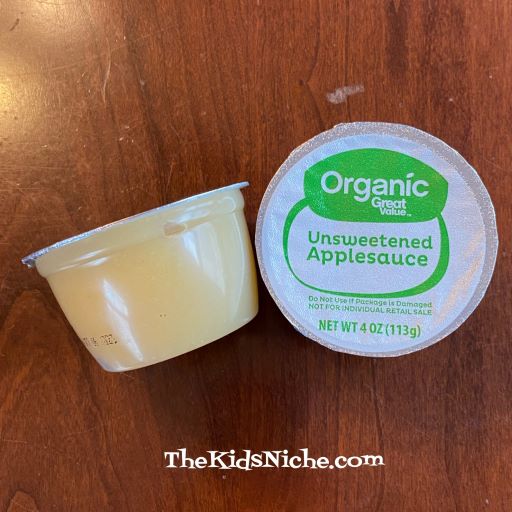
Applesauce cups work fine too and we did use a couple of those.
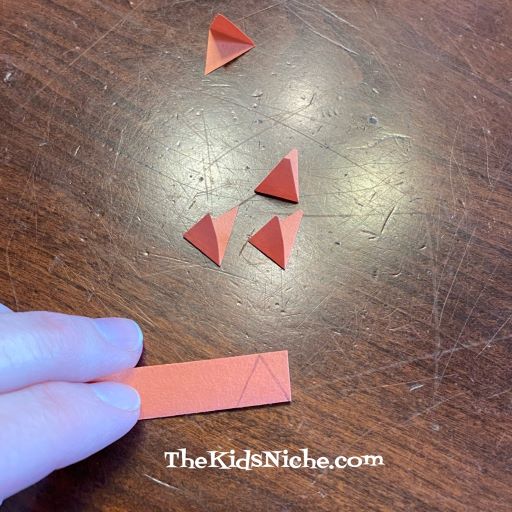
Fold a small piece of orange construction paper in half. Draw a triangle on the paper with one side of the triangle being on the fold. Cut out the triangle. This will be the chick’s beak.
Draw and cut out from the orange paper 2 chicken feet for each chick.
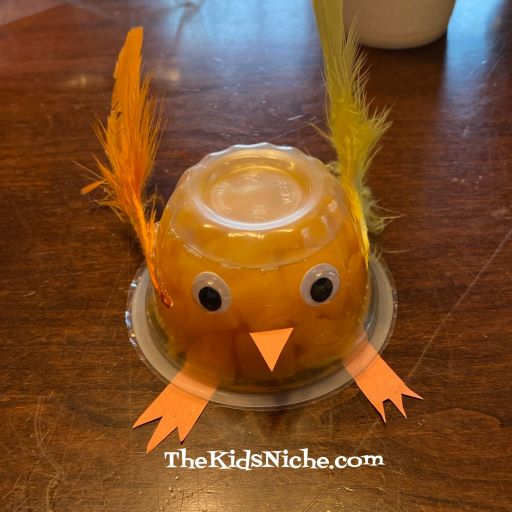
Glue the beak on the side of the fruit cup. And glue the 2 feet onto what is usually the top of the fruit cup. For this project, we’ll use the fruit cup upside down.
Glue on 2 wiggly eyes just above the beak. Glue a feather on each side of the fruit cup. You will definitely need to use a glue gun for the feathers.
That’s it! Your Easter chick is finished! 🙂
Whether you make one or a whole flock of chicks, I hope you will have fun making them! And have fun eating them! 😉
If you’re looking for a quick last minute craft for Easter, you might like these easy little Easter Boxes that are perfect for some small Easter treats.
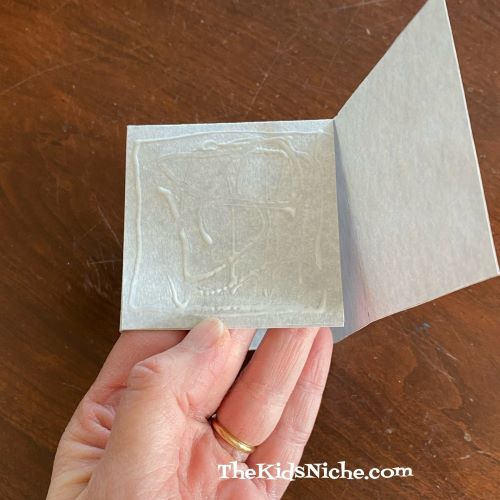
You’ll need a piece of cardstock or heavy paper, a ruler, pencil, glue and scissors. Start by making a square out of cardstock. I made mine 8 1/4″.
Draw lines to divide the square into equal thirds in both ways or into 9 equal squares. For the 8 1/4″ square you’ll need lines every 2 3/4″.
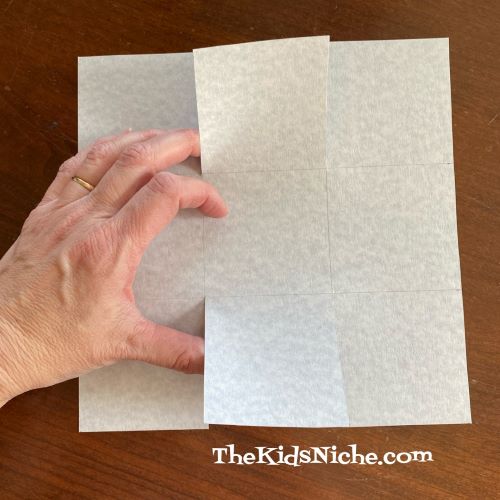
You will need to make 4 cuts. Choose a side to cut and then cut on both sides of the middle square on one outside row. Cut in only as far as the edge of the center square.
Make the same 2 cuts on the opposite side of your paper.
That is all the cutting you’ll need to do. Now place your ruler on the line under one row of squares.
Bend those 3 squares up against the edge of the ruler.
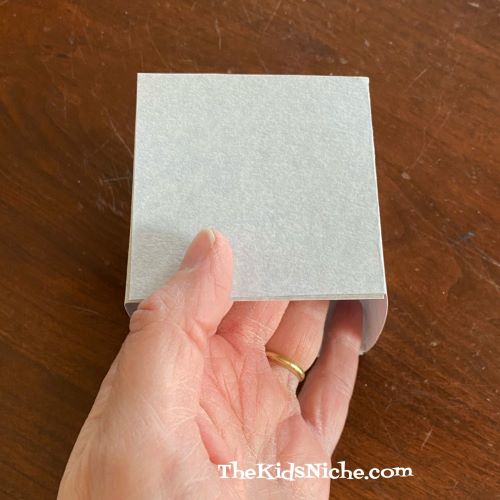
Remove the ruler and press each of those 3 squares flat and make a firm crease with your fingers.
Do this bending and creasing for all 4 sides of your paper.
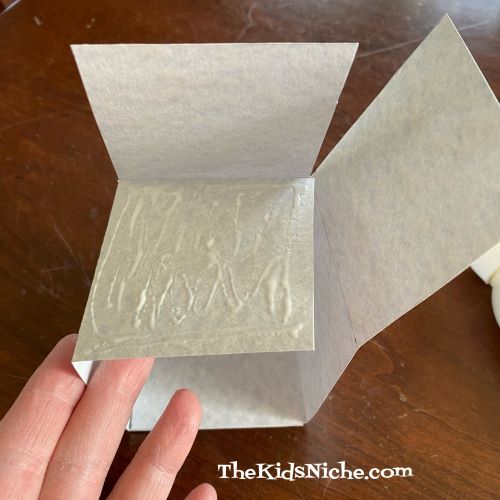
Next, fold in and bring together 3 flaps to form a side of the box.
Now we’ll glue them together. Fold in one flap and apply glue to the top side.
Lay the 2nd flap onto the glued section and press together.
Now apply glue to the top side.
And press down the 3rd flap. The edges of the box should match up evenly.
Repeat these steps for the other side of the box. Turn the box over so the freshly glued side is down against the table and press firmly with your fingers.
And there is your box! 🙂
You can use the box as it is now or you can add a handle to it. If you’d like to have a handle, cut a strip of cardstock for it. Mine was approximately 1 1/4″ wide by 8″ long.
Put glue on approximately 1/2″ of one ends of the handle strip. Place the glued section on the inside side of the box close to the top edge.
Bend the handle over and apply glue to the other end for approximately 1/2 ” Hold in place as the glue starts to set up.
Your Easter box is finished! Well done! Now let’s add some Easter grass…
And last, but not least, add some Easter goodies!
You can decorate your box or write the recipient’s name on it or leave it plain. I hope you’ve enjoyed making these cute Easter boxes with us! 🙂
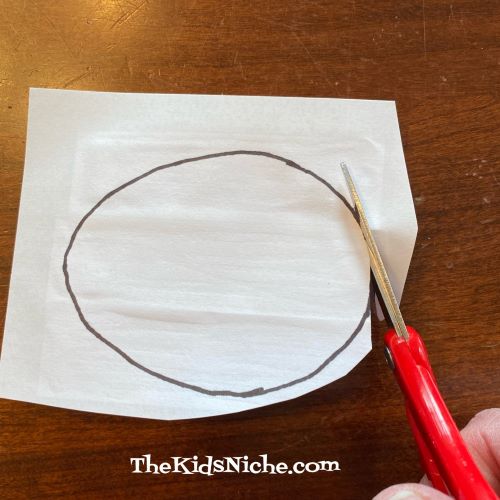
Let’s decorate some eggs today that are not the edible kind. 😉 There are many variations in how you can make these eggs, so read through this post and decide what supplies you’ll need. Let’s start out by drawing some egg shapes on a piece of white paper. You can draw them freehand or trace around an egg shaped cookie cutter. OR here is a link to a free page you can print out that has different templates for different sizes of eggs. (Thank-you to firstpalette.com!)
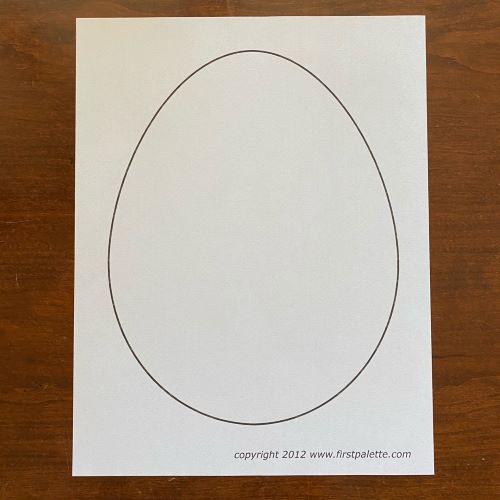
Here is the page from firstpalette.com that I chose to print out.
Hold your egg paper up to a window and trace the egg shapes on the back side of the paper.
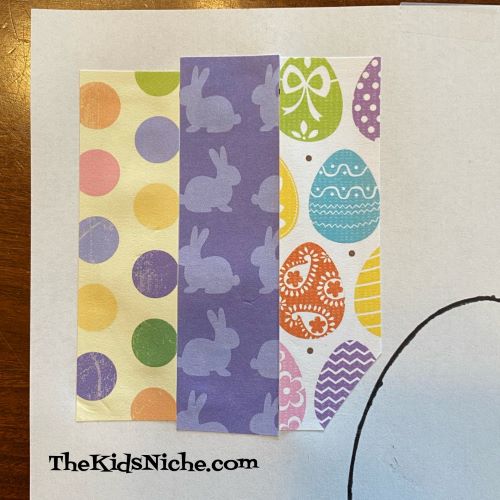
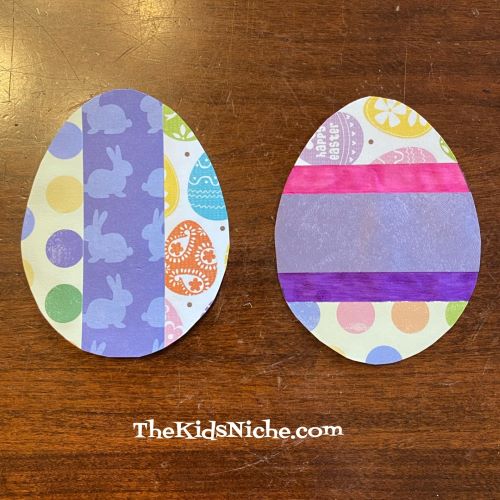
Using 1″ strips of scrapbook paper, glue the strips to the front side of the egg. Allow the strips to hang over outside the lines of the egg shape.
Be careful not to cover up any of the other egg shapes on your paper. Another way to use the strips of scrapbook paper is to glue the strips horizontally across the egg.
I left 2 spaces between the strips that I colored in using markers.
Cut the 2 egg shapes off the paper away from the other eggs.
Now turn the eggs over to the backside and cut out the egg shapes using the lines you drew on the back.
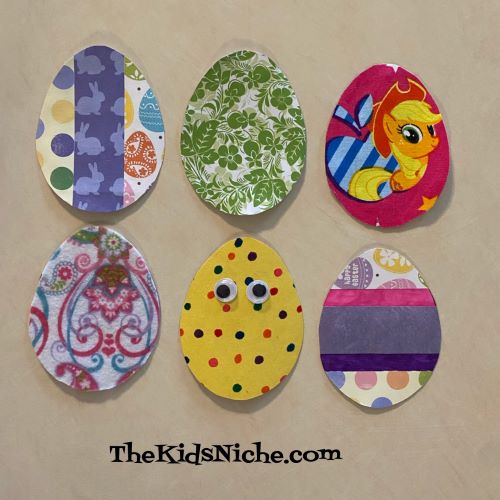
And there you have 2 adorable eggs! 🙂
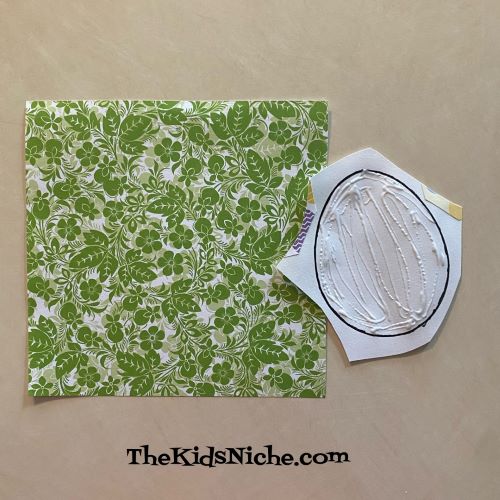
Go ahead and cut the rest of the egg shapes out, but leave a little extra paper around the outside edges of each shape. For the rest of the eggs we are making, we will put the glue on the FRONT side of the egg shape and then put it on the BACK side of the materials we’ll be using. Spread the glue right up to the edge of the egg shape.
For the next egg, I used a piece of origami paper.
Remember to glue the egg to the back side of the origami paper.
Use your scissors to cut out your egg, again using the line you drew on the back of the paper. Isn’t it pretty?
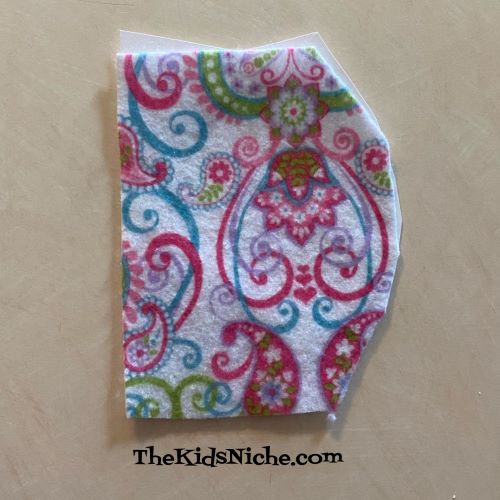
For egg #4 I used a piece of printed felt. Glue the egg to the back side of the felt. You can see the paper sticking out around the edges of the felt.
Go ahead and cut out your egg. You might need a pair of adult scissors to be able to cut through the felt. I love this egg because I love paisley!
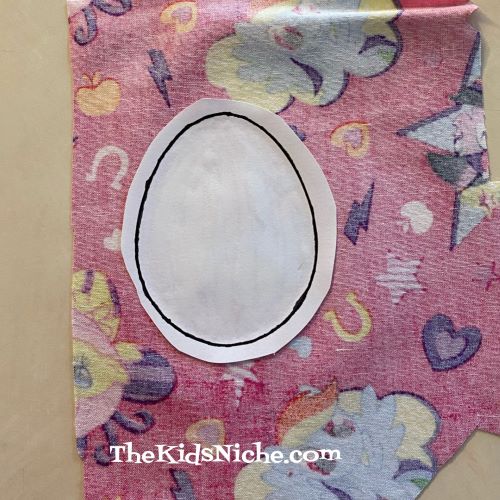
For the next egg, I used a scrap piece of leftover kids’ fabric.
Reminder…glue the egg to the backside of the fabric. Position the egg on the fabric so you get the part of the picture where you want it to be on the egg.
A word of caution…the glue may leak through the fabric some so its a good idea to have some wax paper underneath of it. Cut your egg out. 🙂
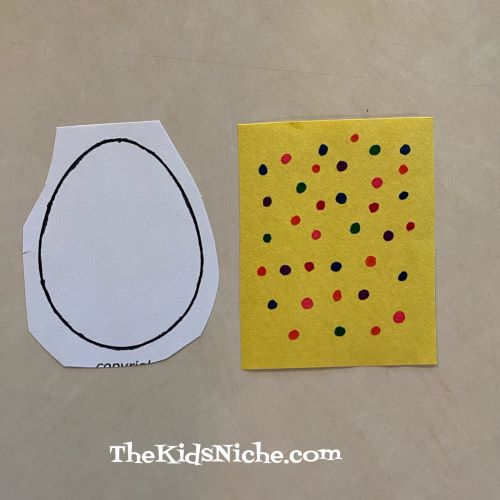
Just one more egg to show you. For this egg I used yellow construction paper.
Before gluing the egg to the construction paper, I used markers to color little dots all over the paper.
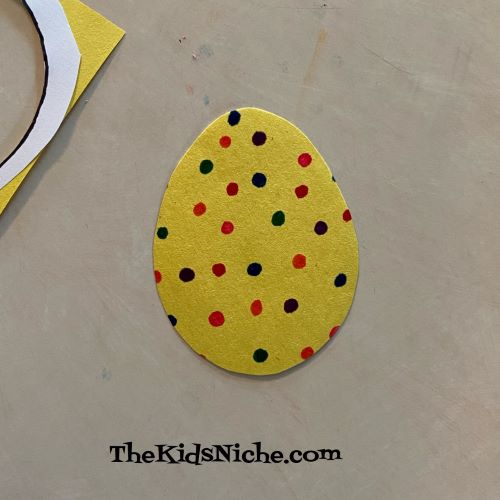
Then I glued it on and cut it out.
For some extra fun, I added a pair of wiggly eyes. 🙂
Which egg is your favorite? Use your imagination and see what other supplies you might have around your house that you can use to make beautiful Easter eggs! Enjoy!
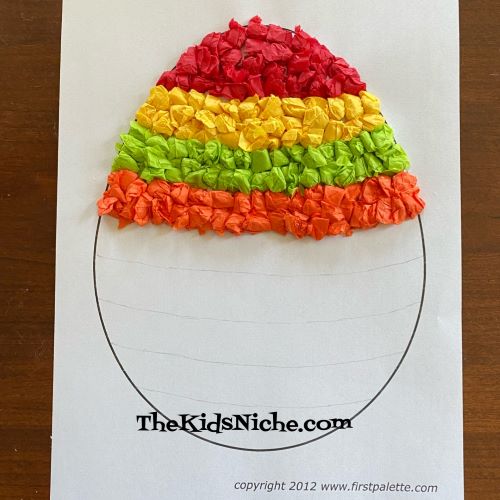
Hoppy Monday! (It’s almost Easter so I just had to use Hoppy for Happy.) 😉 It’s that time of year again when Easter crafts are all the rage! So here’s a fun one that turns out looking really cool! (In my humble opinion, of course.) Don’t you think it looks pretty neat?
You’ll need a few colors of tissue paper, a piece of white paper, a pencil and glue. A computer and a printer will make it easier but isn’t necessary. To begin…draw the shape of an egg on the piece of white paper. Or do like I did and go to: https://www.firstpalette.com/printable/easter-eggs.html
Using your pencil, lightly draw a few lines on your egg to divide it into a few sections. It might be a little hard to see the lines in my picture.
Pick your first color of tissue paper and tear a few strips. They don’t need to be perfect or exactly the same size.
Next tear the strips into smallish pieces. Again, no need for perfection here!
Apply some glue to a small area of the first section of your egg.
Take one of the ripped pieces of tissue paper and wad it up into a little ball. Yep, squish it up! Then press it down into the glue. This picture is 3 balls.
Continue making paper balls and gluing them onto the egg shape. Press them close together so there isn’t much of the white paper showing through. I changed colors for each section but you can make your design however you like. Here is the first section done in red.
Next I did yellow.
Then light green…
Orange…
Light blue…
Bright pink…
Dark blue and yellow… (I forgot to take a picture after the blue section! Haha!)
And finally red!
Doesn’t it look great? You can make lots of different colors and designs for as many eggs as you want to make. Have fun!