
Let’s decorate some eggs today that are not the edible kind. 😉 There are many variations in how you can make these eggs, so read through this post and decide what supplies you’ll need. Let’s start out by drawing some egg shapes on a piece of white paper. You can draw them freehand or trace around an egg shaped cookie cutter. OR here is a link to a free page you can print out that has different templates for different sizes of eggs. (Thank-you to firstpalette.com!)
https://www.firstpalette.com/printable/easter-eggs.html
Ready? Let’s get started creating!
Here is the page from firstpalette.com that I chose to print out.

Hold your egg paper up to a window and trace the egg shapes on the back side of the paper.

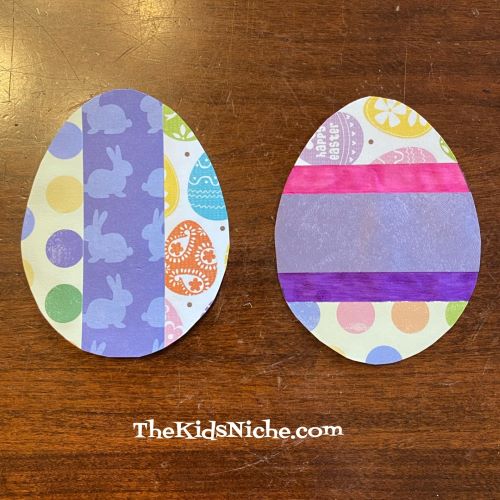
Using 1″ strips of scrapbook paper, glue the strips to the front side of the egg. Allow the strips to hang over outside the lines of the egg shape.

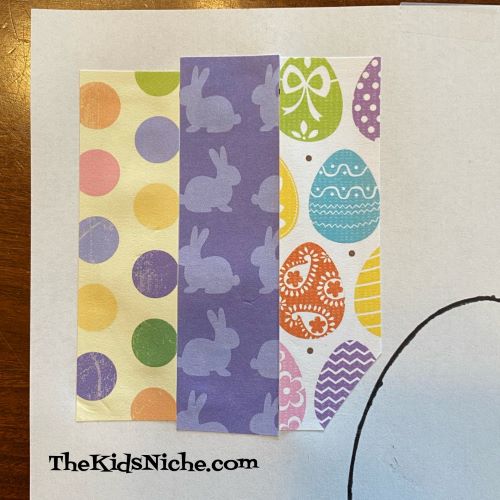
Be careful not to cover up any of the other egg shapes on your paper. Another way to use the strips of scrapbook paper is to glue the strips horizontally across the egg.

I left 2 spaces between the strips that I colored in using markers.

Cut the 2 egg shapes off the paper away from the other eggs.

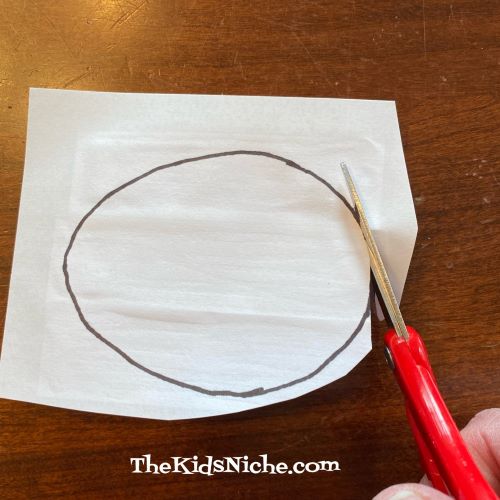
Now turn the eggs over to the backside and cut out the egg shapes using the lines you drew on the back.
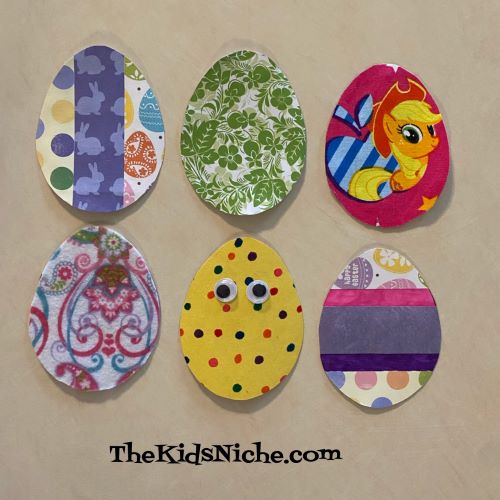
And there you have 2 adorable eggs! 🙂
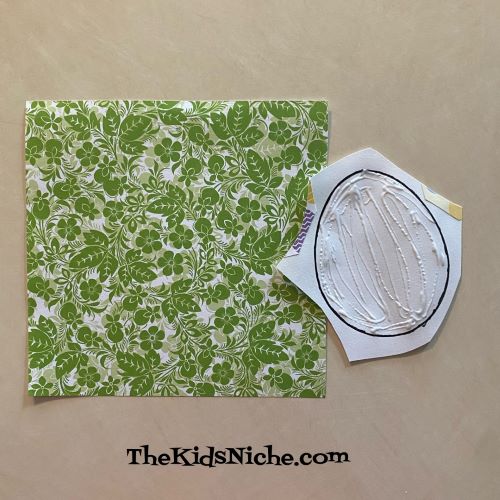
Go ahead and cut the rest of the egg shapes out, but leave a little extra paper around the outside edges of each shape. For the rest of the eggs we are making, we will put the glue on the FRONT side of the egg shape and then put it on the BACK side of the materials we’ll be using. Spread the glue right up to the edge of the egg shape.

For the next egg, I used a piece of origami paper.
Remember to glue the egg to the back side of the origami paper.

Use your scissors to cut out your egg, again using the line you drew on the back of the paper. Isn’t it pretty?

For egg #4 I used a piece of printed felt. Glue the egg to the back side of the felt. You can see the paper sticking out around the edges of the felt.
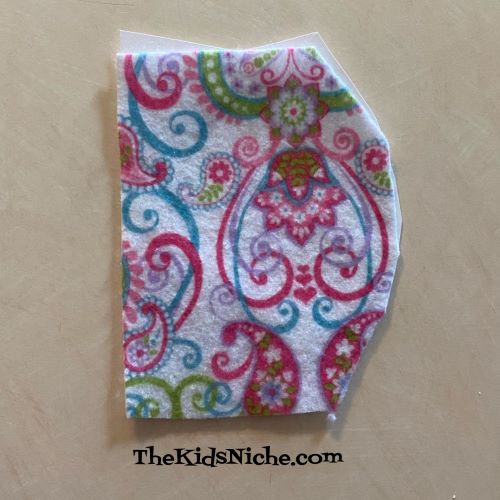
Go ahead and cut out your egg. You might need a pair of adult scissors to be able to cut through the felt. I love this egg because I love paisley!

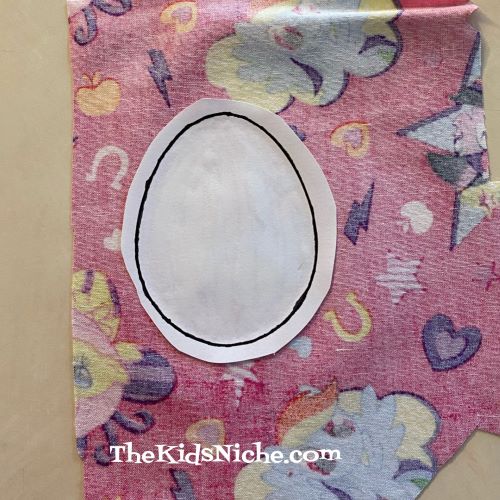
For the next egg, I used a scrap piece of leftover kids’ fabric.

Reminder…glue the egg to the backside of the fabric. Position the egg on the fabric so you get the part of the picture where you want it to be on the egg.
A word of caution…the glue may leak through the fabric some so its a good idea to have some wax paper underneath of it. Cut your egg out. 🙂

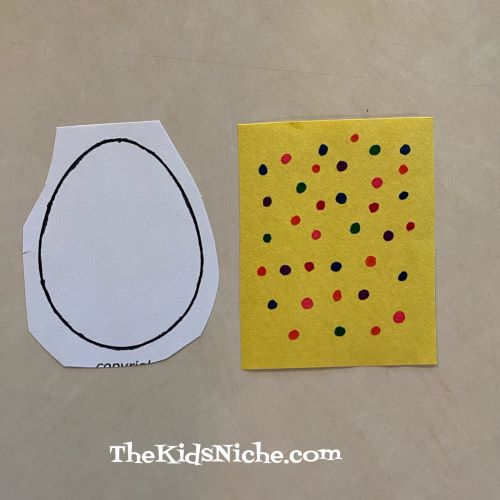
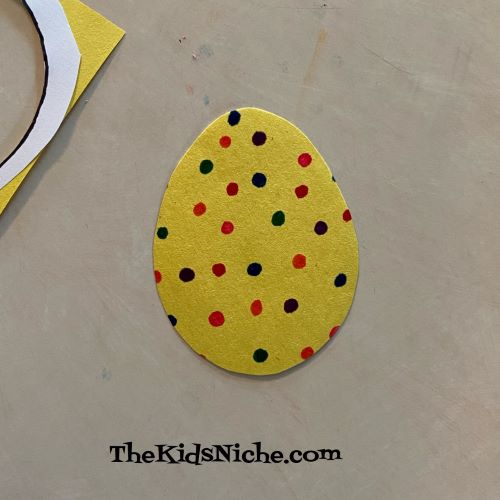
Just one more egg to show you. For this egg I used yellow construction paper.

Before gluing the egg to the construction paper, I used markers to color little dots all over the paper.
Then I glued it on and cut it out.
For some extra fun, I added a pair of wiggly eyes. 🙂

Which egg is your favorite? Use your imagination and see what other supplies you might have around your house that you can use to make beautiful Easter eggs! Enjoy!

