I’ve seen the suggestion floating around the internet to color eggs using Cool Whip whipped topping and food coloring, so I had to try it out. 😉 (I may have shiny object syndrome or something) Here’s how it went for me…
You will need a container of Cool Whip whipped topping, white hard boiled eggs and liquid food coloring. And a dish to do your coloring in…I used a cookie sheet.
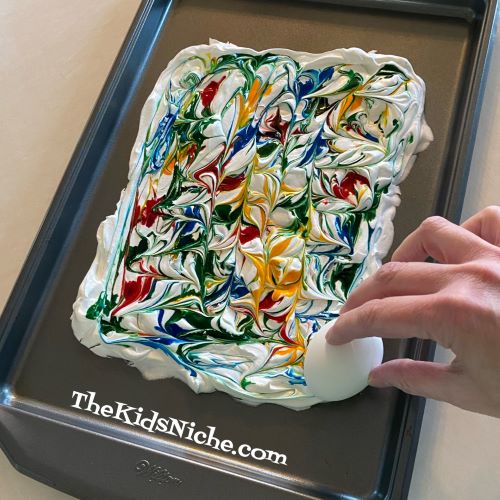
Thaw the Cool Whip in the refrigerator. Then spread a bunch on the cookie sheet or dish.
Put drops of different colored liquid food coloring all around the Cool Whip.
Using a toothpick…or other small utensil…swirl the colors throughout the Cool Whip.
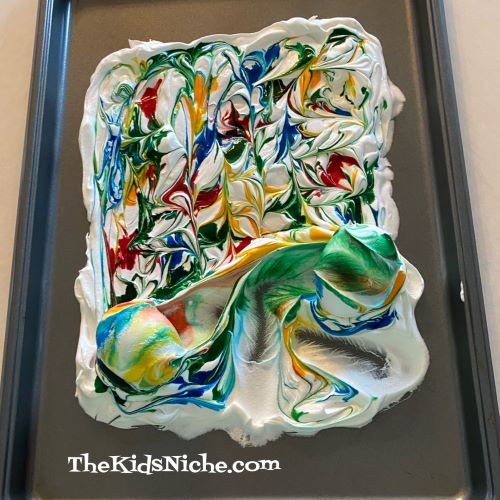
Roll the white hard boiled eggs through the colored Cool Whip and let the eggs sit on the cookie sheet. A word of warning…your fingers are going to be just as colorful as the eggs! 😉
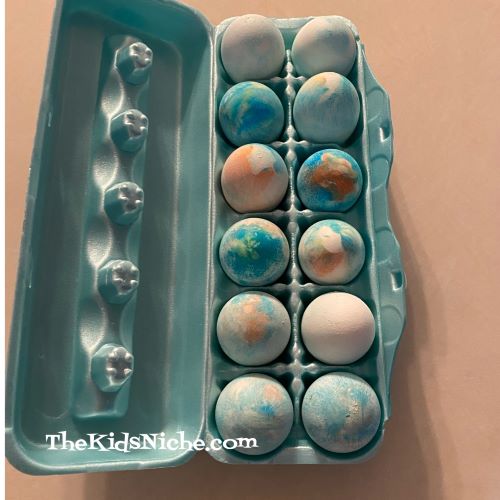
Let the eggs sit for 10 to 15 minutes. Then rinse in water. Sit the eggs on a paper towel to dry. Here’s a look at my eggs after they were dry.
The eggs looked neat but most of the color was on the light side. (Maybe I did something wrong?) I had one egg in particular that didn’t take on much color even though I did it twice. Overall this was a fun process so you might like to give it a go too. 🙂
Easter is only a few days away now! Are you looking for another simple craft to do with the kids? Here’s a great one that I shared last year, but it’s so pretty it’s bears repeating! 🙂
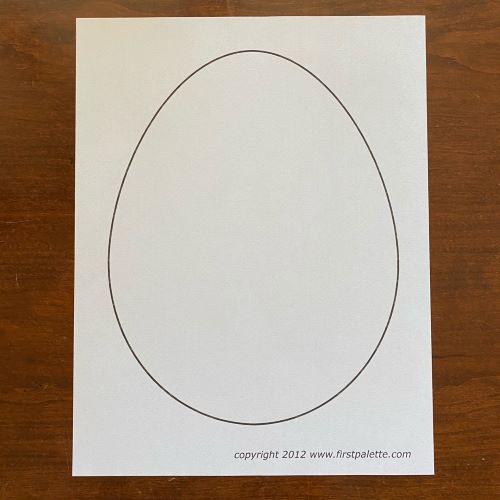
You’ll need a few colors of tissue paper, a piece of white paper, a pencil and glue. A computer and a printer will make it easier but isn’t necessary. To begin…draw the shape of an egg on the piece of white paper. Or do like I did and go to:
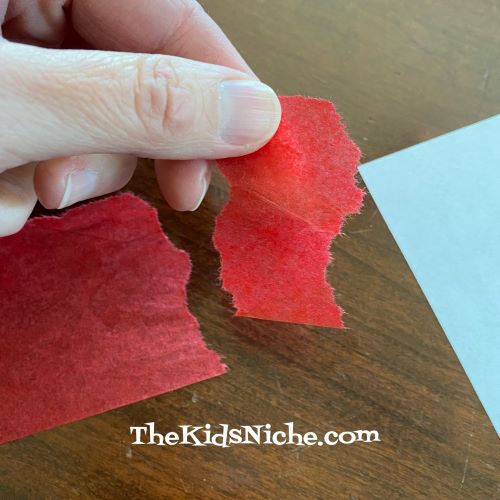
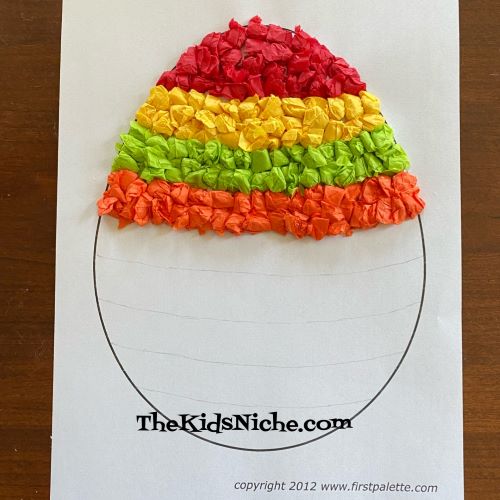
Draw some light lines on your egg to divide it into sections. Begin with your first color of tissue paper and tear it into strips. They DON’T need to be perfect or the exact same size.
Next tear the strips into smallish pieces. Again, no need for perfection here!
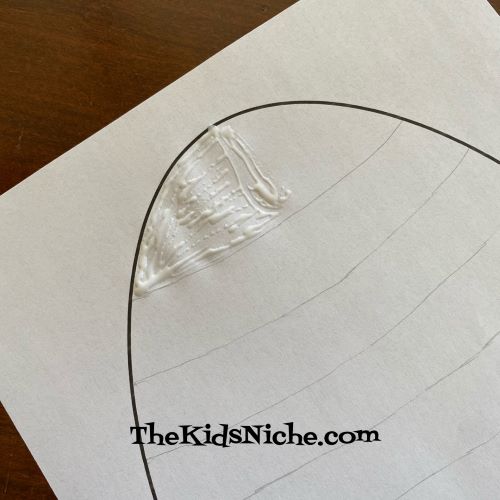
Apply some glue to a small area of the first section of your egg.
Take one of the ripped pieces of tissue paper and wad it up into a little ball. Yep, squish it up! Then press it down into the glue. This picture is 3 balls.
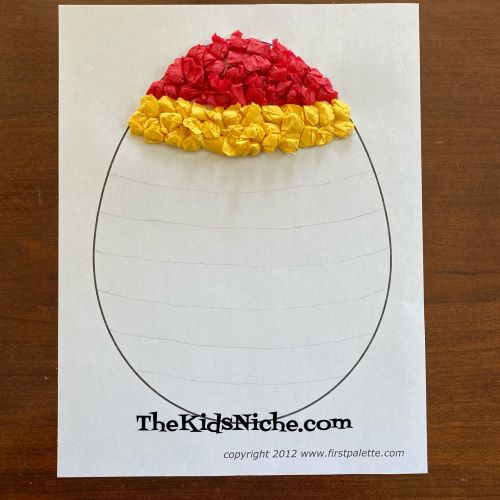
Continue making paper balls and gluing them onto the egg shape. Press them close together so there isn’t much of the white paper showing through. I changed colors for each section but you can make your design however you like. Here is the first section done in red.
Then I did a section in yellow.
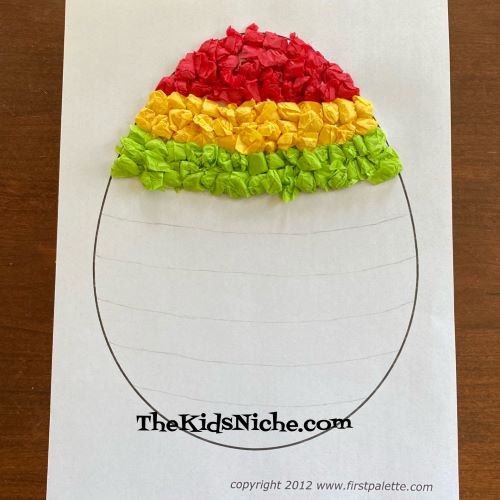
Next was light green.
Orange…
Light blue…
Pink…
Darker blue and yellow…
And finally red again to finish. 🙂
Doesn’t it look great? You can make lots of different colors and designs for as many eggs as you want to make. Have fun! 🙂
Hello, everyone! It’s been one of those weeks today but I wanted to at least share a quick Easter egg hunt idea that I came across.
Another idea for keeping the egg hunt more evenly divided is to write names or the first letter of the child’s name on each egg. For instance, all of Bradyn’s eggs would have a “B” on them. The kids can only pick up the eggs that have their letter on them. We’ve used this idea for a couple of years now and it works pretty well. 🙂
Hope those suggestions help you! I’m off and running once again…😉
I know that the Easter holiday isn’t until April, but I saw some fun Easter items at a Dollar Tree store today. If any of these look good to you, don’t wait too long to head to your local Dollar Tree store because they tend to sell out of items fairly quickly! The Dollar Tree stores close to us have increased their prices to $1.25 for each item. But that is still much cheaper than other stores.
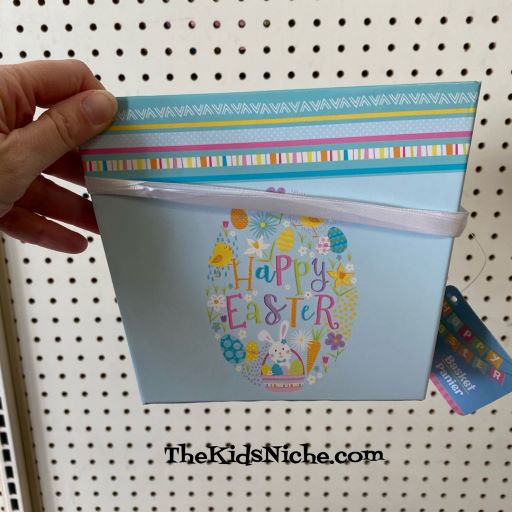
Let’s start with this adorable Easter box. They had 2 sizes of boxes at our Dollar Tree store, but items can differ from one store to another. This is a square box that is open on the top.
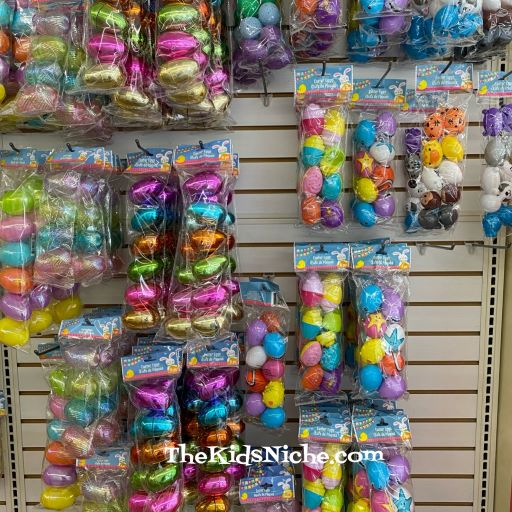
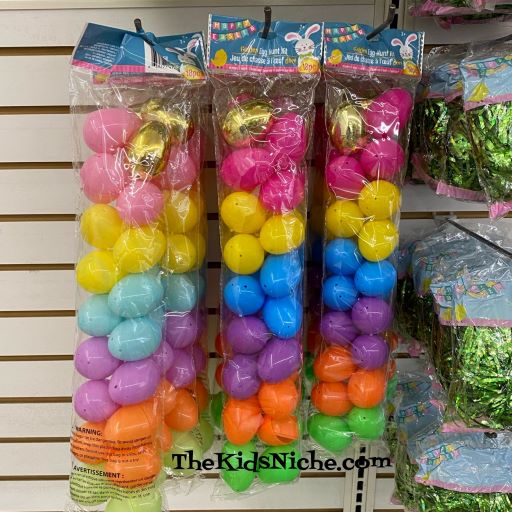
They also have a TON of plastic Easter eggs!! The packages go from as few as 6 large eggs to as many as 18 smaller eggs.
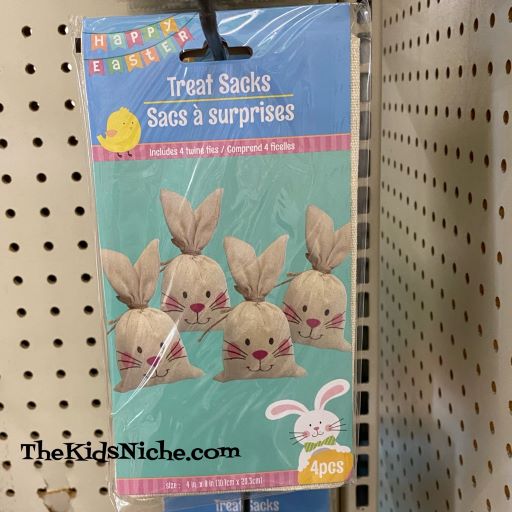
Here are some cute bunny treat bags! There are 4 in a package.
This is what they look like. They are made from cloth and I plan to put Easter treats inside a plastic bag before I put them inside of the bunny bags.
I found some adorable stuffed animals! 🙂
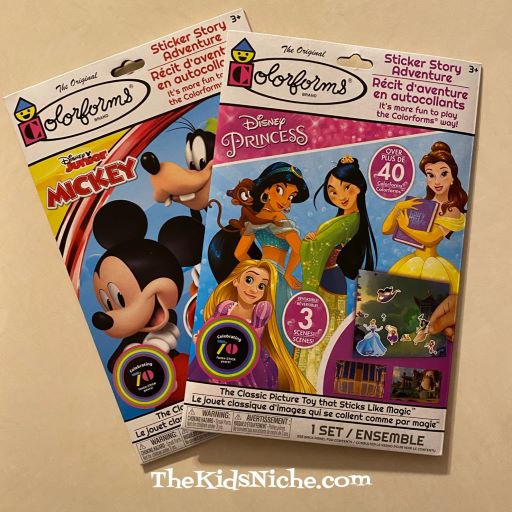
Colorforms Sticker Story Adventure boards make for some great quiet time play!
And, of course, there is a LOT of candy! SweetTarts Jelly Beans looked pretty yummy to me.
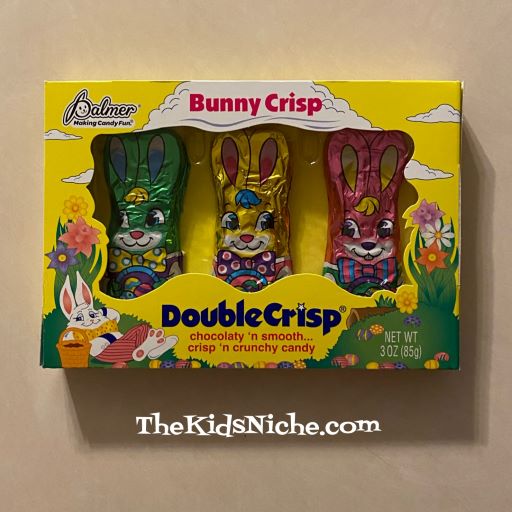
Don’t forget chocolate bunnies!
I hope this will be some help for you as you plan your Easter shopping list of things to get for the kiddos’ Easter baskets! 🙂
Let’s decorate some eggs today that are not the edible kind. 😉 There are many variations in how you can make these eggs, so read through this post and decide what supplies you’ll need. Let’s start out by drawing some egg shapes on a piece of white paper. You can draw them freehand or trace around an egg shaped cookie cutter. OR here is a link to a free page you can print out that has different templates for different sizes of eggs. (Thank-you to firstpalette.com!)
Here is the page from firstpalette.com that I chose to print out.
Hold your egg paper up to a window and trace the egg shapes on the back side of the paper.
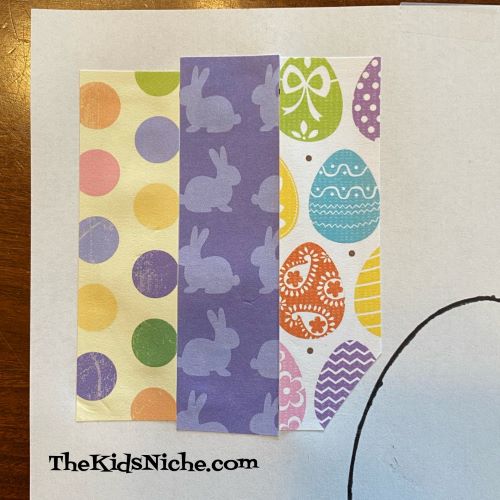
Using 1″ strips of scrapbook paper, glue the strips to the front side of the egg. Allow the strips to hang over outside the lines of the egg shape.
Be careful not to cover up any of the other egg shapes on your paper. Another way to use the strips of scrapbook paper is to glue the strips horizontally across the egg.
I left 2 spaces between the strips that I colored in using markers.
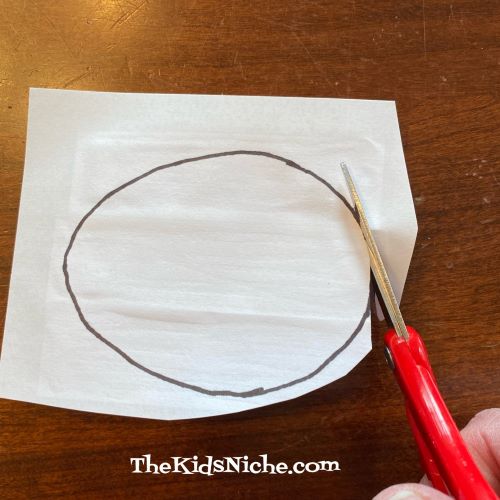
Cut the 2 egg shapes off the paper away from the other eggs.
Now turn the eggs over to the backside and cut out the egg shapes using the lines you drew on the back.
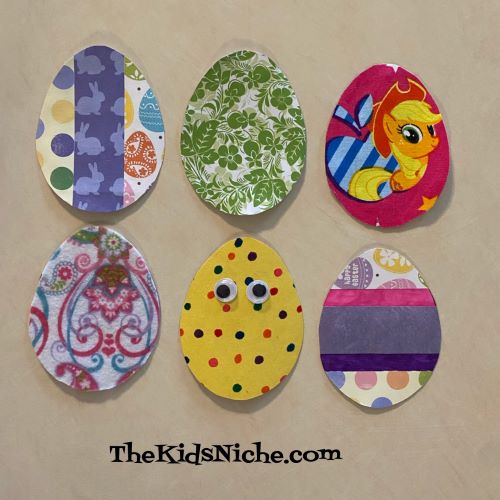
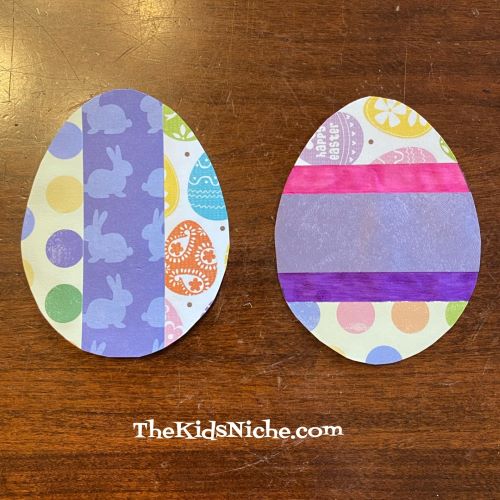
And there you have 2 adorable eggs! 🙂
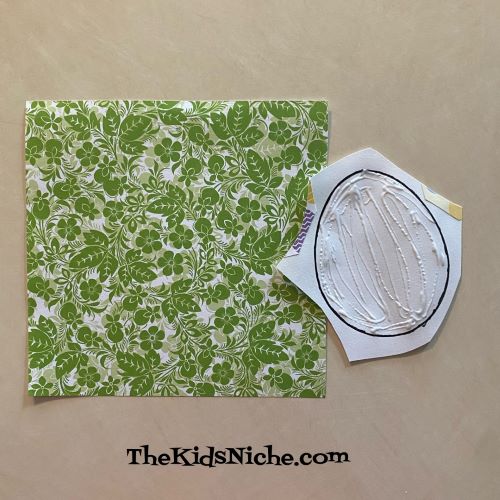
Go ahead and cut the rest of the egg shapes out, but leave a little extra paper around the outside edges of each shape. For the rest of the eggs we are making, we will put the glue on the FRONT side of the egg shape and then put it on the BACK side of the materials we’ll be using. Spread the glue right up to the edge of the egg shape.
For the next egg, I used a piece of origami paper.
Remember to glue the egg to the back side of the origami paper.
Use your scissors to cut out your egg, again using the line you drew on the back of the paper. Isn’t it pretty?
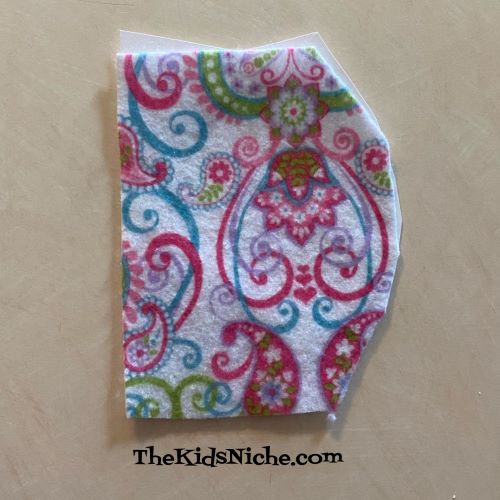
For egg #4 I used a piece of printed felt. Glue the egg to the back side of the felt. You can see the paper sticking out around the edges of the felt.
Go ahead and cut out your egg. You might need a pair of adult scissors to be able to cut through the felt. I love this egg because I love paisley!
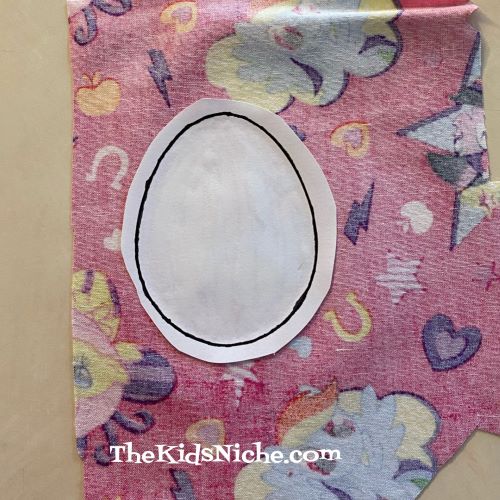
For the next egg, I used a scrap piece of leftover kids’ fabric.
Reminder…glue the egg to the backside of the fabric. Position the egg on the fabric so you get the part of the picture where you want it to be on the egg.
A word of caution…the glue may leak through the fabric some so its a good idea to have some wax paper underneath of it. Cut your egg out. 🙂
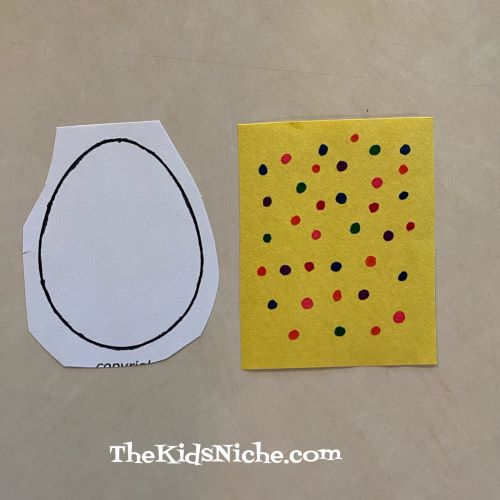
Just one more egg to show you. For this egg I used yellow construction paper.
Before gluing the egg to the construction paper, I used markers to color little dots all over the paper.
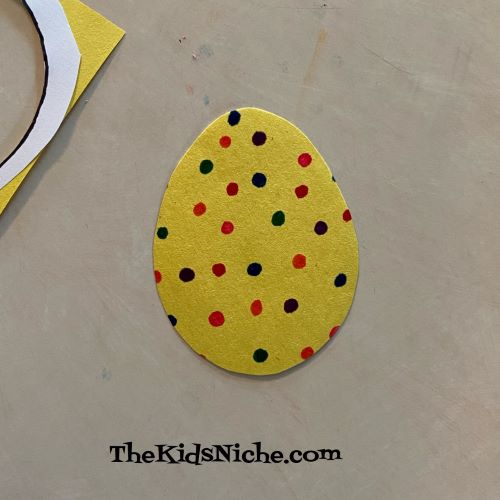
Then I glued it on and cut it out.
For some extra fun, I added a pair of wiggly eyes. 🙂
Which egg is your favorite? Use your imagination and see what other supplies you might have around your house that you can use to make beautiful Easter eggs! Enjoy!
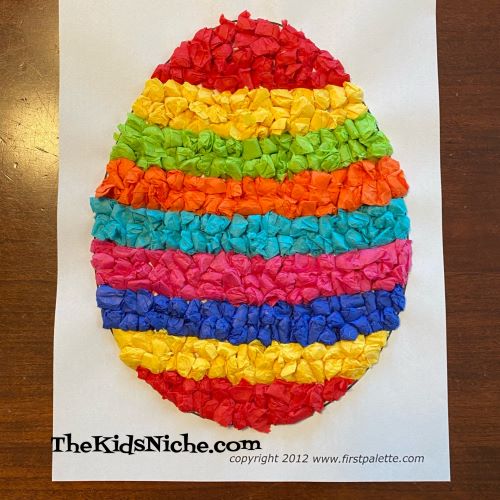
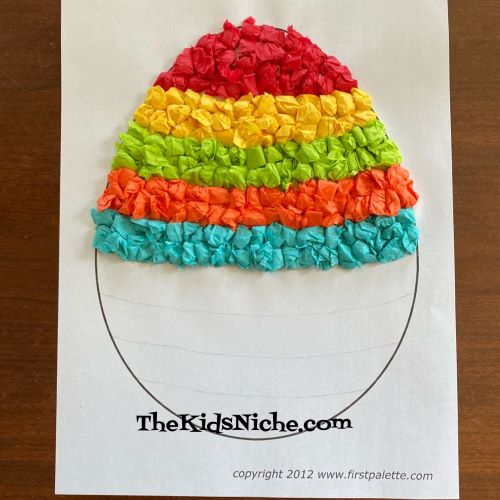
Hoppy Monday! (It’s almost Easter so I just had to use Hoppy for Happy.) 😉 It’s that time of year again when Easter crafts are all the rage! So here’s a fun one that turns out looking really cool! (In my humble opinion, of course.) Don’t you think it looks pretty neat?
You’ll need a few colors of tissue paper, a piece of white paper, a pencil and glue. A computer and a printer will make it easier but isn’t necessary. To begin…draw the shape of an egg on the piece of white paper. Or do like I did and go to: https://www.firstpalette.com/printable/easter-eggs.html
Using your pencil, lightly draw a few lines on your egg to divide it into a few sections. It might be a little hard to see the lines in my picture.
Pick your first color of tissue paper and tear a few strips. They don’t need to be perfect or exactly the same size.
Next tear the strips into smallish pieces. Again, no need for perfection here!
Apply some glue to a small area of the first section of your egg.
Take one of the ripped pieces of tissue paper and wad it up into a little ball. Yep, squish it up! Then press it down into the glue. This picture is 3 balls.
Continue making paper balls and gluing them onto the egg shape. Press them close together so there isn’t much of the white paper showing through. I changed colors for each section but you can make your design however you like. Here is the first section done in red.
Next I did yellow.
Then light green…
Orange…
Light blue…
Bright pink…
Dark blue and yellow… (I forgot to take a picture after the blue section! Haha!)
And finally red!
Doesn’t it look great? You can make lots of different colors and designs for as many eggs as you want to make. Have fun!