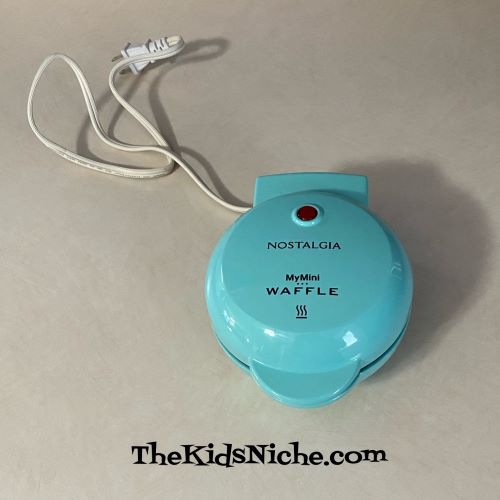
Have you ever heard of a chaffle? Well, you know what a waffle is, right? Chaffles are made with cheese and they are quite yummy! So let’s take a look at how I made some chaffles for my husband and I. First off, I used my mini waffle maker that I found at WalMart for around $10.
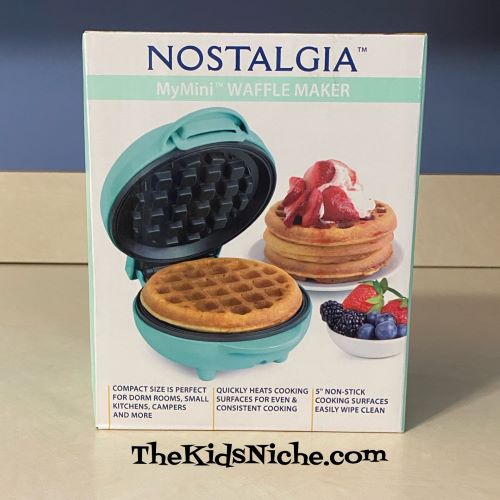
It’s really cute and just the right size for 1 or 2 people.
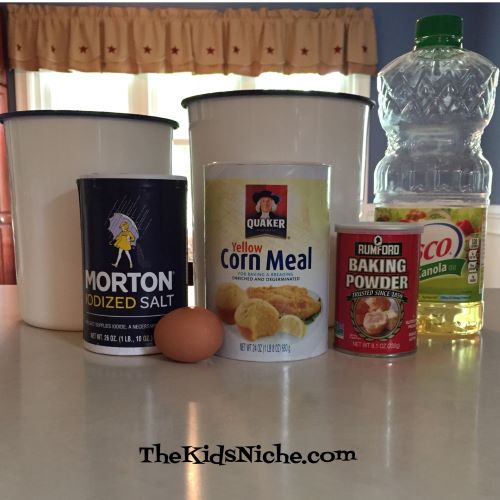
There are lots of different chaffle recipes floating around out there but this is how I did it. You’ll need 2 Tablespoons of almond flour, 1/2 Cup of grated cheese, 1 egg and 1/2 teaspoon of baking powder. These can be made gluten free. 🙂

I made 2 different batches of batter. For the first batch I used cheddar cheese and for the second batch I used mozzarella cheese. Both were quite tasty! 🙂 Put the ingredients into a small bowl.
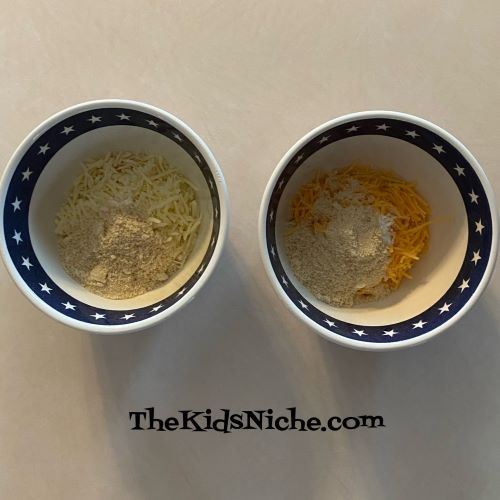
Stir until all ingredients are moistened. This is the cheddar mixture.

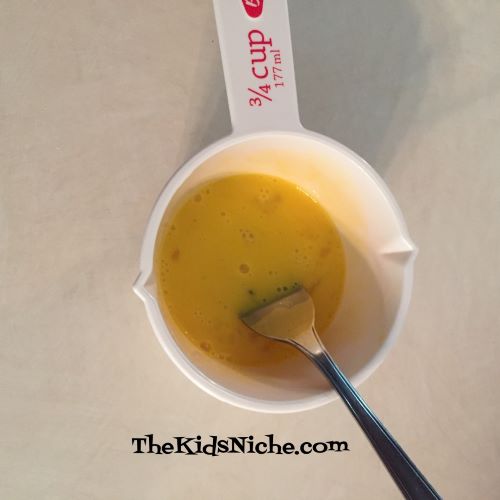
And here is the mozzarella mixture. The egg I used for the mozzarella batch was larger and so the ingredients were more “soupy”.

Preheat your mini waffle iron according to the manufacturers directions. While it’s heating, make sure any assistants are ready to help you. This is my assistant, Rusty. 😉

When the waffle iron is hot, spoon some batter onto the waffle iron and close the lid. Make sure not to overfill the waffle iron or the batter will run out.

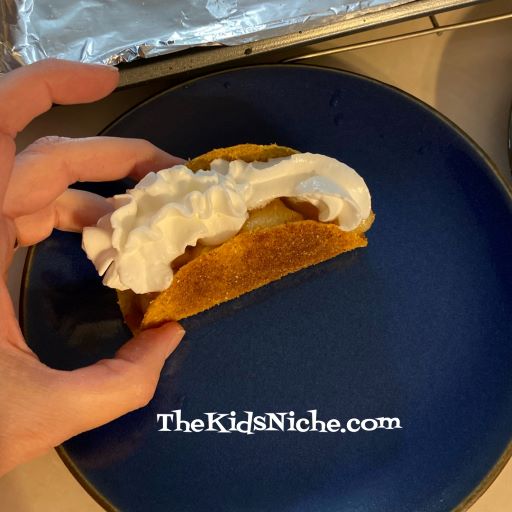
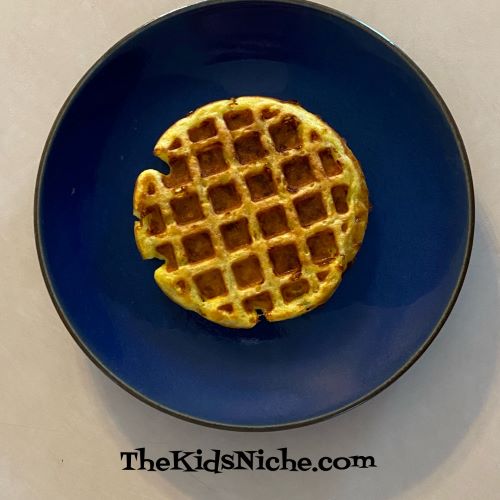
Check your chaffle after a few minutes and see if it looks done enough to suit you. Mine took less than 5 minutes to cook. This is the cheddar chaffle all ready for someone to take a bite!

This is the mozzarella chaffle that my husband very quickly gobbled up! 😉
This recipe made 2 -3 chaffles each. Chaffles make a great quick snack or even part of a meal. I bet they would be great with a fried egg on top. I added a drizzle of honey to mine and that made it even better. I hope you’ll give the chaffles a try! 🙂