
Let’s get back to making some more butterflies! This craft project takes construction paper, a few little pom-poms, scissors, glue, markers, and a pencil.

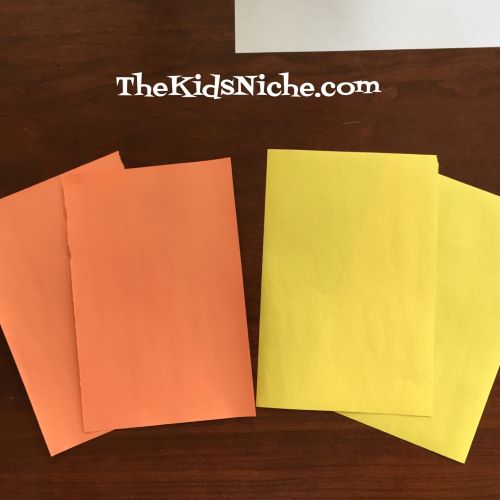
Select the color you would like your butterfly to be. You’ll need one color for the butterfly and one for your background paper. I chose orange for my butterfly and white for my background. (I also chose yellow for a second butterfly but I’ll share that craft next time.) 🙂 Your background paper will not be cut so you can set it aside for now. Take your butterfly color paper and fold it in half and then cut or tear it on the fold.
You will only need one piece for each butterfly. Take one piece and fold it in half again.

Using your pencil, draw an outline of one side of a butterfly’s wings. Make sure you draw the part of the wing that would attach to the butterfly’s body on the fold. This is important because after you cut it out, you want to be able to open the wings like you would a book. Sorry it’s hard to see the outline of the pencil drawing. 😦 You can see it better if you look at the yellow piece.


Go ahead and cut out the butterfly wings, but be sure NOT to cut the folded edge where you have drawn where the wings attach to the body.

Taking a marker, draw lines on your butterfly wings…I’ll just be showing the orange wings now and saving the yellow for our next project. 🙂 Or you can decorate your wings however you like. I tried to make my butterfly wings look something like a Monarch butterfly.

Open your wings up and draw or color on the inside part too. Don’t bother drawing on the bottom side as we will be putting glue on there.

Now you are ready to glue your butterfly wings to the background paper. Put glue only on the bottom side where you didn’t color or draw.

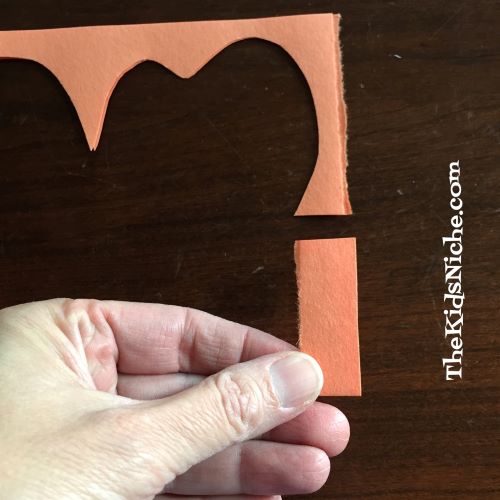
The top part of the wing should not be glued down. Now to make it look 3D, take a small piece of the scrap paper leftover after you cut out the wings and roll it up into a little tube.
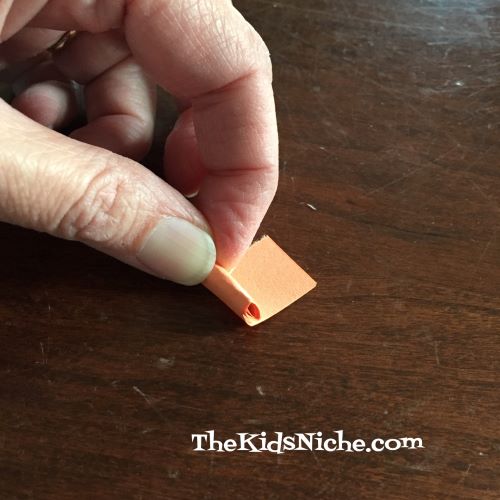
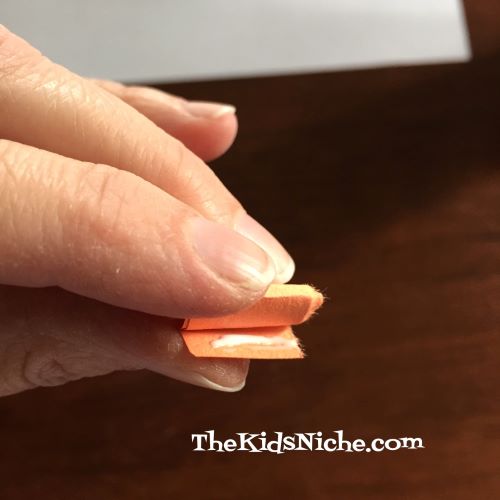
Glue the end to the roll so it will stay rolled up in a tube shape. Next open the wings and put a little bit of glue on the tube and place it inside the wings right up against the fold.

Place a little bit of glue on top of the little tube…

Then fold the wings closed and hold the wings in place for a little bit till the glue takes a hold. Now your butterfly’s wings look three-dimensional. 🙂

Next, glue the little pom-poms in a row to make the butterfly’s body. I used black for my butterfly.

You’re almost finished! With your marker, you can draw some antennae on your butterfly’s head. And it’s fun to add some dashes out the back to make it look like that’s where your butterfly has been flying. 🙂

Here’s a look at the back side of the butterfly so you can see better how his wings are three-dimensional.

I hope you have fun making your butterfly craft! 🙂 Come back tomorrow for another fun butterfly project! And keep your eyes open for real butterflies when you are outside!

do you know how to do big kid wings out of paper because I need to know?
LikeLike
Sorry, I don’t think I can help you with that one. Good luck!
LikeLike