
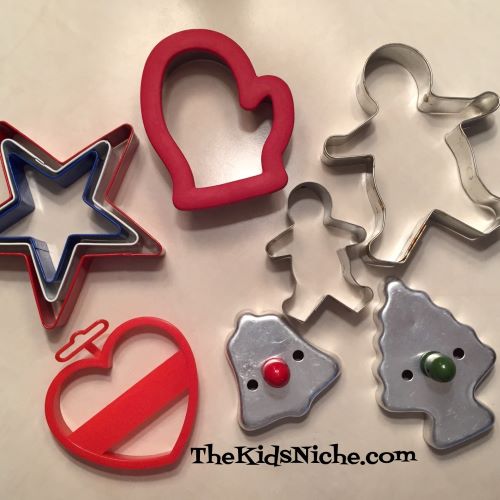
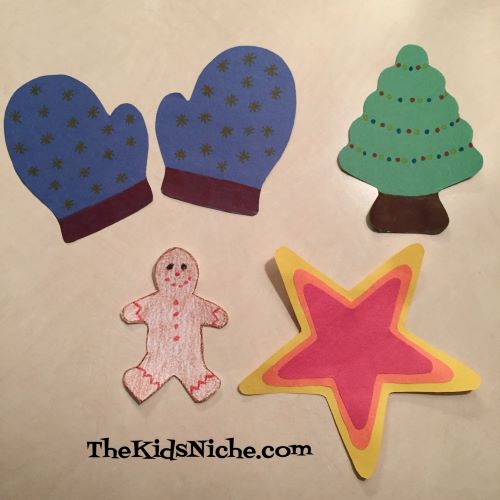
Happy December! It’s already feeling like winter and Christmas is coming fast! Let’s make some quick and easy decorations to spruce up your house for the holidays! Grab your favorite winter time/Christmas cookie cutters and some construction paper, a pencil and a pair of scissors and let’s get started! Here are the cookie cutters I found that we have on hand at our house.
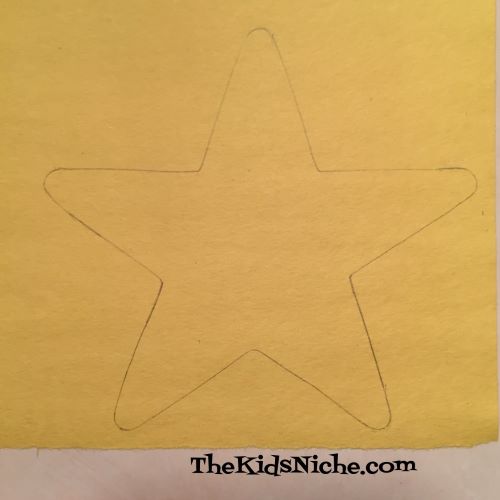
Get a sheet of paper, any color you like or just plain white, and a cookie cutter and a pencil. Place the cookie cutter on the piece of paper and trace around the outside edge with your pencil. Try to hold the cookie cutter very still so your lines meet up just right.

Lift the cookie cutter off the paper and make sure you have a complete shape drawn on your paper.
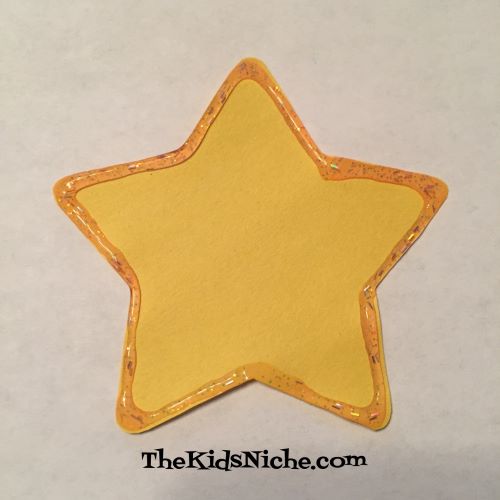
You can color the shape right on the paper and maybe add a few more shapes to fill in the space. Or you can use a pair of scissors to cut out the shape. I cut out 3 different size star shapes on 3 different colors of paper.

You can use the shapes separately or you could do something like I did and glue them together to make one colorful star.

Paper shapes can be left just the way they are or you can color them with crayons or markers for some extra color and designs. Here are a few I did to give you some ideas to get you started. A gingerbread man made on white paper and colored with crayons…

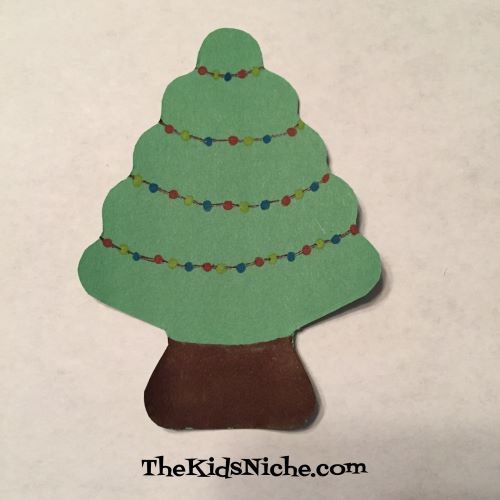
A green Christmas tree shape using markers to color in decorations…
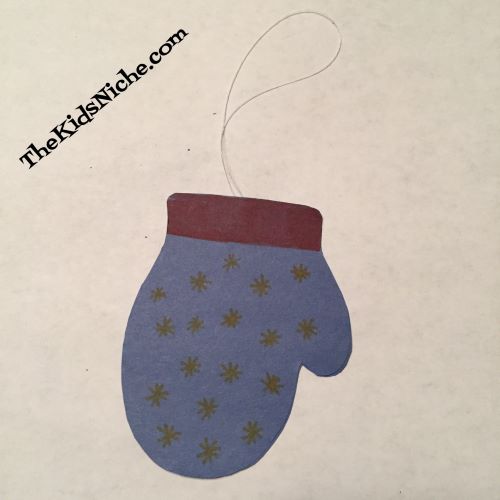
And a pair of blue mittens colored with markers.

You can leave your decorations just one thickness of paper, or you can put two matching pieces together by gluing the back sides together. I added a piece of thread before taping the pieces together so I have a loop to hang my mitten. (I used double-sided tape instead of glue.)

And there we have our first batch of decorations! 🙂
Here are a few suggestions for more ways to decorate your shapes: you can use Elmer’s Glitter Glue which is colored glue with the glitter already mixed in it.

Another idea is to use regular white glue (that dries clear) and some crayon shavings. Start by spreading glue over your shape in the place you want to put the first color…

Then sprinkle tiny crayon shavings over the glue and lightly press in place.

It’s ok if you sprinkle on a little more than you need because you can gently pick up your shape and let the excess fall off onto a piece of paper. Then you can save those bits for another shape.

If you would like to use a second color, put more glue on your shape in that spot. I added glue in lines to make the mitten look like it has stripes.

Sprinkle your second color on the glue. I added yellow crayon shavings and again, very gently pressed them in place.

Now gently lift your shape and let the excess fall back onto a sheet of paper so you can save it for later.

What I like to use even better than crayon shavings is glitter! I used some holographic blue glitter and it was sooo pretty! Make your design on your shape with regular white glue like we did with the last shape.

Sprinkle on the glitter…
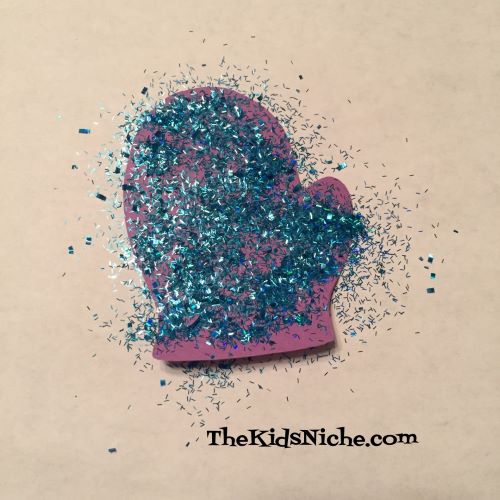
And gently lift your shape and let the extra glitter fall off onto a piece of paper like before. Isn’t that so pretty?!

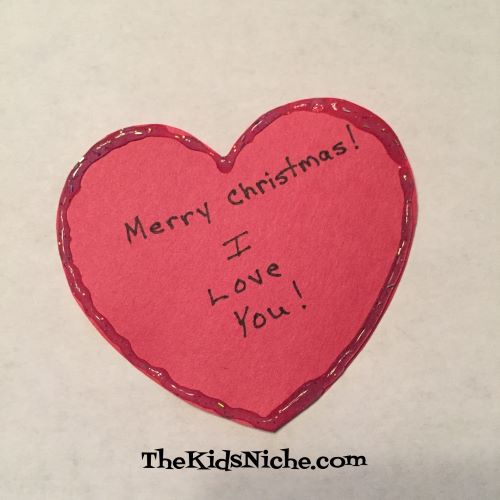
After you make your decorations, have an adult help you hang them up for everyone to enjoy! Add a string to use for hanging or maybe just a piece of tape or double sided sticky tape. You could also use your shapes to make a card to mail to a friend or relative to wish them a Merry Christmas! I hope you have fun making your house beautiful! 🙂

