
The other day I was thinking about the yarn dolls that we used to make. I can’t quite remember who taught me to make them but I think it might have been a family thing that was passed down to me.

At any rate, making yarn dolls can be fun and all you need is yarn, a piece of cardboard and a pair of scissors.

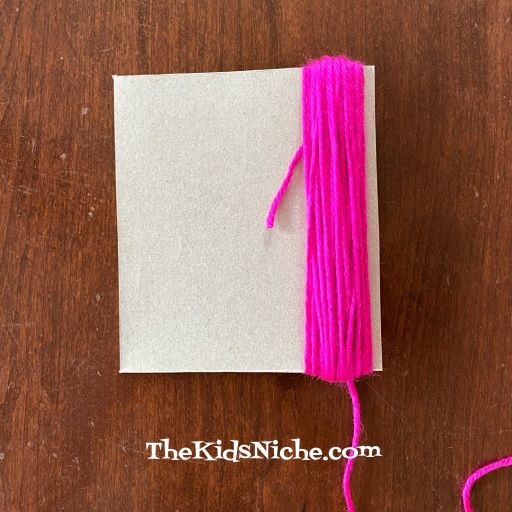
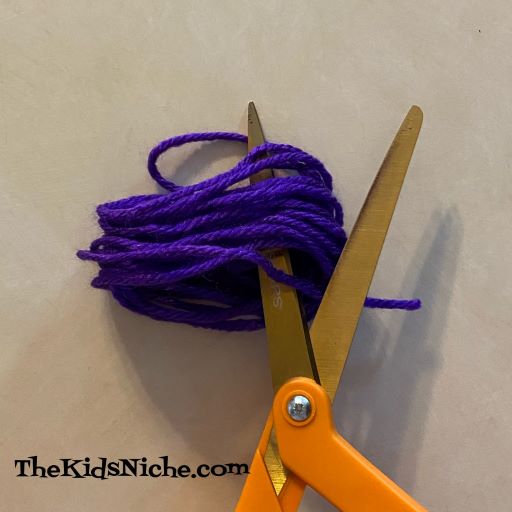
The size of your yarn doll will be determined by the size of your piece of cardboard. My cardboard piece was about 6″ long. Begin by wrapping the yarn around the piece of cardboard.
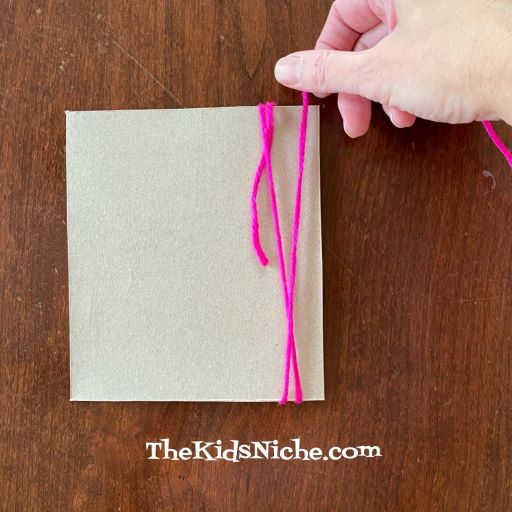
Wrap it around at least 50 times. Then cut the yarn.
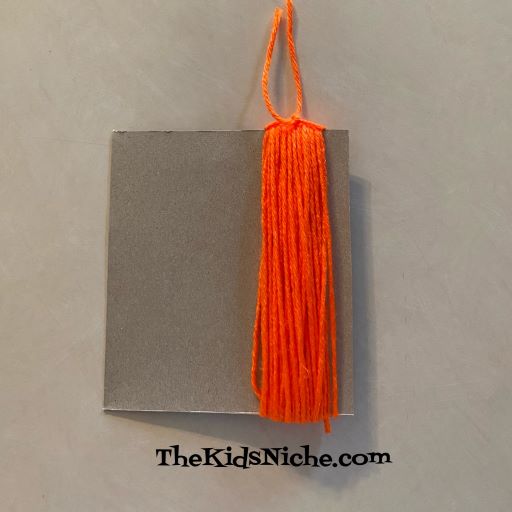
There is a step that I forgot to do while I was making the pink doll, so I will be showing that step with the orange yarn I used for a second doll. While the yarn is still on the cardboard, cut another piece of yarn about 5-6″ long and slide it under the yarn on the cardboard. (I added the yarn to the pink doll but at a later time which made it harder to do. Ooops!)

Pull it up toward the top and tie a knot. This piece of yarn will help keep the doll’s head in a nice shape and can be used to add hair or to hang the doll.
Slide the yarn off the cardboard.

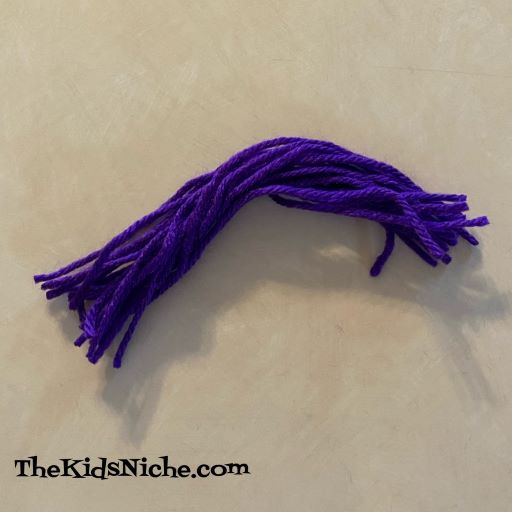
Back to the pink doll! Ha! Using your scissors, cut the yarn on the opposite end from where it’s tied.

Keep the yarn bent in half.

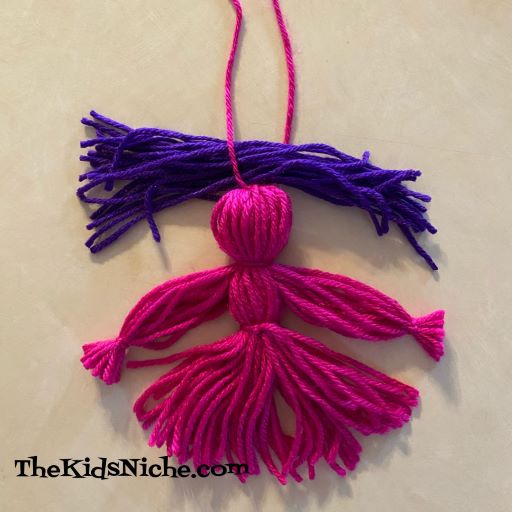
Cut another piece of yarn to be used to make the dolls head and lay it out on your work surface. Lay the folded yarn on top of it.

Tie a knot with the additional piece of yarn and that makes the head.

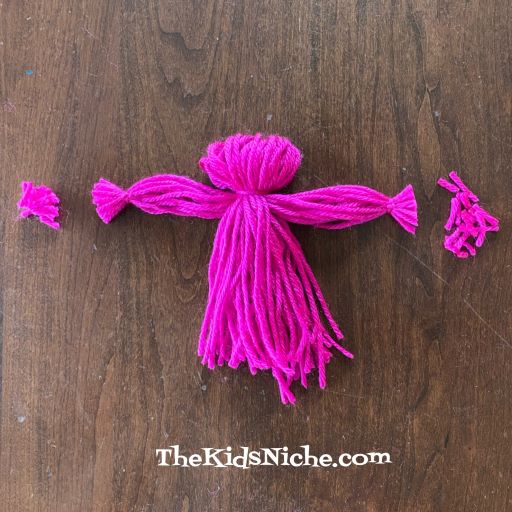
Separate a section on each side of the body. I did approximately 15-18 pieces of yarn in each side section.
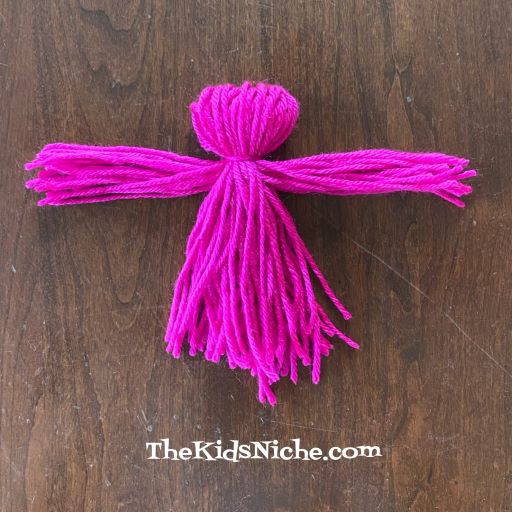
Using a small piece of yarn, tie the 2 side sections close to the ends. Trim and there are your doll’s arms. 🙂
Cut another piece of yarn and lay under your doll, just a little past the arms. Tie a knot. This will make the doll’s waist.
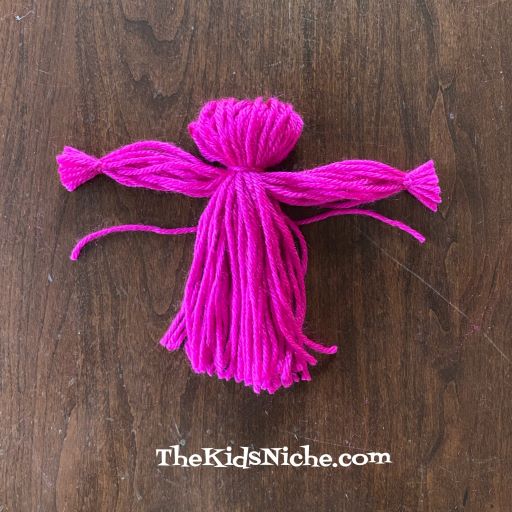

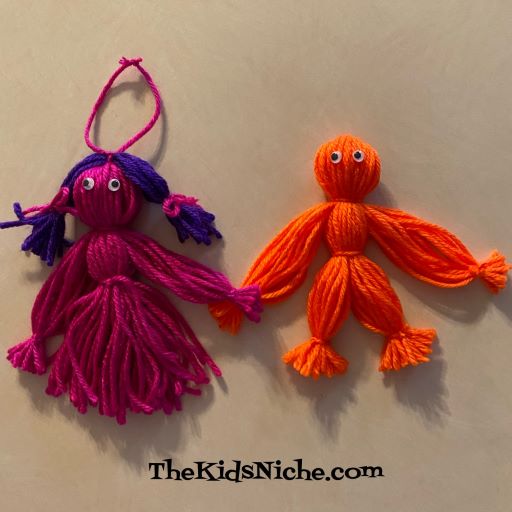
I made this doll to be a girl wearing a dress. So all I did to finish her was trim the bottom yarn to look neater. She’s ready for playing!
Now, what if you want your doll to be a boy? There are just a couple more steps for that! We’ll pick up with the orange yarn doll at the point where we’ve already made his arms and waist.

Divide the bottom yarn into 2 sections.

Using 2 more pieces of yarn, tie around each leg in the same way you did the arms. Trim, and your boy doll is now finished too! 🙂

The dolls are ready to be played with now and this is how I remember them. But if you are feeling ambitious, I’ll show you a way to add hair to your doll. Get some more yarn…can be the same color or different. Wrap the yarn around your hand 20 times or so.

Slide it off your hand, keeping the loops together. Cut one end of the loops like we did for the doll.
This time you will lay the hair pieces out flat.
Lay the yarn bundle up at the top of the doll’s head. Using the yarn that is tied to the top of the doll’s head, put one yarn string on top of the bundle and the other yarn string under it. This is so you can tie the hair to the doll.
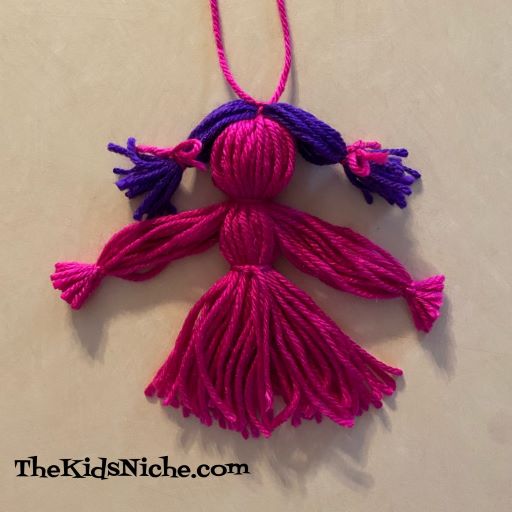
Tie the knot.

Now you can arrange the hair as you would like. I put it into 2 pony tails and tied each with a piece of yarn tied in a bow.
One more extra detail you can add is to give the dolls some eyes. Simply glue on a pair of wiggly eyes. (I actually prefer the dolls without the eyes, but that’s your choice.)

You can leave the string on the top in case you want to hang the doll up or you can trim it close and get rid of it. I’ve show you one doll done each way.
Yarn dolls are fun and easy to make! I hope you will try a few! 🙂
