
Do you enjoy decorating your home for Fall or Halloween? Both are appropriate for orange pumpkins, so today let’s look at how to make some easy ones! 🙂 This is a great craft project for the kids too.

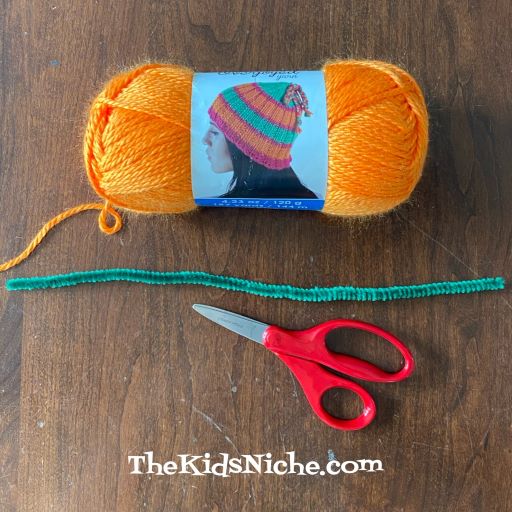
You will need some orange yarn, a piece of a green pipe cleaner and scissors.
Begin your pumpkin by wrapping the yarn around your hand. Depending on the size of your hand and the size of pumpkin you want to make, how many times you will need to wrap the yarn around your hand or fingers. You can also use a piece of cardboard instead of your hand. Hands or fingers are just…well, handy! 😉

For an adult size hand using all 4 fingers, you will want to wrap the yarn around at least 100-120 times.

Carefully slide the yarn off your hand but keep all the pieces held close together. Cut a piece of yarn from the yarn ball approximately 5-6 inches long.

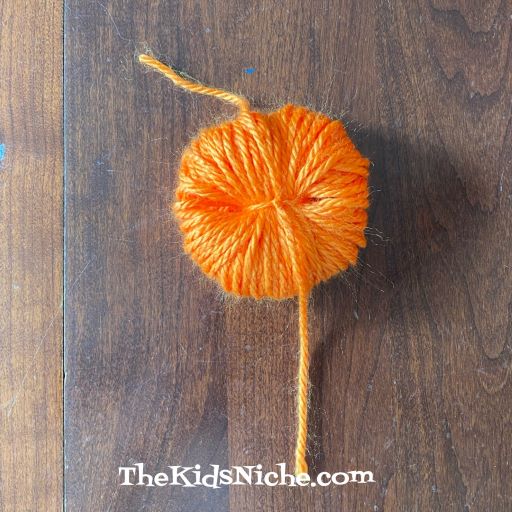
Lay the extra piece of cut yarn on the table and lay the wrapped yarn on top of it, keeping the cut piece in the center of the wrapped ball.

Tie a tight knot with the cut piece of yarn in the center of the wrapped yarn. Tie it 2 or 3 times so it won’t come undone. And make sure to keep the knot tight while tying it the second time. It’s easy for it to slip looser and then you will lose the shape of your pumpkin.
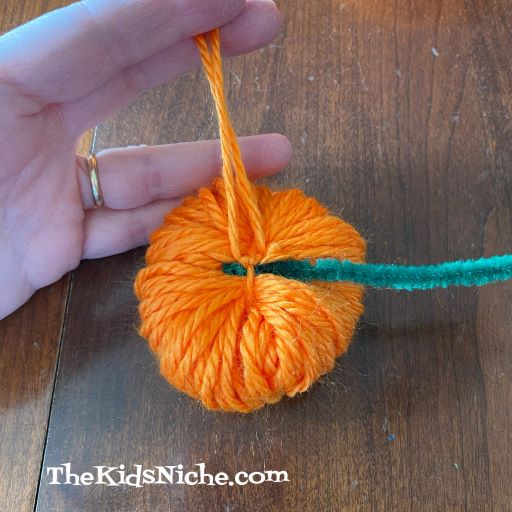
Now take the small piece of green pipe cleaner and tie another knot around the middle of it on top of the first knot.

You can also just slip the pipe cleaner under the first knot you tied, but be careful as it can snag the yarn.
Twist the 2 ends of the pipe cleaner together and shape it like the pumpkin’s stem. Trim the extra length of yarn from tying the knots.
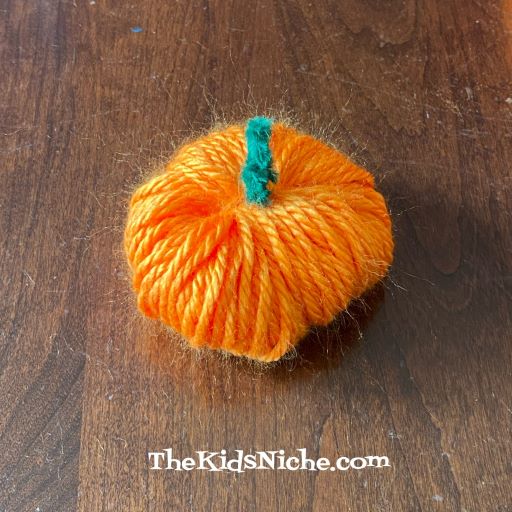
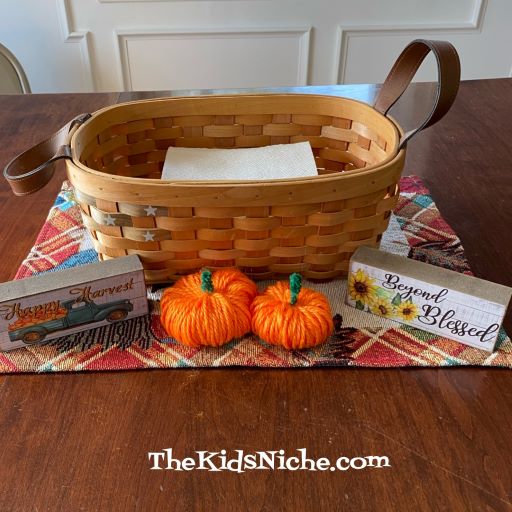
That’s all there is to it! 🙂 You can fluff your pumpkin with your fingers to make it look just right to you. Make as many pumpkins as you like and use them to decorate your house for the season.
I hope you will enjoy making yarn pumpkins! 🙂
