
A Little Kindness Goes a Long Way!

It’s Palindrome Week!
Palindromes are so much fun! Never heard of a palindrome? It’s a word, verse or number that reads the same forward and backward. Like the word RADAR or the number 1881. So today starts more than a week with the date being a palindrome. It looks like this: 9-10-19 or to make it easier to see…91019. Pretty cool, isn’t it? 
I think it’s fun to find interesting things like that! Can you think of any other palindromes?
One More Butterfly Post
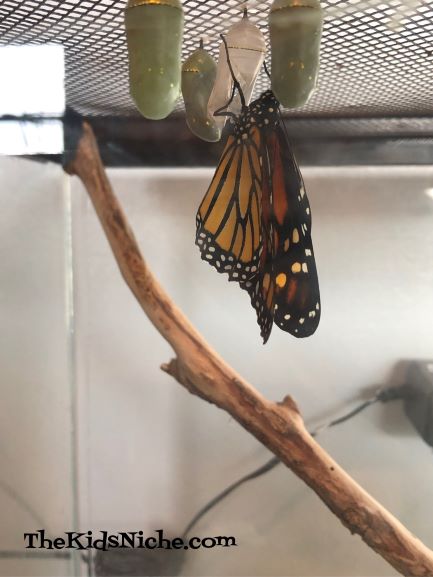
I just have to take a minute more on butterflies! We had another butterfly emerge from its chrysalis yesterday and this time it’s a BOY!! We have had a lot more girls so I just had to share a picture of Bert the Butterfly!
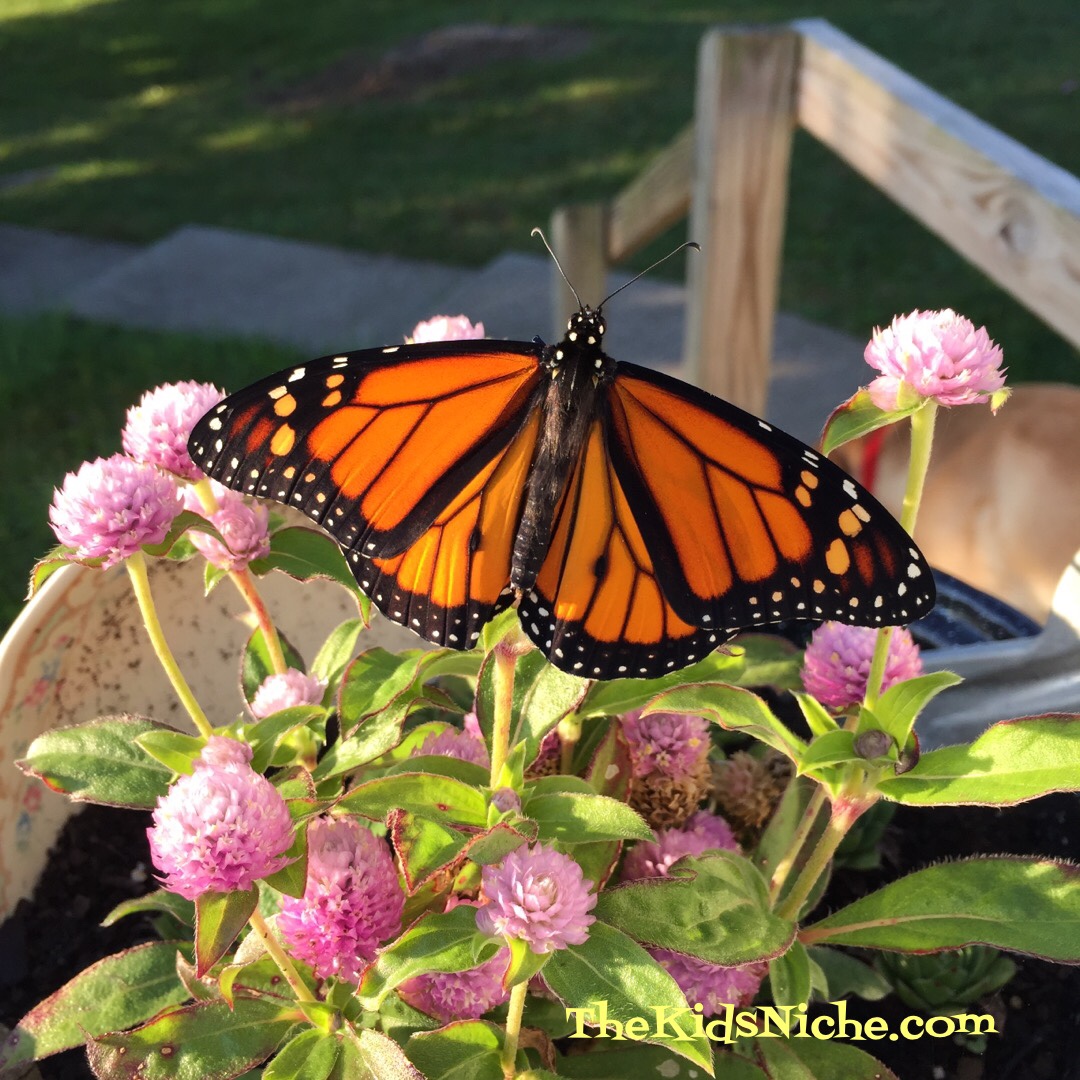
Do you remember how to tell if it is a boy or girl? See those 2 little black dots on the bottom set of his wings? Yep, that means it’s a boy. It was a little chilly here this morning and so Bert wasn’t too excited about flying at first. He sat with his wings closed quite a while but once I moved the flower pot into the sun, he thought that felt lovely! Let’s see if I can show you a video of him flexing his wings in the sun.
Notice how he moves to the top of the flower, getting ready for take off. Just after I stopped recording the video, Bert was up, up and away! BUT…guess what I found while taking our dog outside this morning? Can you guess? 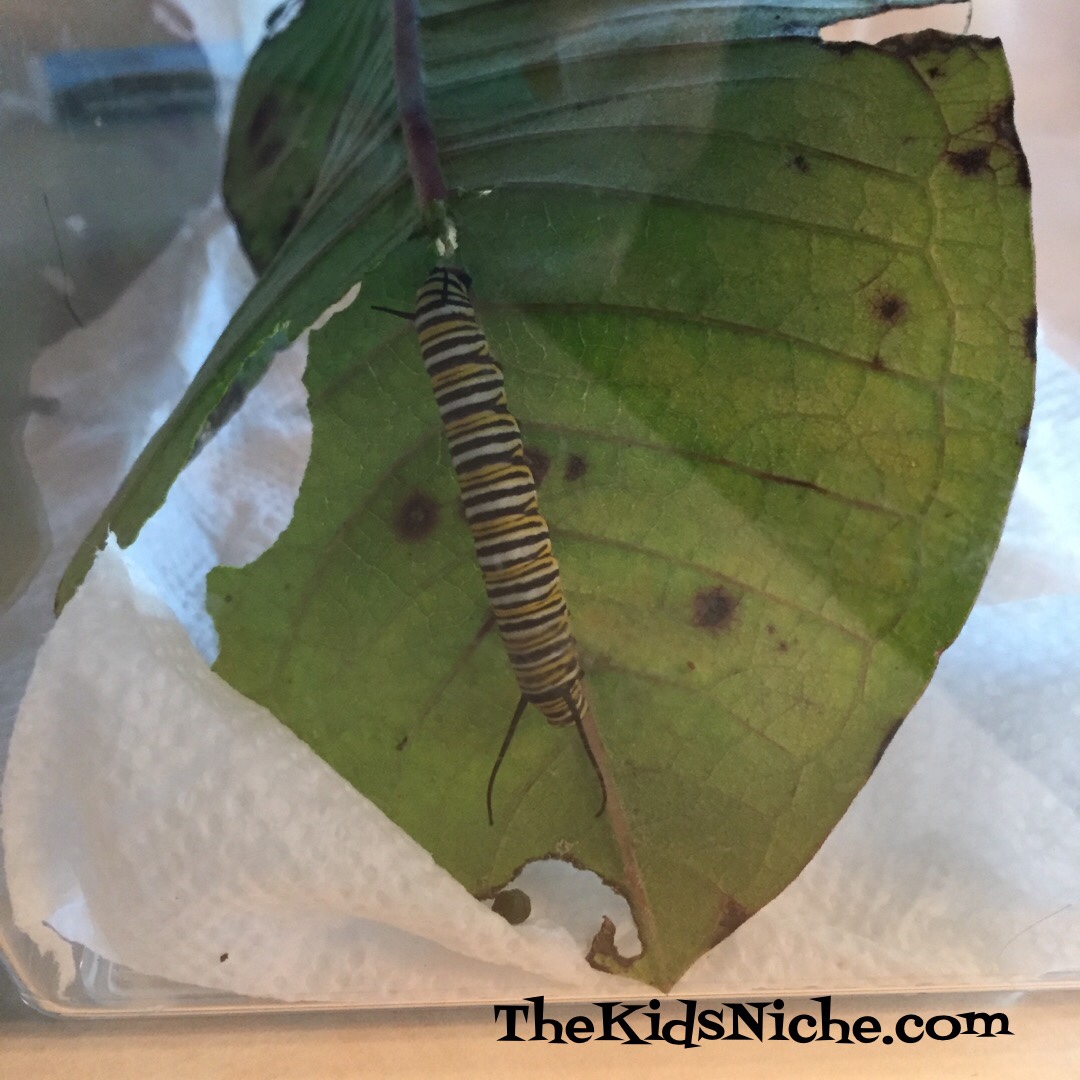
Yep!! Another Monarch caterpillar! 😄 And so the butterfly saga continues!!
It all starts with a tiny butterfly egg…
We have talked about butterflies emerging from their chrysalis and we’ve done some fun butterfly crafts but we skipped the part of how the chrysalis come to be. So here’s a few interesting details and lots of pictures to show what happens when the tiny Monarch butterfly egg hatches. 🙂 The female Monarch butterfly lays eggs only on a milkweed plant because that is the only plant the Monarch caterpillar will eat. There are different types of milkweed but here is what the Common Milkweed looks like:

The eggs are so small that its easy to miss seeing them on the leaves. Be sure to look at the underside of the leaf too. When a Monarch caterpillar hatches, they are very tiny. See if you can find the little guy in this picture. The little black dots are caterpillar poop or frass.

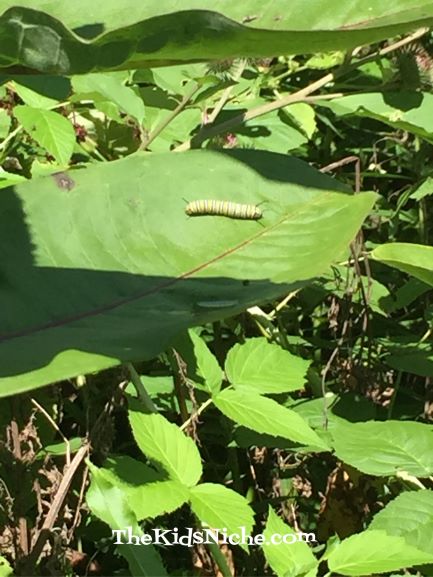
The Monarch caterpillar has the distinctive black, white and yellow stripes. Here is a caterpillar that I found on a milkweed plant close by our house. He has grown quite a bit bigger!
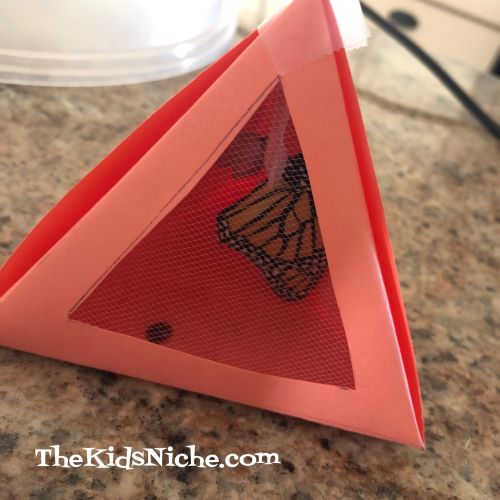
If you find a Monarch caterpillar, you can bring him inside and fix a nice little place for him to grow until its time for him to turn into a chrysalis. (Butterflies make a chrysalis and moths make cocoons.) There are little pet houses available for purchase for around $6-$7 that work really well. Place a damp paper towel on the bottom of the cage, add a stick for climbing and some fresh milkweed leaves every 24 hours. Make sure the top of the cage has air holes but the holes shouldn’t be big enough for the caterpillar to climb through. They WILL escape if they can fit through the holes! 😉 A screen is a great thing to use.

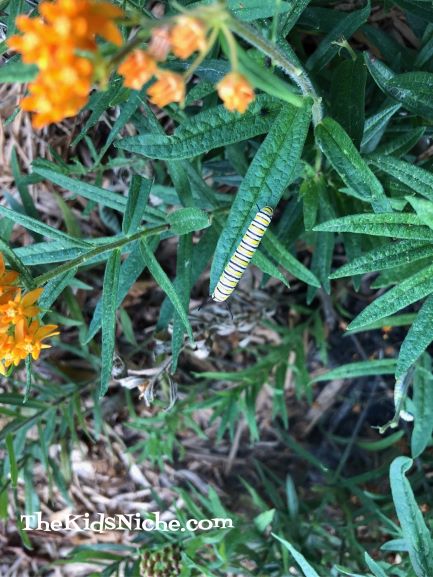
Yep…they poop a lot! That’s probably because they also EAT a lot! Ok, we’ll take a minute to have some fun! Let’s go on a caterpillar search! The first picture has just one caterpillar in it. Can you spot him?
Good job! Now the next picture has 2 caterpillars. Do you see both of them?

You are good at this! Ok, now for the hard one! This picture has 4 caterpillars in it! One of them is only just peeking the tip of his head out…look around the center of the picture, off to the right just a bit. Did you find all 4?

Are you ready to find out what happens next? The caterpillars go through stages called instars and they will shed their skin because they have outgrown it. Finally, when the caterpillar is finished growing, he will crawl to the top of the cage and attach himself to it. Then he will hang upside down in the shape of the letter J and this is called “j-hanging”. Can you see the caterpillar that looks like a J?

The next stage is where he goes into his chrysalis. They will hang in the J shape for a while, but when they go into the chrysalis it only takes a couple of minutes for it to happen so its hard to catch them at just the right time to see it happen.

You might even find a chrysalis hanging outside if you look carefully.

And then we are back to where we started a few posts ago…waiting for the butterflies to emerge from their chrysalis! When they first emerge, their wings are wrinkled like this butterfly.

But within just a few minutes, his wings will begin to flatten out.
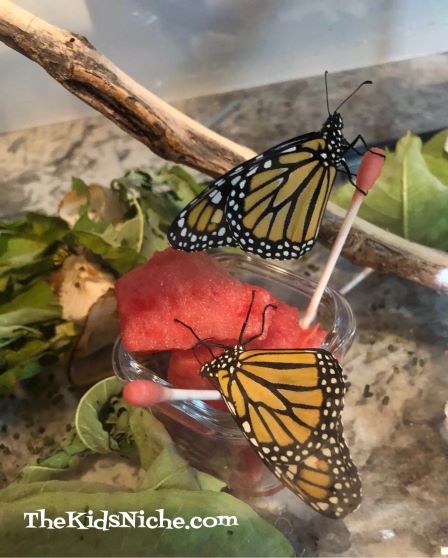
Here are 2 butterflies that emerged within minutes of each other.

Its best not to release the butterflies outside if it is raining, so these 2 were enjoying a bit of watermelon sweetness while waiting for the storm to pass.
But then it was time for them to venture out on their own and start the cycle all over again. 🙂

I hope you have enjoyed our butterfly adventures! It’s been so much fun sharing this with you! 🙂
One more Butterfly Craft
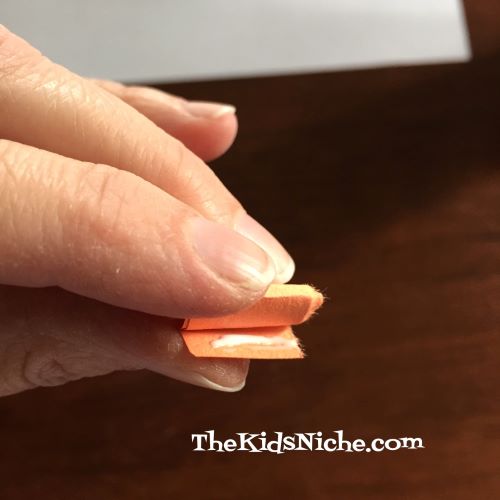
We have been having so much fun with our Monarch butterflies and doing butterfly crafts! Are you tired of butterflies? No, I didn’t think so! Who gets tired of butterflies?! So I have one more butterfly craft up my sleeve! Today’s craft takes only tissue paper and a pipe cleaner along with a pair of scissors, a pencil and something round to trace around, like a small plate. Want a sneak peek at what we’re making today? Ok, here it is!

Let’s get started! First, take one sheet of tissue paper and fold over one end until it’s large enough for a small plate to fit on it.

Make a good crease in the tissue paper on the fold by running your finger down it. Open the tissue paper back up and cut along the crease you just made.

Now fold the piece you cut off in half the other way until you have a double layer big enough for the plate to fit on.

Take your pencil and trace around the outside edge of the plate.

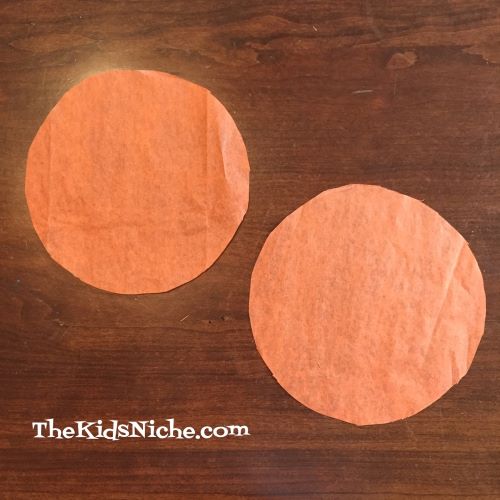
Keeping the two layers of tissue paper together, cut on the circle you just traced around the plate. You should end up with 2 circles that are the same size.
Now let’s prepare the pipe cleaner to become the butterfly’s body. Fold the pipe cleaner in half and twist it a few times on the end with the bend in it so you have a twist that goes about 1/3 of the way up.

Back to the tissue paper circles now. Starting on one side of the circle, in the middle, start scrunching up the circles until you have them both gathered together in the middle.

Now put the 2 scrunched up circles together by holding them against each other in the center.
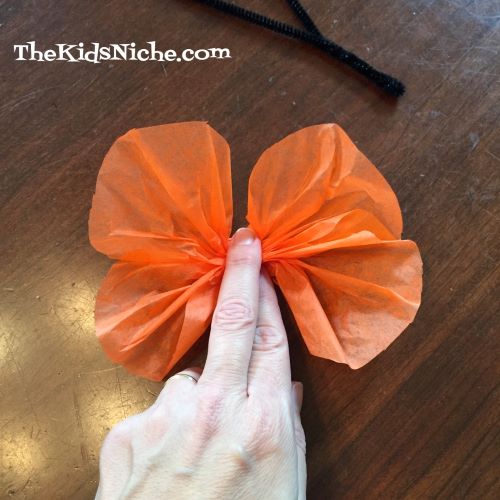
Take the pipe cleaner and slide it over the middle portion of the scrunched circles. Give it a few twists to secure it in place.

Don’t worry if your butterfly looks a little scrunched up because now you can gently move the tissue paper around until you get the butterfly’s wings to look just right. Do this gently because tissue paper will tear pretty easily.

And there’s your beautiful butterfly! Make as many as you like in as many colors as you like!

I think these would look lovely if you tied a piece of thread to them and hung them up where they could blow in the breeze and look like they are flying! I hope you enjoyed this project and that you make a bunch of butterflies of your very own! 🙂
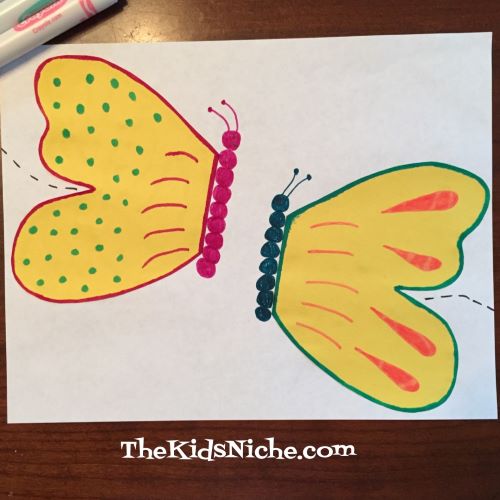
Easy Butterfly Craft #3
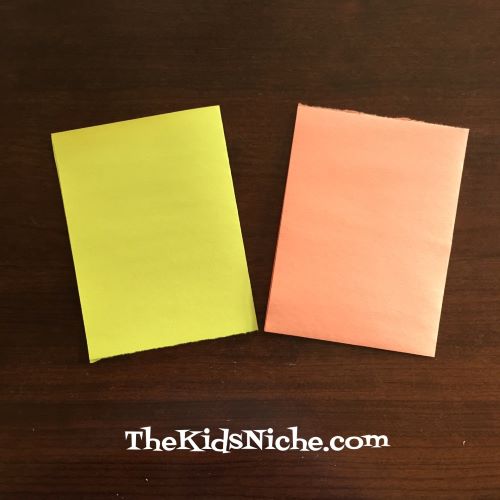
Welcome back! Here we go again with another easy butterfly craft! All you need this time is 2 pieces of construction paper, a pencil, scissors, colored markers and some Elmer’s glue. You’ll want 2 different colors of construction paper – 1 for the butterflies and 1 for the background sheet. Take your butterfly colored paper, fold it in half and then cut it on the fold.

Take 1 of those pieces and fold it in half again.
Now draw the outline of one side of a butterfly’s wings. Look at the next picture for a suggested way to draw it.
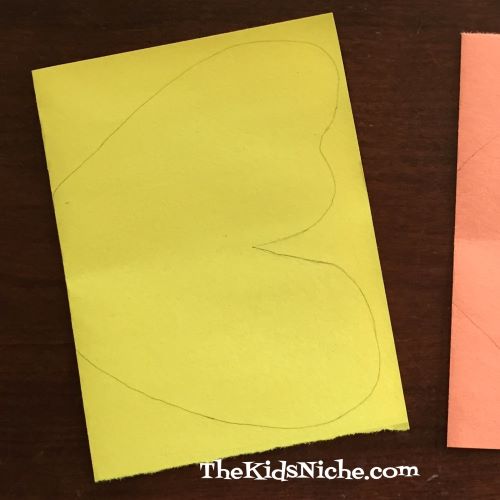
Keeping the paper folded, cut out the outline with your scissors.

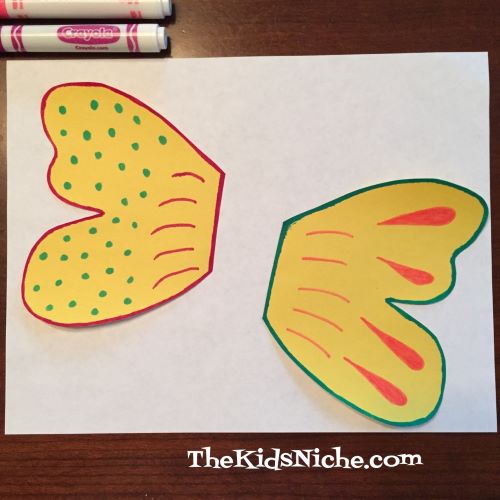
This time, you need to open the butterfly wings and cut down the center so you have 2 pieces of the wings.
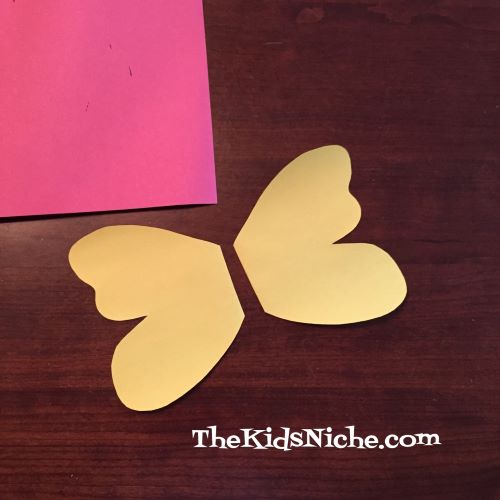
Choose one side of each wing piece and color it however you would like.
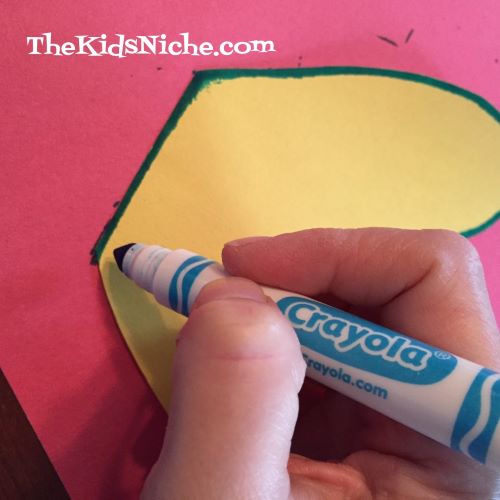
I colored a line around the outside of the butterfly wing and so I put a piece of scrap paper underneath it in case my marker got a little off the edge. That will keep the surface underneath your wing clean.
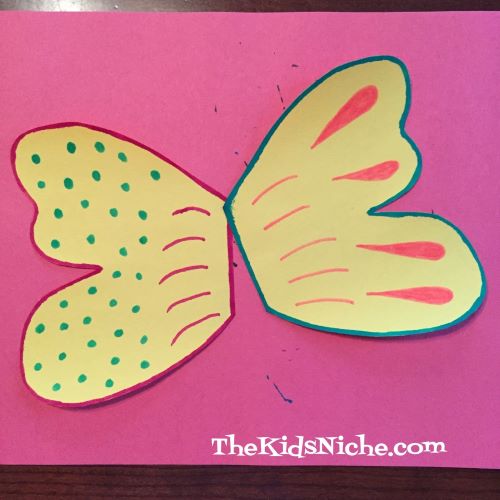
Next, decide where you would like to place the wings on your background paper and glue them down. In our next step, we will be adding the butterfly’s body so be sure to leave enough open space for that.
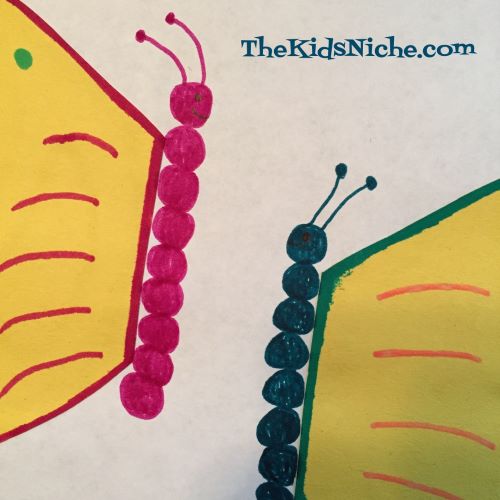
Now for the butterfly body…draw several small circles in a row up against the flat side of the wing. Color the circles in. Then you can draw on the antennae.
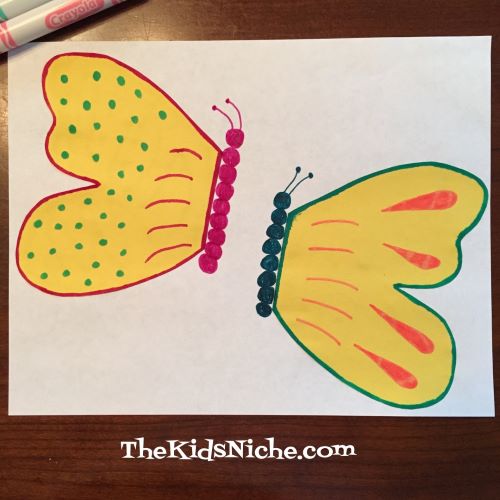
I even added smiling faces. 🙂
Give your butterflies a few dashed lines out the back side so they look like they have been flying. And that’s it! You’ve made more butterflies! I hope you enjoyed this craft! Be sure to check back for more about butterflies soon! 🙂
3-D Butterfly – Easy Butterfly Craft #2
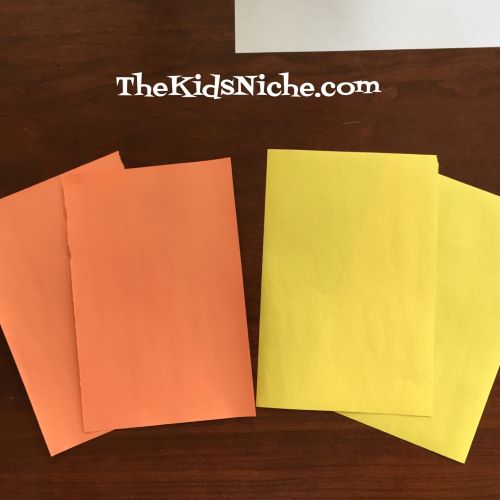
Let’s get back to making some more butterflies! This craft project takes construction paper, a few little pom-poms, scissors, glue, markers, and a pencil.

Select the color you would like your butterfly to be. You’ll need one color for the butterfly and one for your background paper. I chose orange for my butterfly and white for my background. (I also chose yellow for a second butterfly but I’ll share that craft next time.) 🙂 Your background paper will not be cut so you can set it aside for now. Take your butterfly color paper and fold it in half and then cut or tear it on the fold.
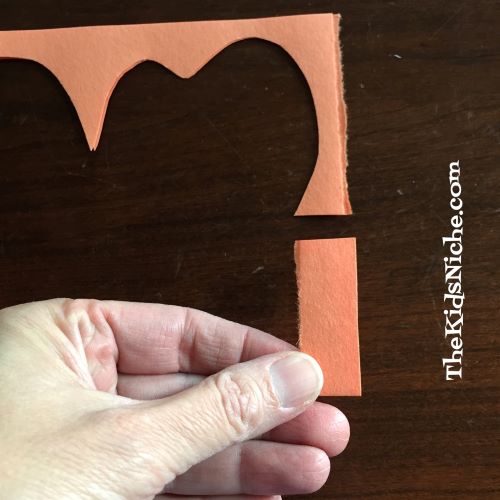
You will only need one piece for each butterfly. Take one piece and fold it in half again.

Using your pencil, draw an outline of one side of a butterfly’s wings. Make sure you draw the part of the wing that would attach to the butterfly’s body on the fold. This is important because after you cut it out, you want to be able to open the wings like you would a book. Sorry it’s hard to see the outline of the pencil drawing. 😦 You can see it better if you look at the yellow piece.


Go ahead and cut out the butterfly wings, but be sure NOT to cut the folded edge where you have drawn where the wings attach to the body.

Taking a marker, draw lines on your butterfly wings…I’ll just be showing the orange wings now and saving the yellow for our next project. 🙂 Or you can decorate your wings however you like. I tried to make my butterfly wings look something like a Monarch butterfly.

Open your wings up and draw or color on the inside part too. Don’t bother drawing on the bottom side as we will be putting glue on there.

Now you are ready to glue your butterfly wings to the background paper. Put glue only on the bottom side where you didn’t color or draw.

The top part of the wing should not be glued down. Now to make it look 3D, take a small piece of the scrap paper leftover after you cut out the wings and roll it up into a little tube.
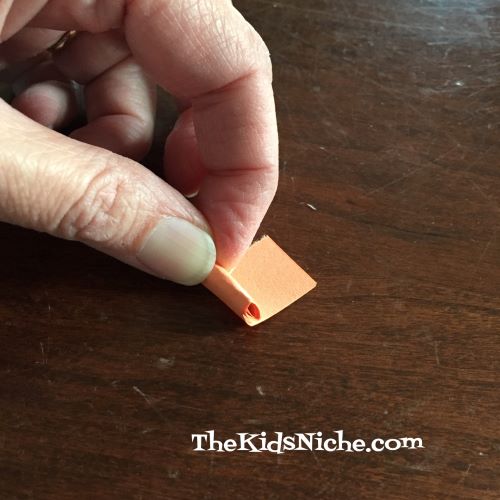
Glue the end to the roll so it will stay rolled up in a tube shape. Next open the wings and put a little bit of glue on the tube and place it inside the wings right up against the fold.

Place a little bit of glue on top of the little tube…

Then fold the wings closed and hold the wings in place for a little bit till the glue takes a hold. Now your butterfly’s wings look three-dimensional. 🙂

Next, glue the little pom-poms in a row to make the butterfly’s body. I used black for my butterfly.

You’re almost finished! With your marker, you can draw some antennae on your butterfly’s head. And it’s fun to add some dashes out the back to make it look like that’s where your butterfly has been flying. 🙂

Here’s a look at the back side of the butterfly so you can see better how his wings are three-dimensional.

I hope you have fun making your butterfly craft! 🙂 Come back tomorrow for another fun butterfly project! And keep your eyes open for real butterflies when you are outside!
See ya later, gator!
I’ll be taking a break this week and next week to attend our church conventions but then I’ll be back with more goodies! Look for more butterfly crafts coming your way soon! 🦋😃🦋
Butterfly Chrysalis #3
If you have been following along with our butterfly chrysalis story, you know that #1 and #2 are safely on their way out into the big wide world. It’s time to report on chrysalis #3. Our son and daughter-in-law who live in IN got the third one. Aaaaaaand it emerged yesterday! 🙂
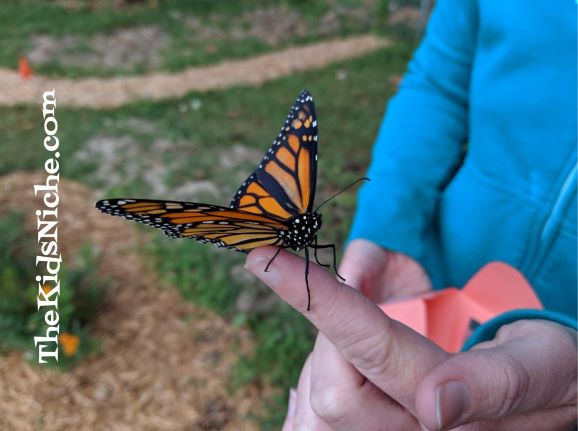
Guess what? It’s another female! And her name is Cassie. 😉 Wow, hard to believe all 3 were females! She also snuck out of her chrysalis when no one was watching. (Maybe they are shy? Lol) So today was Cassie’s big release day! Here she is venturing outside for the first time.
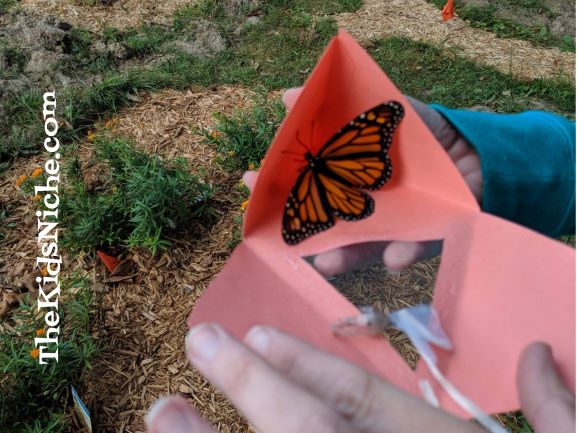
Cassie decided she liked sitting on Melissa’s finger and so she took her time adjusting to this new place. Then she stretched her wings a few times and she was off!
There is something rather exhilarating, but a bit sad, when the butterfly flies off on it’s own. After all, that’s the whole purpose of raising them…to help them prosper and replenish their dwindling numbers. It’s a wonderful project that kids will love doing so if you can, please help us help the beautiful Monarch butterfly survive! And stay tuned…we’ve been finding Monarch caterpillars! 🙂 🙂
