Here’s a fun trick the kids can do to impress their friends and family. 😉 All you need is 5 wooden toothpicks, a small plate and some water.
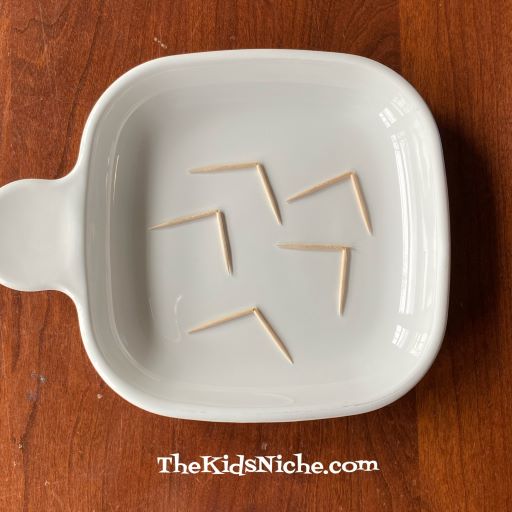
Break each toothpick in the middle but leave the 2 halves attached. That’s important.
Place the broken part of each toothpick in the center of the plate as shown in the following picture. Place the bent toothpicks side by side but not quite touching each other. (Mine might be touching in the picture…oops!)
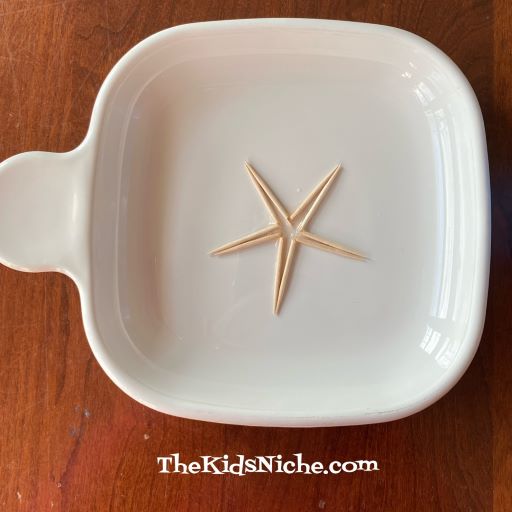
Very slowly let drops of water drip into the center of the toothpicks. You can use a spoon or an eye dropper but do just a couple of drops at a time. Watch what begins to take shape as you slowly add the water.
Keep slowly adding drops of water until the toothpicks form a….what do you see? Yes, a star! 🙂
Adding water too quickly or not in the center can make the trick not work quite right so be careful about those 2 things and you’ll do great!
Pretty neat, isn’t it? You can take it a step farther by telling your audience after you have laid the bent toothpick on the plate, that you are a magician and you will now make the toothpicks turn into a star without even touching them! 😉 I hope you have fun showing others your new trick! 🙂
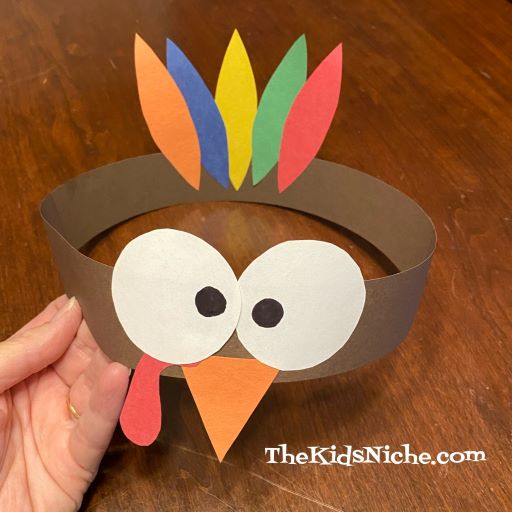
Yep, you read that right…turkey headbands! It seems like a lot of folks have gone from celebrating Halloween straight to Christmas preparations, but I think we should enjoy Thanksgiving first! So here’s a Thanksgiving craft to do with the kiddos that will also make for a cute photo op on Thanksgiving Day. 😉
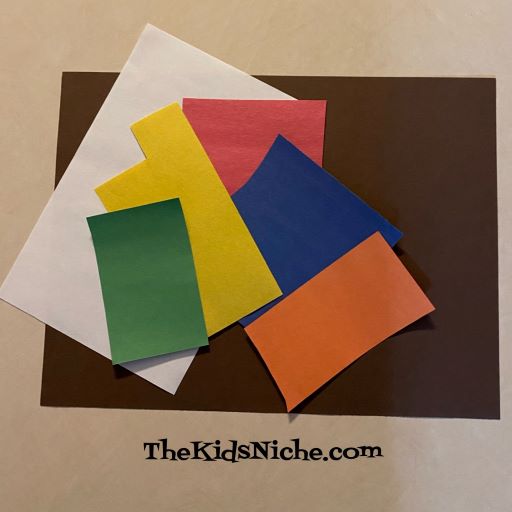
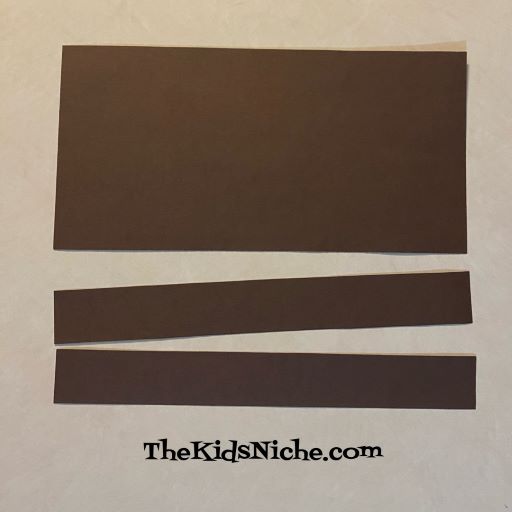
You will need a piece of brown or black construction paper, some scraps of different colored construction paper, a small piece of cardboard or cardstock, scissors, a black marker or crayon and glue or double sided tape.
Cut 2 strips about 1 1/2″ wide the length of the brown construction paper. Make sure that 2 pieces put together will fit around the head of the child making this. You can cut more strips if needed.
Tape or glue 2 narrow ends together to make a longer strip for the headband.
Wrap the strips around your child’s head so the headband is snug enough to stay in place. Tape or glue the other 2 ends together too. Your headband will now look like a circle.
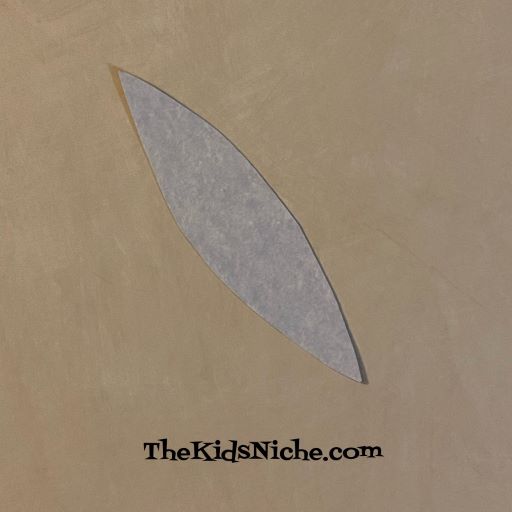
Now let’s make the turkey parts! Using the piece of cardboard or cardstock, make a pattern in the shape of a narrow leaf or feather.
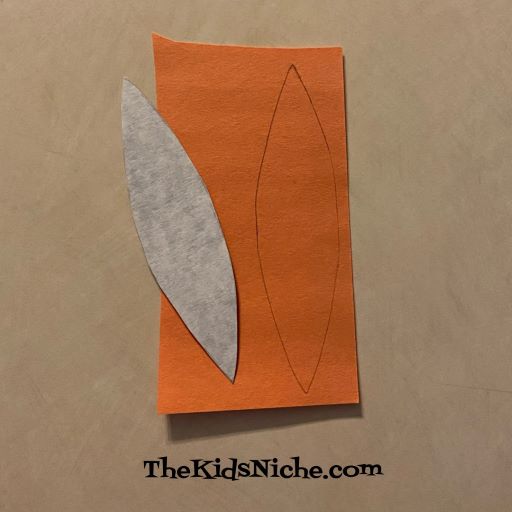
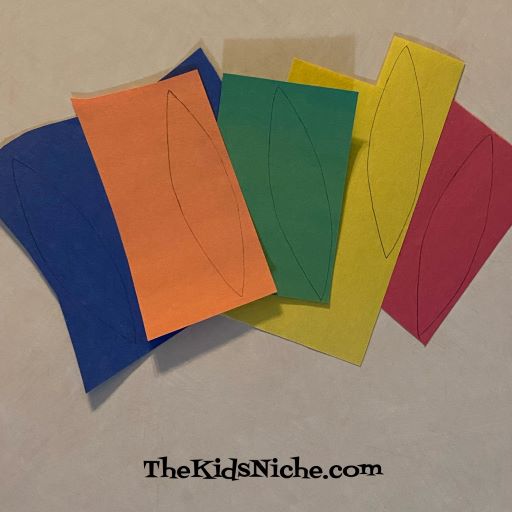
Use the pattern to trace around the feather on each scrap piece of colored construction paper.
Cut out each feather.
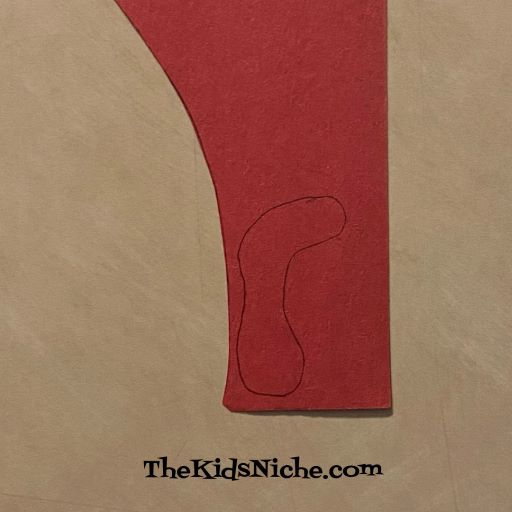
You know the red thing that hangs down by the turkey’s beak? It’s called a snood. You can draw one on a piece of red construction paper. Don’t worry about being exact here. Just draw something similar to this:
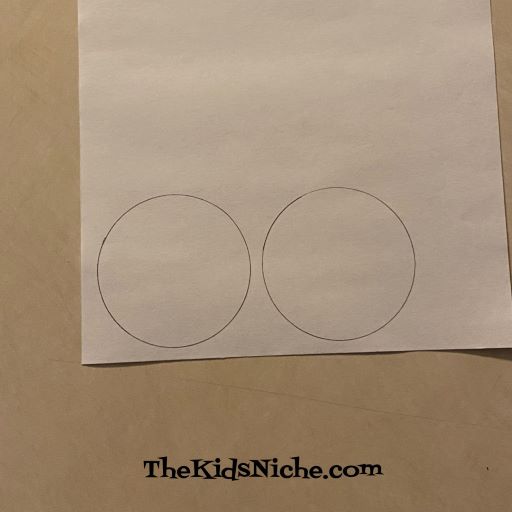
Cut it out using your scissors. Next, draw 2 fairly big circles on white paper for the turkey’s eyes. You might have a tiny glass you can use to trace around to make your circles.
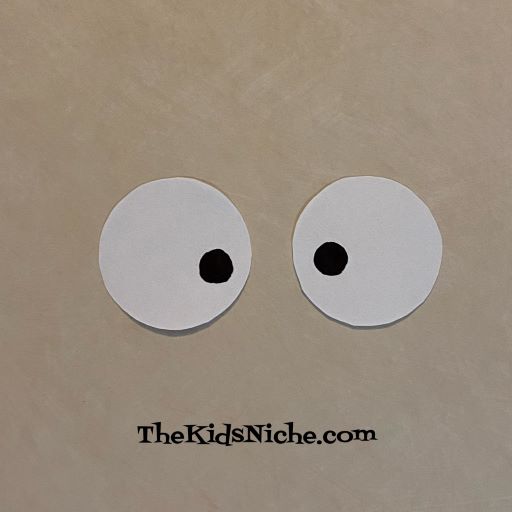
Using a black marker or crayon, color 1 dot on each white circle for the eye pupil.
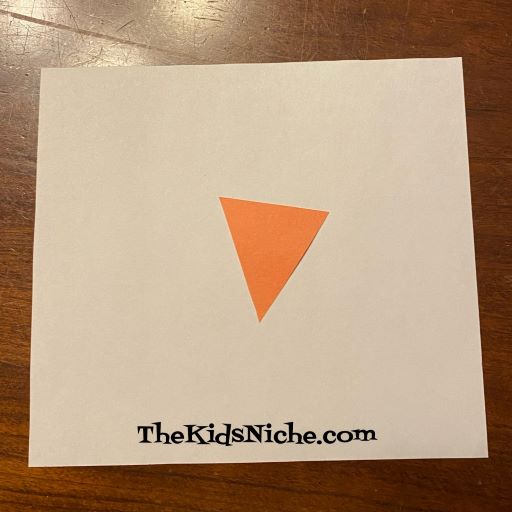
Cut a nice sized triangle out of orange paper for the turkey’s beak.
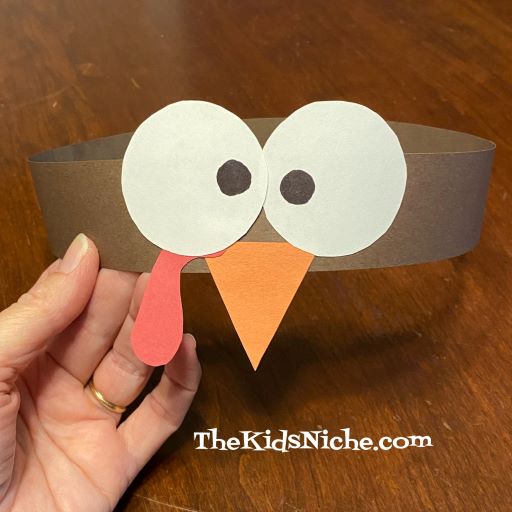
Ok, we have all the pieces ready so let’s put the turkey headband together! You can use glue or double sided tape. I went with the tape. First glue/tape the orange triangle on for the beak.
Put the snood on next, right at the corner of the beak.
It’s time to add the eyes! You can put them on in any direction you like. I put the black dots close together, but you can experiment with the eyes to see how you want your turkey to look.
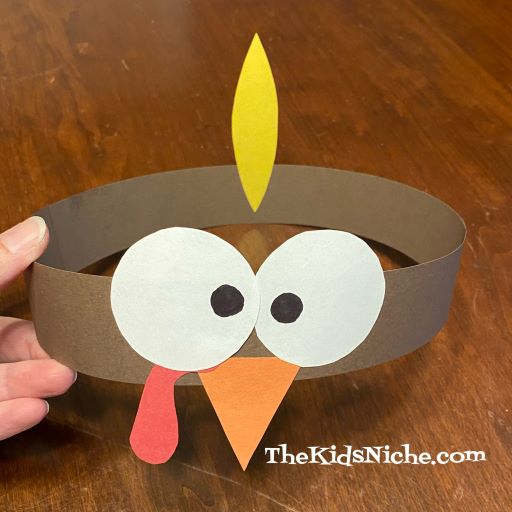
Apply the feathers to the inside of the back of the headband. You can put on as many feathers as you like.
Once the feathers are attached, your turkey headband is ready to wear! (Unless the glue needs to dry first.)
If you have more than one child making a turkey headband, you can customize them so each child’s look a bit different from the others. I tried to get Rusty (our dog) and my husband to model my headband for you, but both said they would rather not. 😉 Have fun and don’t forget to take some pictures!
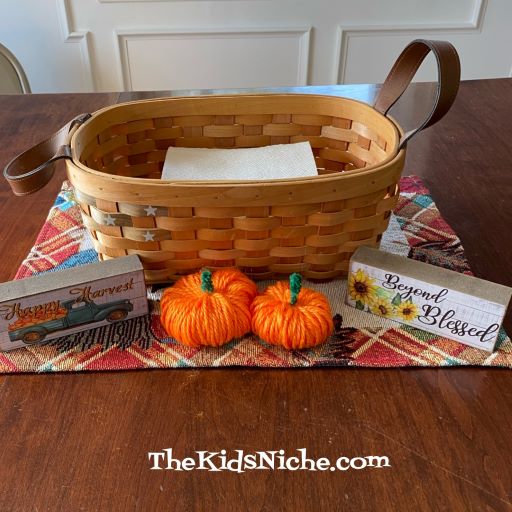
Do you enjoy decorating your home for Fall or Halloween? Both are appropriate for orange pumpkins, so today let’s look at how to make some easy ones! 🙂 This is a great craft project for the kids too.
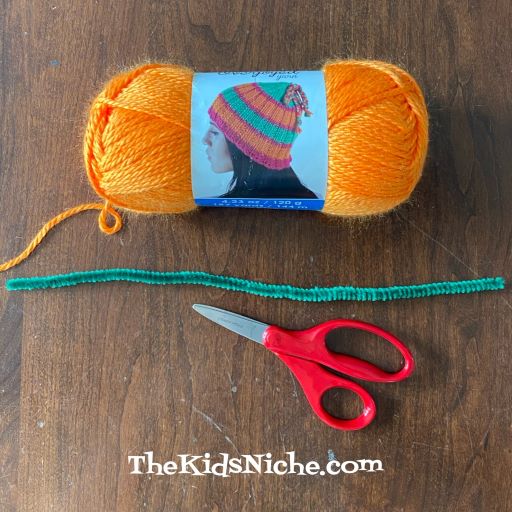
You will need some orange yarn, a piece of a green pipe cleaner and scissors.
Begin your pumpkin by wrapping the yarn around your hand. Depending on the size of your hand and the size of pumpkin you want to make, how many times you will need to wrap the yarn around your hand or fingers. You can also use a piece of cardboard instead of your hand. Hands or fingers are just…well, handy! 😉
For an adult size hand using all 4 fingers, you will want to wrap the yarn around at least 100-120 times.
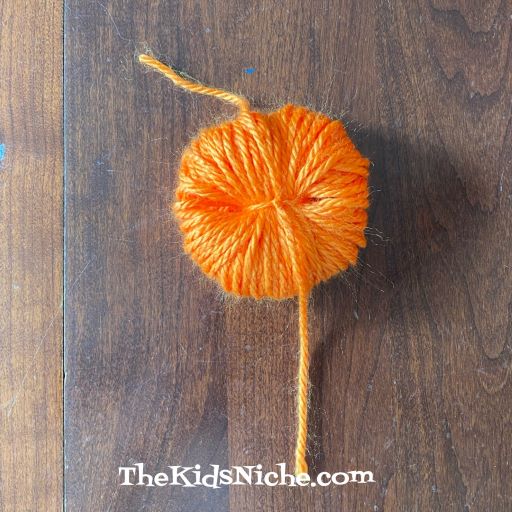
Carefully slide the yarn off your hand but keep all the pieces held close together. Cut a piece of yarn from the yarn ball approximately 5-6 inches long.
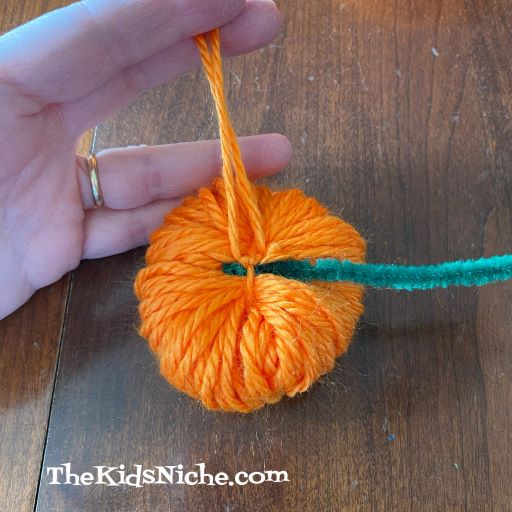
Lay the extra piece of cut yarn on the table and lay the wrapped yarn on top of it, keeping the cut piece in the center of the wrapped ball.
Tie a tight knot with the cut piece of yarn in the center of the wrapped yarn. Tie it 2 or 3 times so it won’t come undone. And make sure to keep the knot tight while tying it the second time. It’s easy for it to slip looser and then you will lose the shape of your pumpkin.
Now take the small piece of green pipe cleaner and tie another knot around the middle of it on top of the first knot.
You can also just slip the pipe cleaner under the first knot you tied, but be careful as it can snag the yarn.
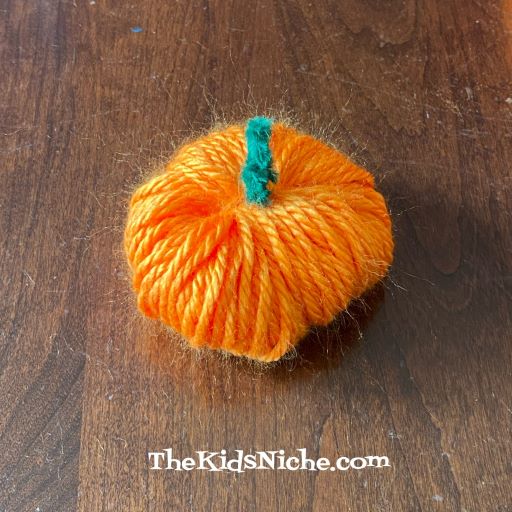
Twist the 2 ends of the pipe cleaner together and shape it like the pumpkin’s stem. Trim the extra length of yarn from tying the knots.
That’s all there is to it! 🙂 You can fluff your pumpkin with your fingers to make it look just right to you. Make as many pumpkins as you like and use them to decorate your house for the season.
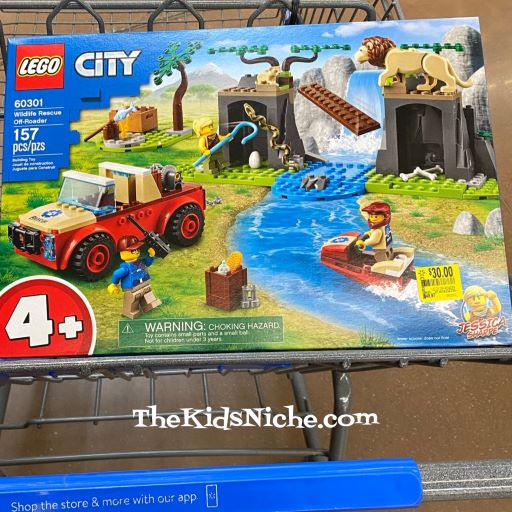
Just want to share a couple of nice toys that I saw on clearance at Walmart. I can’t promise these are available at your nearest store, but it might be worth a stop to check it out. 🙂 The first one is a great Lego set…its the Lego City Wildlife Rescue Off-Roader. (#60301)
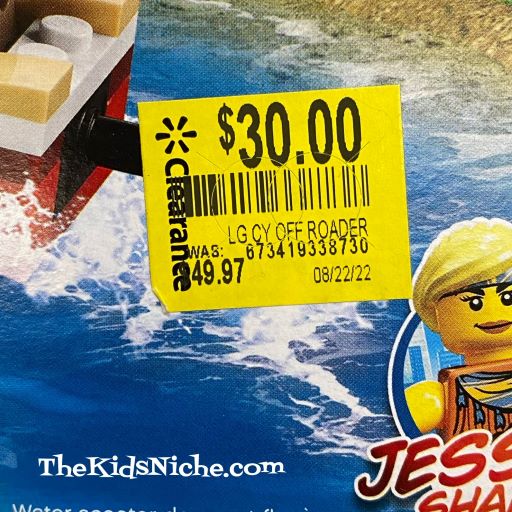
The clearance tag shows the regular price was $49.97 and it’s on clearance for $30.00! Nice price!
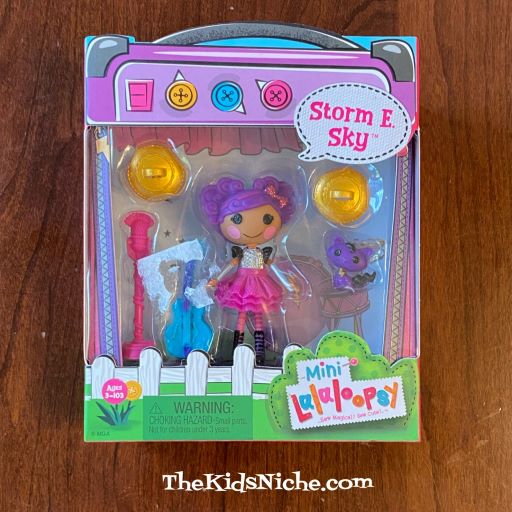
The other toy I want to share with you are the Mini Lalaloopsy dolls.
The regular price on these was $7.44 but they are on clearance for $2.00! Wow! Our store had 3 different dolls available.
Pix E. Flutters…
Storm E. Sky…
And Jewel Sparkles. These are quite cute!
So if you have some time (and a place to stash presents!) you might want to check out the toy clearance at your nearest Walmart store! Good luck! 🙂
If you are looking for something small to brighten your kid’s day, how about a little package of Lego? Have you seen the small packages of the minifigures Lego? You may find different colored packages that are from different series. This one is from series 23 and is the one I’ve seen the most recently in stores near us. The price seems to be $4.99 every place I’ve seen them for sale.
These little packages contain 1 minifigure and half the fun is the suspense of wondering which minifigure will be inside your package! For this series, there are 12 different figures available and they all look like fun!
Ok, it’s time to open the package!! Drum rolllllllllll…..! Which one will we get?!
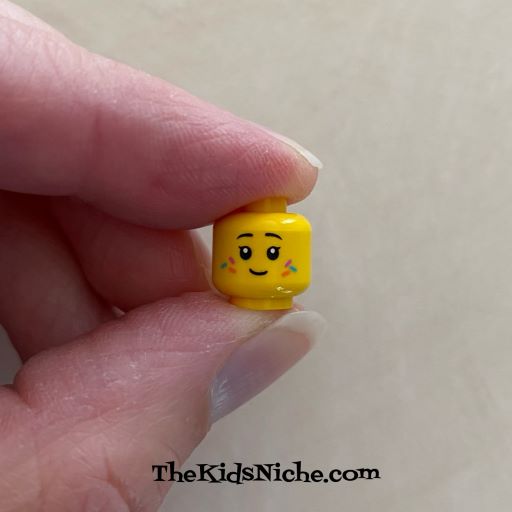
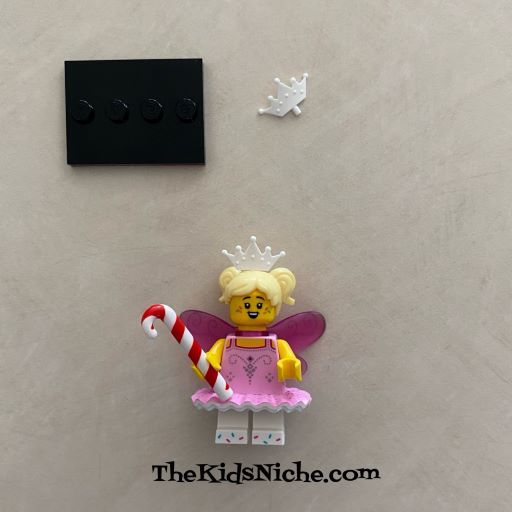
We got the Sugar Fairy! 🙂 Yay! These are the parts included in this bag.
The Sugar Fairy has a two-sided face so you get to decide which one you will see by how you put the figure together.
It was fun putting her together! 🙂 A base for her to stand on was included as well as an extra crown.
Here she is!
Now she can hang out with Butterfly Girl! 😉
No matter which figure is inside your package, it’s bound to bring some smiles and fun!
There are times when you need something quiet to entertain your children. Perhaps when you go to a funeral or church or the doctor’s office, etc, it’s nice if the kids can do something quiet. If you have a notebook handy, you can make a quiet learning book fairly easily. The quiet book can, of course, be tailored to your child’s age.
Here are a few suggestions for pages you can make for your child to do.
1.) Match the capital letters. Have your child draw a line between the letters that are the same. The size of the notebook you have will determine how many letters you can fit on a page. You can do a few letters or the entire alphabet.
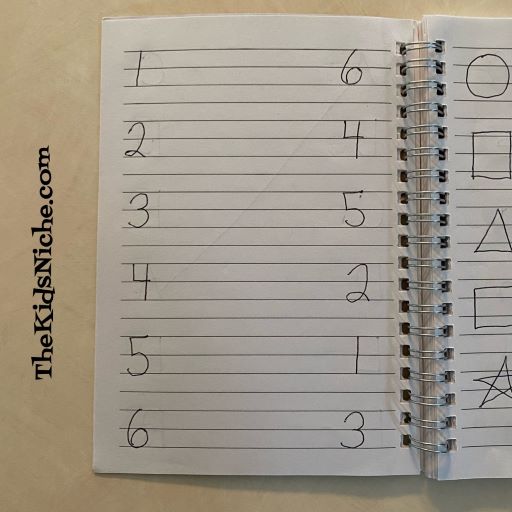
2.) Match the numbers.
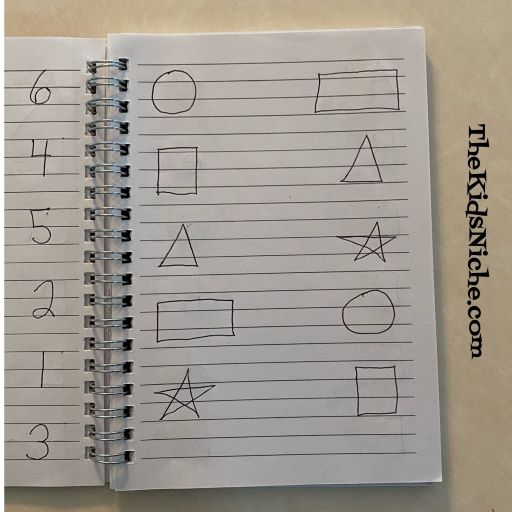
3.) Draw lines to match the simple shapes.
4.) Match the capital letters with the lower case letters.
5.) Draw a line between the matching stickers.
6.) Draw a line between the stickers that are the same TYPE of thing. For example, the 2 kittens, even though the stickers are not of the same kitten.
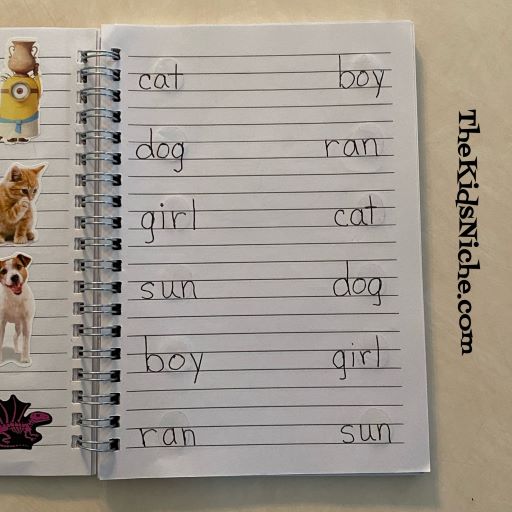
7.) Draw lines to connect the matching words.
8.) Draw lines to match the colors.
9.) Draw the same picture on the bottom of the page.
10.) Draw the same shape beside each shape on the left.
11.) Draw another caterpillar like this one.
You’ve got the idea now and I’m sure you will think of other pages to make that your child will enjoy doing. There’s no reason that a quiet time can’t also be a time of reinforcing some learning! 🙂
If you have been following me for very long, you know that I love crayons! And I love finding new kinds and colors of crayons. Soooo here’s another box of Crayola crayons that I am enjoying! Presenting Crayola Colors of Kindness Crayons!
The outside of the box shows you the colors of the crayons that are inside the box.
Just look at all those gorgeous colors! 🙂
Each crayon has the words “Colors of Kindness” on it.
Then each crayon has 2 names! One is a…well, we will call it the “kindness name”. There are fun names like “breathe deep”, “life is gouda”, “you’re so a-peel-ing”, “kind to the core” and “have a scoop of fun!”
If you roll the crayon over just a bit, you’ll find the other name. Like “turquoise blue”, “macaroni and cheese”, “banana mania”, “granny smith apple” and “pink sherbert”.
Here are a couple of my favorite names: “oatmeal”. 😉
“robin’s egg blue”. Such a pretty color!
And just one more…”inchworm”. Haha! Did that make you think of a little green inchworm? 😉
You and the kids can have fun reading all the great names on the crayons and then enjoy coloring a great picture with these amazing Color of Kindness crayons! 🙂