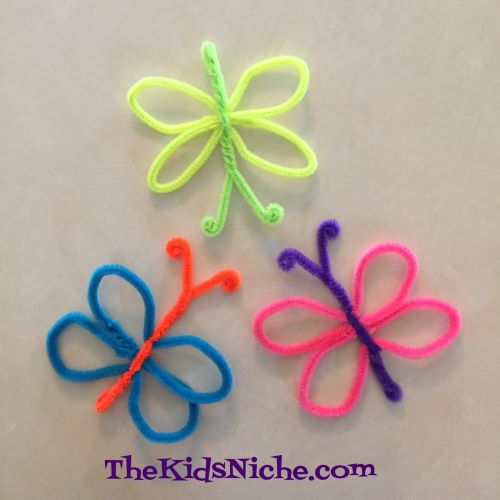
Since we have been talking about butterflies this week I thought we could have some fun with a butterfly craft. 🙂 This one is pretty simple to do but really small kids might need a little help getting things hooked together.

All you need for 1 butterfly is 3 pipe cleaners. Whatever color you like!
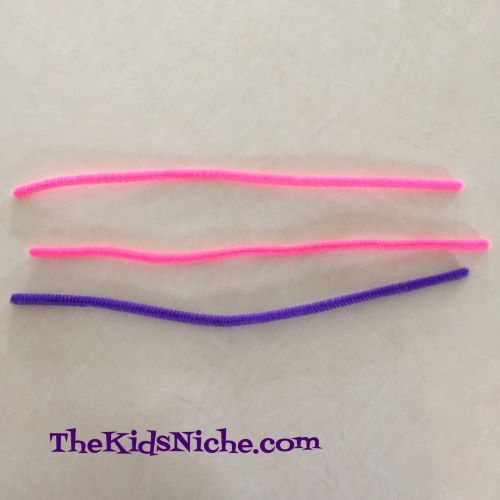
I chose 2 pink pipe cleaners for wings and a purple one for the body. Take the 2 pipe cleaners that will be the butterfly’s wings and make them into circles by wrapping the two ends together.

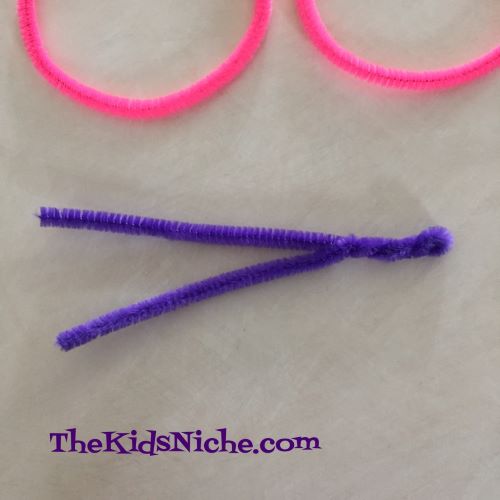
(Hmm! That almost looks like a grumpy face, doesn’t it?!) Now take your 3rd pipe cleaner and bend it in half. Twist the two pieces together by the bend until you have twisted it about 1/3 of the way up. This is the butterfly’s body.
Now take your 2 circles and kinda mush them together in the middle like this:
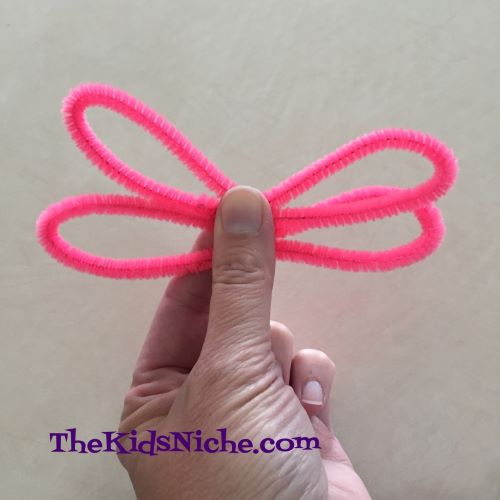
Holding the circles side by side, slip the body part up over both circles with one piece of the body pipe cleaner on either side of the wings. Like you are capturing the wings inside the body. Twist the 2 pieces together to make more butterfly body on the top and to hold the wings in place. Save some of the pipe cleaner ends for making the antennae.
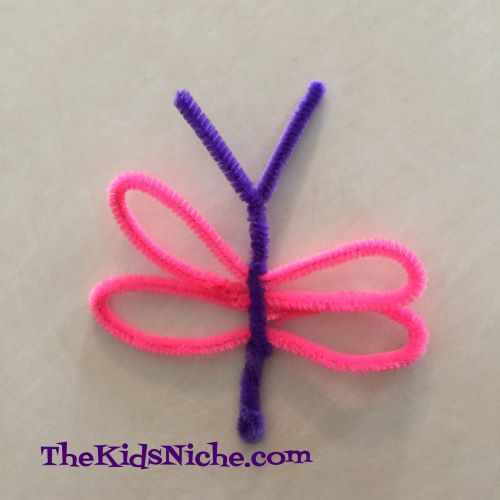
Don’t worry if your butterfly looks rather out of shape because now you can move the wings around to look the way you want them to look. The final step is curling the ends of the antennae into little rolls.
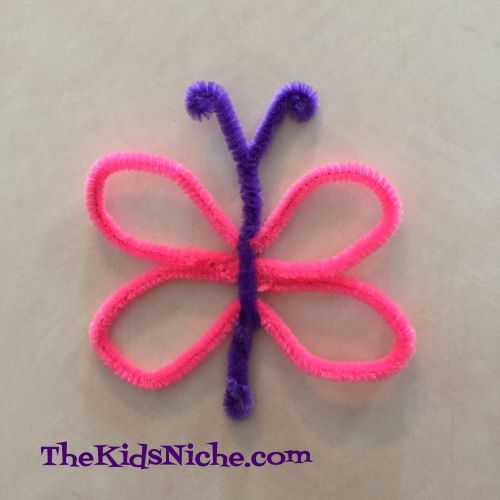
And there you have your first butterfly! 🙂 But who can stop at only ONE butterfly?! Go ahead and make a bunch more! If you would like to hang your butterfly up, I would suggest tying a piece of thread to it and then your butterfly can fly in the breeze! I’d love to see all the butterflies you make! Have fun! 🙂