Hello! I hope you all had a great 4th of July weekend! There will be no Taste Testing Tuesday this week because we have been gone out of state to celebrate the holiday. We had a wonderful time seeing our family! I plan to have a fun craft to share tomorrow so check back then! 🙂
Rusty had so much fun seeing all his “people” and his doggy buddies, but he was worn out afterwards! LOL
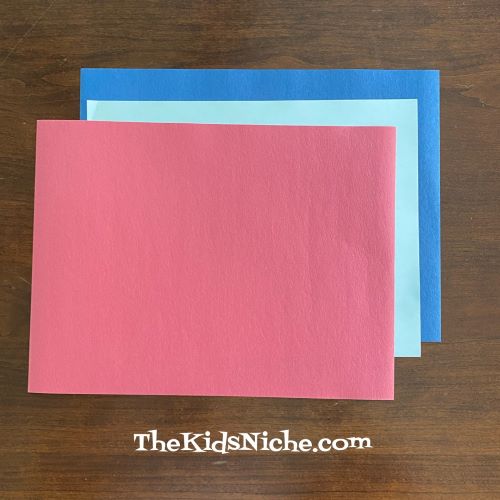
If you saw my blog post from yesterday, you might remember that I said we would be using the same red, white and blue strips of paper for another craft today. If you didn’t see that post, no problem! Here’s what you’ll need for today: 3 pieces of paper, (1 of each red, white and blue), scissors, ruler, pencil and glue.
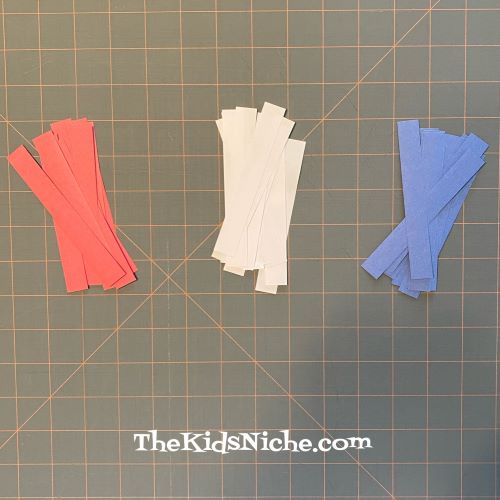
Cut a bunch of strips from each color of paper. The strips can be anywhere from 1/2″ to 1″ wide and 4 1/2″ to 6″ long.
So what are we making, anyways?! We’re making a patriotic paper chain! 🙂 Take a red strip of paper and glue the 2 ends together to make a circle.
Next, take a white strip of paper and feed it through the red circle and then glue the ends of the white strip together into a circle too.
Now your paper chain has 2 links.
Take a blue strip of paper and feed it through the white circle…then glue the ends of the blue strip together into a circle too. Now we have 3 links!
Continue feeding a new strip of paper through the last link in the chain that you made and gluing the ends of that strip together into a circle. Keep your chain laying in the same direction so you can remember which link is the last one you did. You can make the color pattern in any way you like. For my chain, I made the whole chain in the red, white, and then blue pattern.
And there you are! That’s all there is to it! You can make your paper chain as long or as short as you like. A short one could be a bracelet or a crown, a little longer one could be a necklace to wear for the 4th of Jul or a really long one could be hung up as a garland to make your house look patriotic for the holiday. It’s up to you! Have fun making your patriotic paper chain!! 🙂
Today is the first day of July! (Wow, the year is half over already!!) Just 3 days till we celebrate the 4th of July in the United States. It’s a day to celebrate our great country and our freedom. I wanted to share a simple craft for the kids so they can help celebrate the 4th by making some decorations for the house. 😉 You’ll need 1 piece each of red, white and blue paper, scissors and glue. Let’s get started!
First you need to get lots of strips of paper. A nice size for this project is 1/2 to 3/4″ wide by 4 1/2″ long. (I’ll be sharing another craft idea tomorrow that will also use the same size strips so you might want to cut a bunch while you’re cutting!)
Each star needs 4 strips of paper. Start with 4 strips of the same color. Lay one strip down and put a small dot of glue in the center.
Place a second piece of paper across the first one so it make a plus sign (+). Hold it in place with your finger for a few seconds.
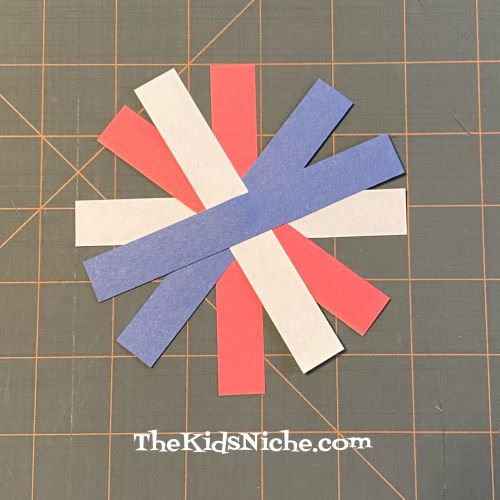
Put another dot of glue in the center again and lay the third piece of paper on top at an angle. Look at the picture for reference.
Add another dot of glue to the center again and lay the 4th strip of paper across at the opposite angle to the last strip. And that’s all there is to it! You’ve made your first star! 🙂
We made a red one and now you can make a white one.
And you can make a blue one.
Or you can make some that are red, white and blue! Or just have 2 colors…it’s up to you.
You can even make a star using 6 strips of paper.
If you want to make the stars even more special, you could use some glitter glue on the strips or some dots or lines of glue and sprinkle on some glitter. Alas, I seem to be out of glitter so I couldn’t do this. Make as many as you like and hang them around your house by taping a piece of string to the back of each one. Have fun getting your house ready for the 4th of July! 🙂
It’s Tuesday again! And it’s a HOT Tuesday here! 92 degrees with a heat index of 99 degrees. Whew! Are you ready for some Taste Testing Tuesday fun? Let’s do this!
Today let’s talk about the kind of salads that you eat on a piece of bread or on top of crackers. There are several different kinds but we’ll talk about 3 kinds today that I had ingredients on hand to make.
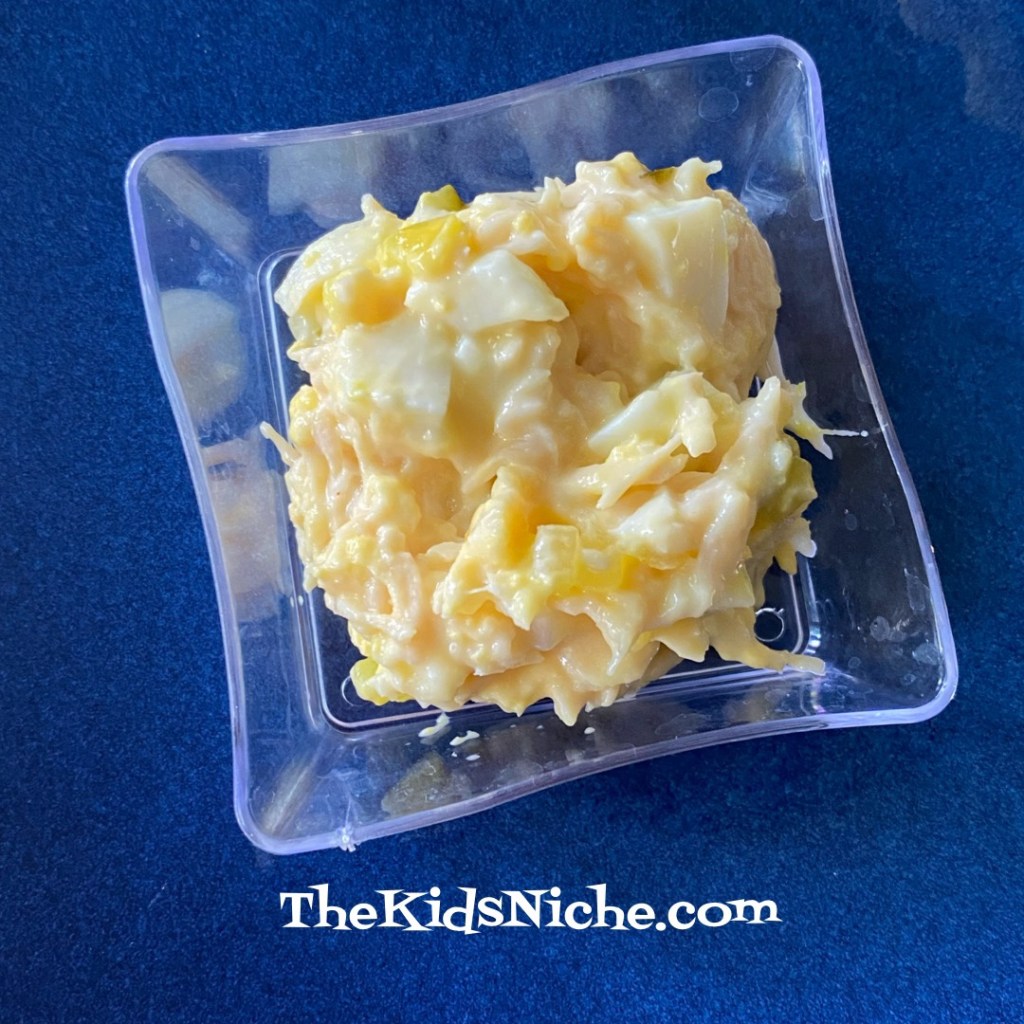
#1.). Egg salad. There are many ways to make egg salad but I make it using hard boiled eggs, mayonnaise (Miracle Whip), salt and a little onion powder.
#2.) Chicken Salad. Again, lots of ways to make it but I usually make it close to the same way I make the egg salad but I add in some cooked chicken and a little sweet pickle relish. Some people like to add white seedless grapes to chicken salad, just be sure to cut them in pieces first.
#3.) Corned Beef salad. For this salad, just open a can of corned beef, add the mayonnaise, chopped hard boiled eggs, a little onion powder if you like it. Mix it up and spread it on a piece of bread or crackers! Yum!
A few more of these types of salads that I know about or have made at some point would be ham salad, tuna salad, salmon salad, roast beef salad (super yummy!) and probably more that I’m not thinking of at the moment. These types of salads are so nice to eat on hot days like today when you don’t want to turn on the stove or oven. I hope you’ll do a taste test on one or more of these and let me know what you think! 😃
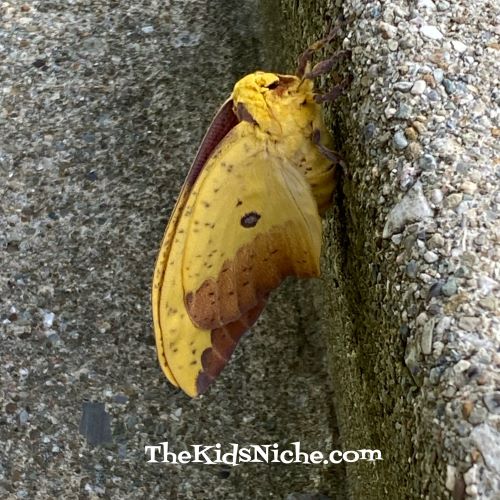
Yesterday evening when I was walking up our front steps, I saw something strange looking hanging on the side of one of the steps.
At first it looked like just a blob to me, but when I looked closer I thought it was some kind of an insect, but a very weird looking one.
After studying it for a few minutes, I began to think it might be a moth, but I had never seen one like that. I have raised Monarch butterflies for a couple of years now, so I’ve seen them hatch out from their chrysalis and their wings are folded up and their body is fat with fluids. The Monarch slowly pumps the fluid into their folded up wings and they slowly expand to look like the butterfly wings you would normally see. I started thinking the wrinkly blob part might be wings from a newly hatched moth.
Our family has a lot of interest in plants and butterflies/moths and other wild animals, so I sent a text with pictures to some of our kids to see if they knew what it was. Sure enough, our daughter-in-law thought it might be an Imperial moth. After doing a little research online, I think she is right. They can have over 6″ wingspan so they aren’t exactly little moths! One of the types of host plants that they like are maple trees and there is a maple tree right above the steps we found this guy hanging on. I watched him and waited for a while and I was finally rewarded by seeing his wings expand! (I’m saying “he” but I have no idea if it’s a male or female.)
He was so cool looking!
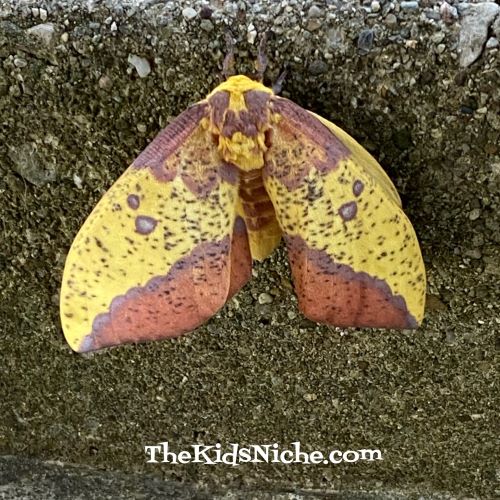
I watched and waited a while longer and he finally opened his wings up part way!
It was starting to get dark by this time and even though I kept checking on him, I didn’t get to see him open his wings all the way. But the wind was blowing and I got a picture of him that lets you see underneath to where there is another part of his wings.
Look at this picture I found online of an Imperial moth. It looks very much like a leaf in the Fall!
I’m rather sad to say that he was gone this morning when we went outside. But what a neat experience! So keep your eyes open when you are outside because you might just see something new and interesting like an Imperial moth! 🙂
If you would like to read more about the Imperial moth, here’s a nice article from Wikipedia:
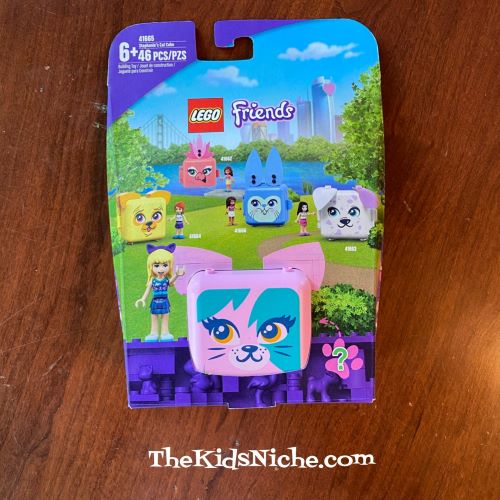
I’ve seen the cute Lego Friends Animal Cubes in the stores but I hadn’t bought one until recently when I found it on sale. These things are cute!! The little characters that come in them are girls so I suppose this toy is meant to be more for girls than boys. If you’ve wondered what all you get in a cube, I’ll show you today what came in the one I have…Stephanie’s Cat Cube.
First let me say, that each cube comes with a surprise animal. The package tells you what kind of animal it is such as a cat, but the color is a surprise until you open the little package inside. When you take the contents out of the cardboard packaging, this is what you’ll see:
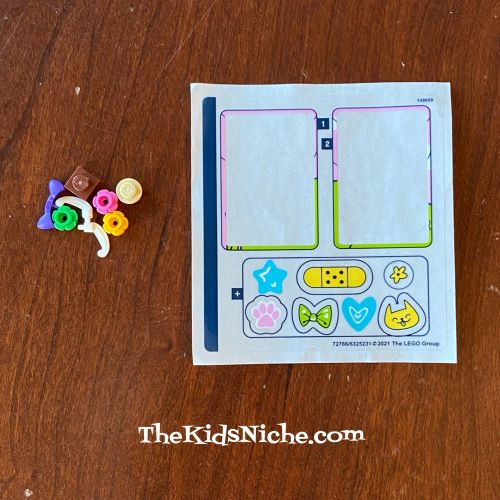
The directions for building are included and when you open them up and open up the bag with the building pieces in it, this is what you have:
But you also need to open the cube because there are more things tucked inside of it.
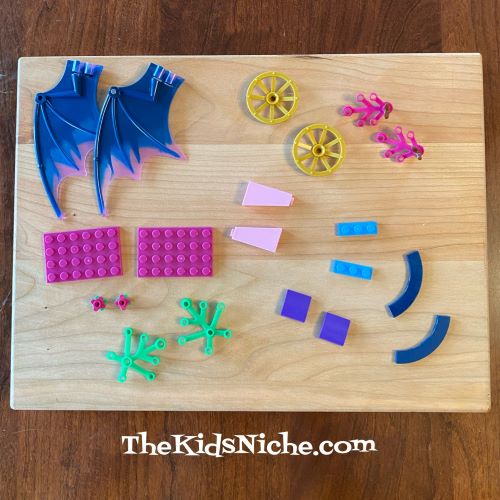
Ready to start building? I think it helps to lay all the pieces out on the table with like colors together.
Let’s put Stephanie together first.
Follow the step-by-step directions to put the Lego pieces together. Oh, let’s open the mystery box and see what our surprise kitten looks like!
I got a tiny pink kitten! Sooo cute! 🙂
There are 2 stickers that go inside your cube and you make some ears that go on the outside of the cube.
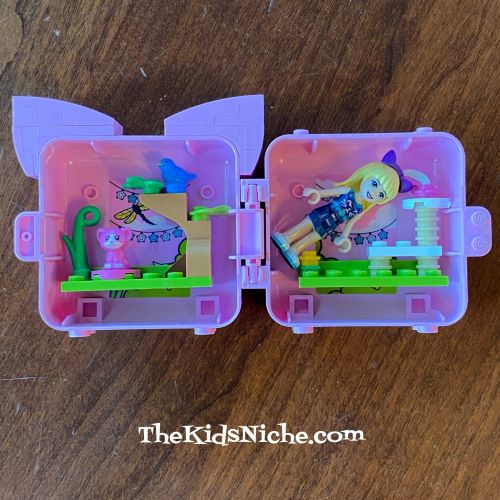
Aaaand here we are, all put together and ready to play!
There are a few extra pieces of Lego included (in case some get lost) and there are a few more stickers that you can put wherever you like.
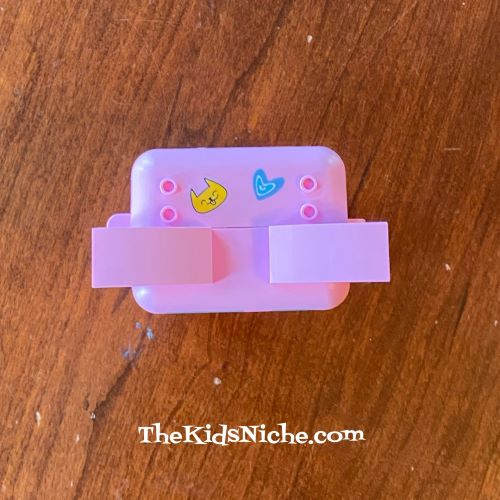
I’ll show you where I put my extra stickers. A couple of them on the top of the cube…
And 5 on the back of the cube. Pretty cute, aren’t they?
When you are done playing and it’s time to put your cube away, you will need to take the “put together” pieces out of the slots they slide into when standing upright. If you lay them inside the cube, you will be able to close the cube with your pieces safely tucked inside.
There are a few more Lego Friends Animal cubes available to buy in stores. (And now I want them all!) The regular price seems to be close to $9.99 but there are a few on sale on Amazon (for a limited time it says!) for $8.00 and $8.50. I saw some on Ebay with higher prices so look for those at least around $10.
When looking for these animal cubes online, I found that there are also other types of the Lego Friends cubes. Such as a fashion cube, a gaming cube, a shopping cube, a soccer cube, a play cube, a swimming cube and likely a few more.
I hope this post will help you learn just what these Lego Friends Cubes are like and perhaps you’ll want to buy some for your favorite girl! (I am not affiliated with any stores that sell these. Just sharing my thoughts!) 🙂
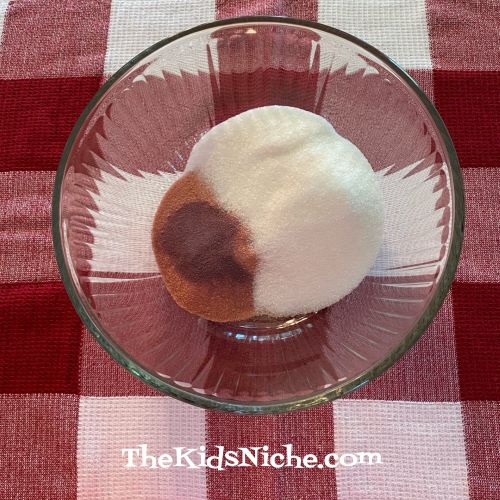
We’re getting some of those warm “dog days” of summer here in Ohio. When I get hot, I like to have something cold to eat or drink. That always reminds me of a recipe my mom used to make for my siblings and me…homemade popsicles! This recipe takes just a few common ingredients: 1 – 3oz. box of Jello gelatin mix (fruit flavor), 1 packet of the same flavor of Kool-Aid drink mix (Unless you are feeling adventurous and want to mix up your flavors!), 3/4 Cup sugar and some water.
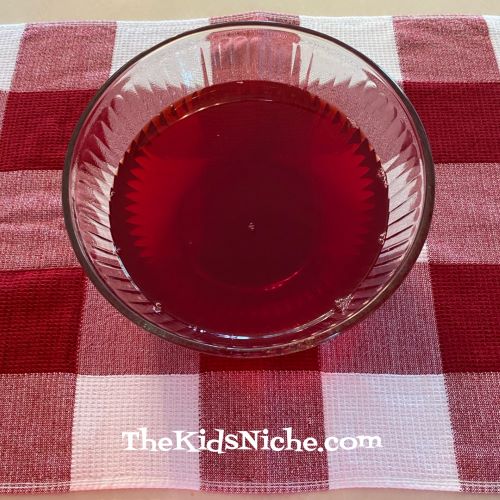
Place the Jello powder, Kool-Aid mix and sugar into a large bowl. As you can see from the picture, this time we are making cherry flavored popsicles.
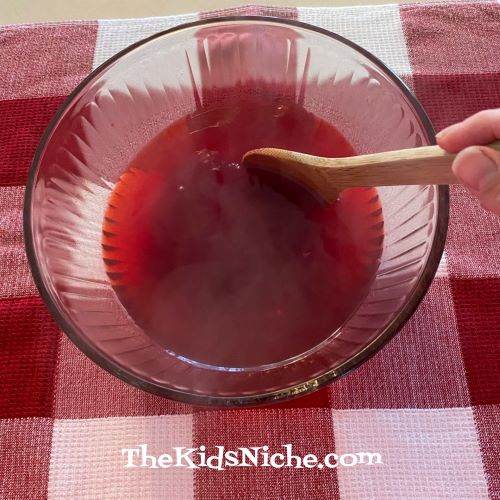
Bring 2 Cups of water to a boil and carefully pour it into the bowl with the Jello mixture. Stir until everything is dissolved.
Now add 2 Cups of cold water and stir again.
You are ready to pour this mixture into whatever forms you are using to make the popsicles. You can use popsicle molds, small paper cups (I recommend using the Dixie 5 oz cups and fill them 2/3’s full) or ice cube trays. (The cups pictured are the 9 oz size because those are the ones I had on hand.)
I filled my popsicle molds first.
I had enough Jello mixture to also fill an ice cube tray and 2 – 9 oz. paper cups about half full.
Place on a flat surface in your freezer for 2-3 hours until the popsicles are frozen. You can place wooden sticks in the cups or ice cube trays after the popsicles are partly frozen.
Here is the recipe card that I have the recipe written on.
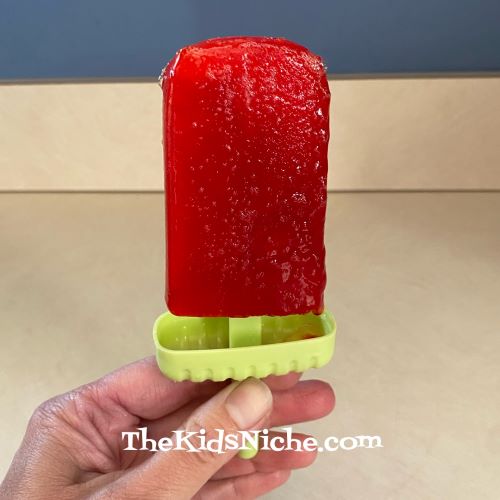
The number of popsicles you will get from one batch depends on what size containers you use for making your popsicles. Let’s take a look at a finished popsicle! Ta dah! Ready to eat! 🙂
A word of caution: eat these slowly as they feel colder than ice cream and its easy to get a “head freeze” if you eat them too quickly! Looks like someone is enjoying this popsicle! 😉
The popsicles that are made in the ice cube trays are great for adding to a cup of juice to add more flavor and keep your drink cold longer. There are lots of ways to make popsicles but this one is a favorite because it comes from my childhood. Maybe we will look at some other ways to make your own popsicles on a blog post another time. For this time, enjoy your popsicles! 🙂
It’s Tuesday again and you know what that means! Time for another Taste Test! Do you have a garden where you live? We have 6 garden boxes this year and in one of them we have salad greens growing. Greens are soooo good for you and help you to be healthy and they don’t get any fresher than straight from the garden! But maybe you don’t have a garden…no, problem! Grocery stores carry a lot of greens especially this time of year. And be sure to look for a local Farmer’s Market where they might have fresh greens from nearby.
Different types of greens have different flavors. Some are more mild while some are more spicy. Let’s talk about the 6 types we have growing at our house. You can do a taste test with whatever greens are available close to you.
#1.) Romaine Lettuce. This is a more mild kind of greens and one you are likely to find served in restaurants. It will grow into a long shaped head if it is left to grow long enough. We like to eat the baby greens before they get that big.
#2.) Arugula. Arugula is a stronger tasting green and a bit on the spicy side. But it adds a nice taste to a mixed salad. There are different shapes for different types of Arugula.
#3.) Kale. Kale is a superfood because it is so good for you to eat! These pieces of Kale were picked when they were small yet, but Kale can grow into very big leaves and is still good to eat.
#4.) Swiss Chard. Swiss Chard is also a superfood. The stems on Swiss Chard can be different colors. Notice the stems on the pieces in this picture. See how some look red/purple and some look yellow? It makes a salad even prettier. Swiss Chard greens have a little stronger taste to them.
#5.) Lettuce Mixture. The packet of seeds that these greens grew from was called a Lettuce Mixture. So there are different colors and shapes of lettuce here. These have a mild taste.
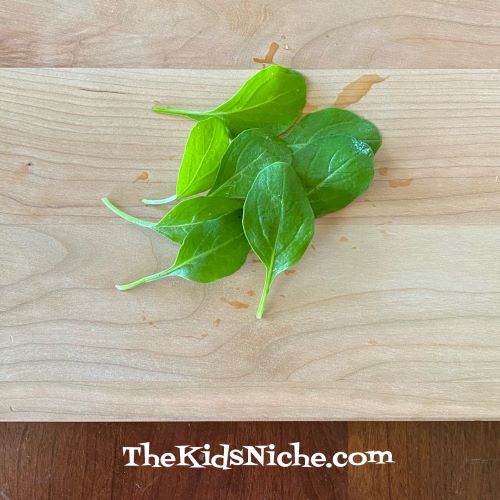
#6.) Spinach. Fresh Spinach makes a great salad! Strawberries and Spinach go together well. And Spinach is another superfood!
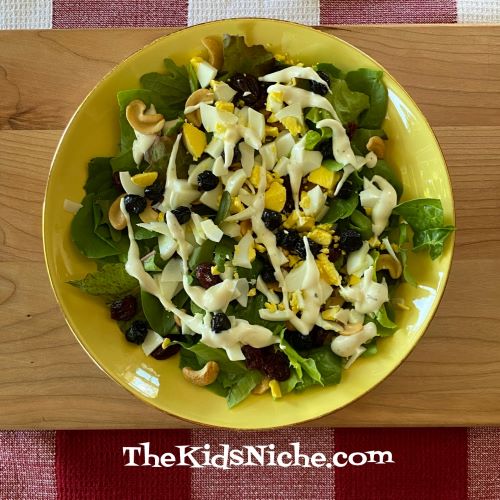
So, grab your favorite salad dressing and let the taste testing begin! You might try having a small cup with some dressing in it and letting the kids (and adults!) dip a piece of each kind of green you have into the dressing. After you know which are your favorites, you can use those to make a nice salad for a meal.
Let the kids add some of their favorite salad toppings and dressing and you have a super healthy meal ready to go! (If you’d like to see some suggestions for some yummy salad toppings, go back and check out my Taste Testing Tuesday #11.) https://thekidsniche.com/2020/10/20/taste-testing-tuesday-11/
Here’s to hoping your taste test will help you and your family find some new healthy greens that you can enjoy while also having a healthy meal! Thanks for stopping by! Enjoy! 🙂
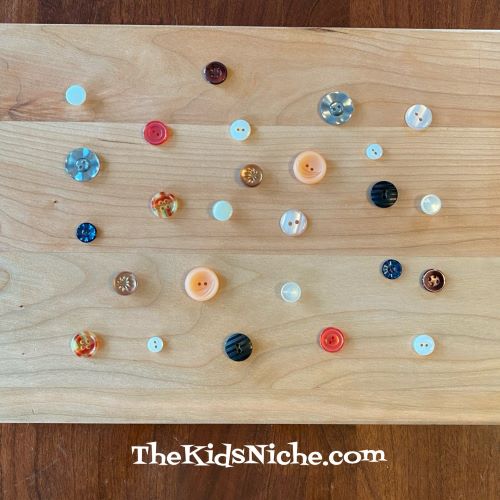
Hello and welcome to a new week at The Kids Niche! Today we’ll talk about a super easy and simple matching game. The first way we played it was using buttons we had around the house. (If you don’t have buttons, its ok…keep reading please.) Pick out several button pairs so you have 2 that match. Lay them out on the table or counter and mix them up.
The age or ability of the children playing can determine how many sets of two you use. Let the children match the button pairs up. If there is more than one child playing at a time, they can take turns finding matches. There isn’t really a winning person in this activity, but everyone wins when all the matches have been made!
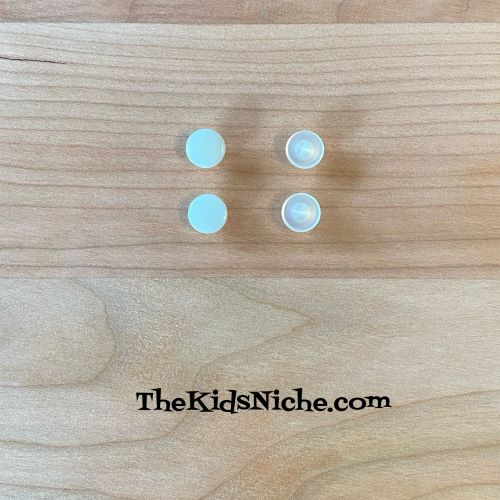
Also depending on the age of the kids playing, how hard you make the matches. For instance, these two sets of buttons look very similar. But one set is white and the other is shiny.
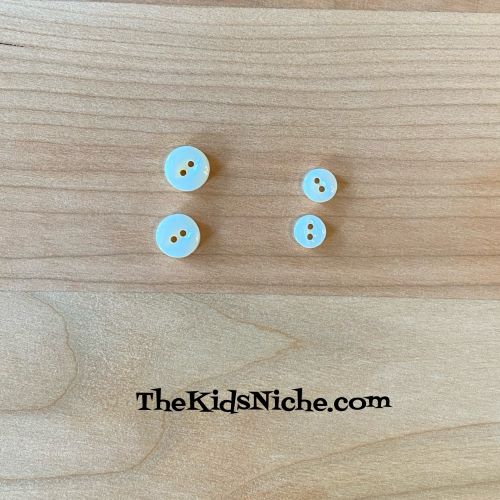
These two sets of buttons look the same except they are different sizes. Be careful of using too small of sizes for the younger kids because we don’t want anyone putting things in their mouth and choking on them!
Maybe you don’t have buttons at your house? Lego pieces work great for this activity too. Follow the same instructions that we used for buttons.
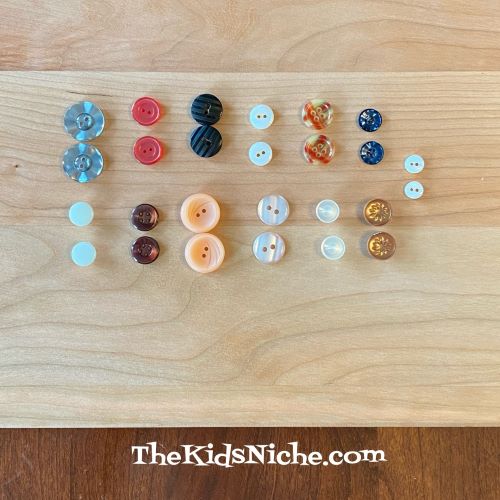
All matched up!! Good job!
You can use whatever items you might have around the house. Maybe crayons or blocks or hair barrettes. The idea is just to have things that you have two of for the kids to sort out the pairs. I hope you and the kids have fun trying out this game! 🙂