Knock! Knock! jokes are widely popular with kids and they have been around for a very long time. I loved them when I was a kid. (Telling my age here! Ha!) So here are a few to brighten your day!
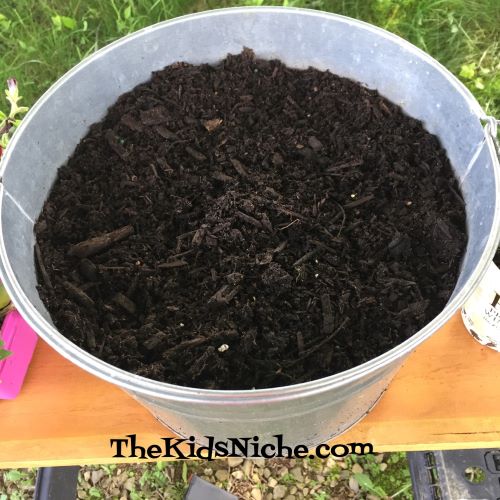
This is a great time of year to encourage kids to learn more about plants and how they can beautify our outdoors. There is just something so special about getting your hands into some dirt! It’s very therapeutic for me! So here’s a crash course on making an awesome pot of flowers. 😉 First decide where you can put a pot of flowers. Check to see if its mostly sunny or mostly shaded there for the bigger part of the day. You can buy a pot for your flowers or look around your house and see what you already have that might work. I chose a galvanized metal tub that we had that adds a nice country look to our flowerbed. You’ll need a bag of dirt or potting soil to fill the container 3/4’s full.
Once you know if your spot is shady or sunny, then you’ll know what type of plants to buy. My tub will be in a sunny spot so I bought plants that love the sun. Don’t worry if you don’t know which plants like shade and which ones like sun because most places that sell plants will have tags in each pot that tell you which kind it is. If you don’t see any tags, ask the person working in the store. Most people are glad to help you find what you need.
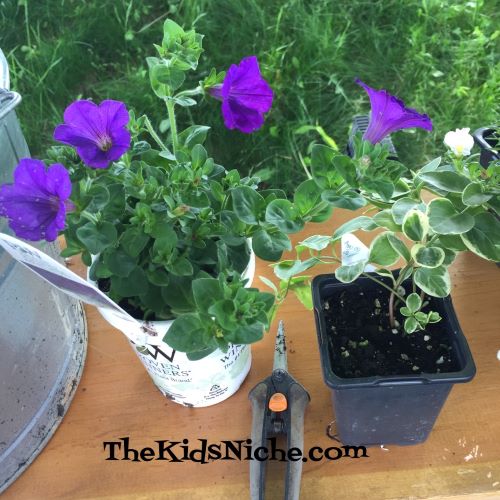
It’s nice to have plants that have different colors of flowers and grow to different heights. Again, that information is on the tags. I wanted to have a red, white & blue theme so I found red and blue Petunias and white Calibrachoa. I like to add some plants that just offer greenery but have different shaped foliage and vine out so I also bought a Dracaena Spike, an Asparagus Fern and a Vinca Vine.
Spike and PetuniaPetunia and Vinca VineCalibrachoa and Asparagus Fern
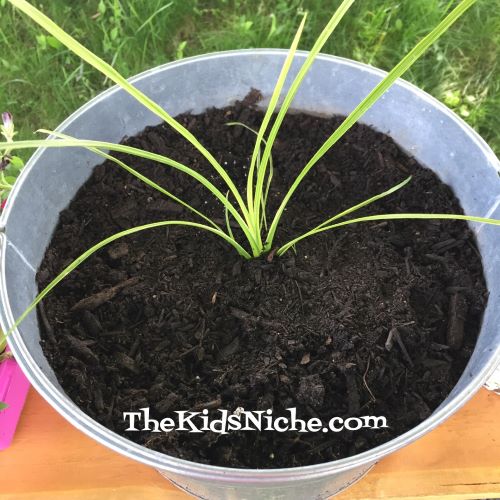
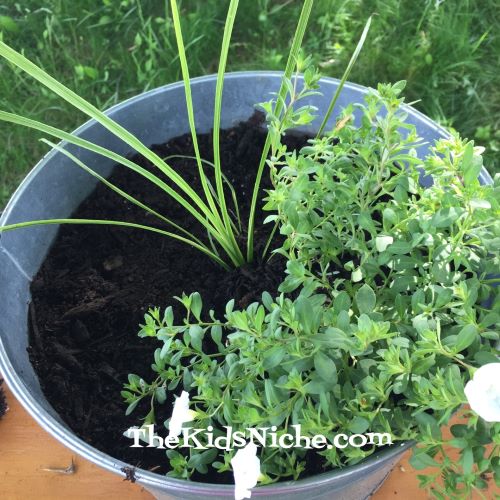
The size of your pot will determine how many plants you have room for. My pot is quite large so I had room for 6-7 plants. First, I planted the Spike in the center of the pot.
Then I planted the white Calibrachoa just off to the right a little in front of the Spike. Calibrachoa come in so many beautiful colors and they are fairly easy to keep blooming if you are careful to keep them watered.
To the left of the Calibrachoa, I planted the red Petunia.
On the other side of the Calibrachoa, I planted the Asparagus Fern.
Then back to the left side of the red Petunia, I placed the Vinca Vine. As it grows, it will send vines out over the side of the tub which gives the pot a nice look.
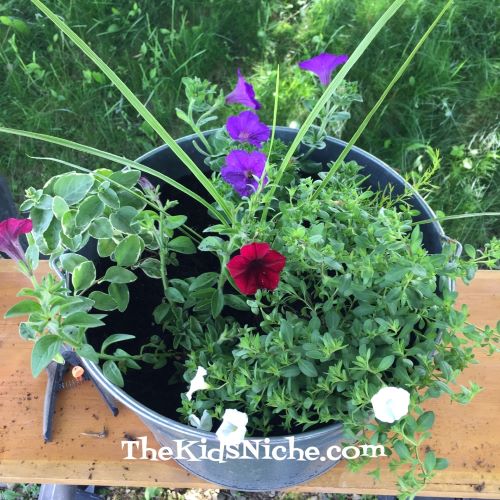
Then last, but not least, I had room for 2 blue Petunias in the space that was left.
Ta Dah! You did it! You now have a beautiful planter to add some color to your out-of-doors area. Don’t forget to water the pot well after you have it settled in its new place. Don’t worry if it looks like you have a bit too much room between the plants because they will fill it in as they grow throughout the summer. I made 4 tubs like this and they are sitting along our split rail fence in front of our house. I’m adding some small American flags for a lovely patriotic area. Kids will enjoy this project especially if they are involved in it from picking out the plants, to planting, and finally sitting the finished pot out for all to enjoy. 🙂 Have fun!
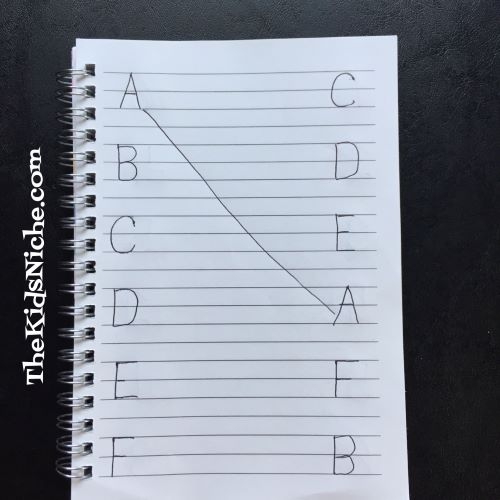
Do you ever need to go someplace and the kids have to go along but they need to be quiet? Maybe it’s to church or a funeral or a place that calls for not talking out loud for a while. Today’s craft is perfect for those occasions! I call it a Quiet Notebook. Any small notebook will do and the paper can be lined or unlined. The pages you include in it will depend on your child’s age so feel free to adjust accordingly. I started mine out with matching items. The first page is matching letters. I wrote capital letters down the left side of the page, then wrote the same capital letters on the right side of the page but in a different order. Let the child draw a line between the ones that are the same.
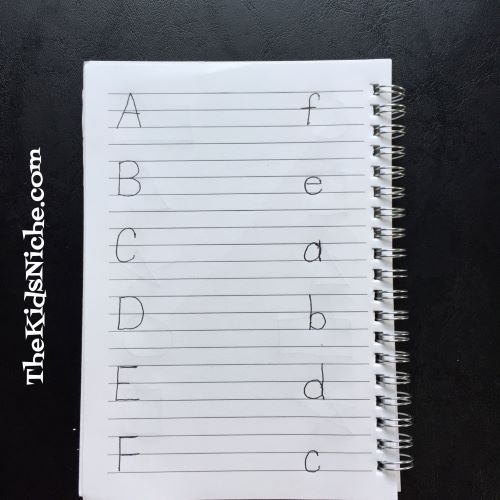
You can do just a few letters or work your way through the entire alphabet. You can do some pages for matching capital letters with lower case letters too.
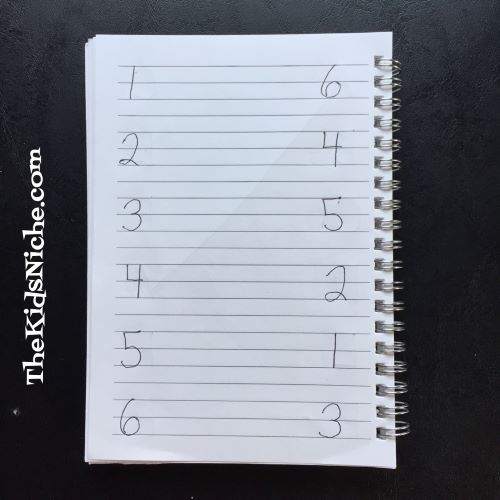
My third page is numbers, done in the same way as the letters.
Next, I added some shapes for matching.
Stickers are great fun for kids and so I used some stickers too. Again, let the child draw a line between the stickers that are the same.
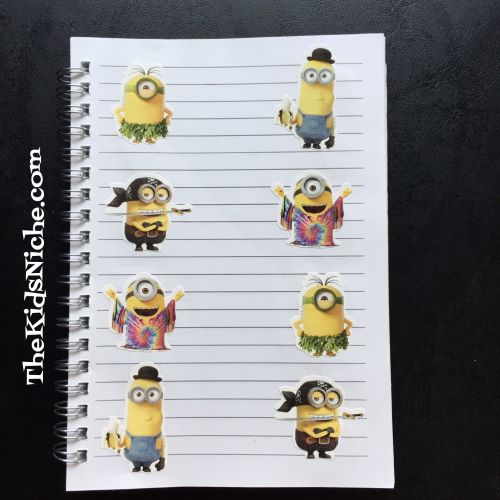
For the next page, I made it a little bit harder. (Again, fit the pages to your child’s abilities.) I used stickers again but this time they need to match the items that are similar, but not exactly the same. For example, there are 2 kittens but they are not the same kitten. Two sets of puppies but different breeds.
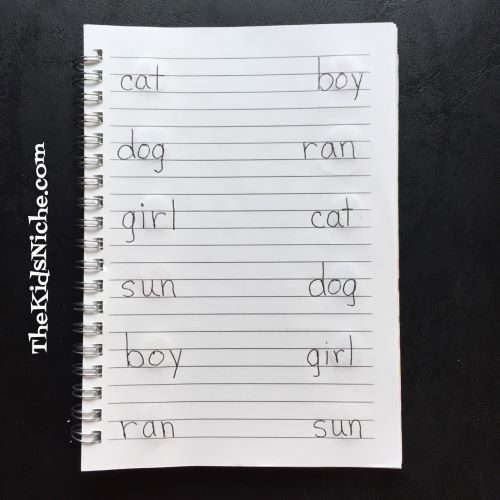
Another idea is to do a page matching small words.
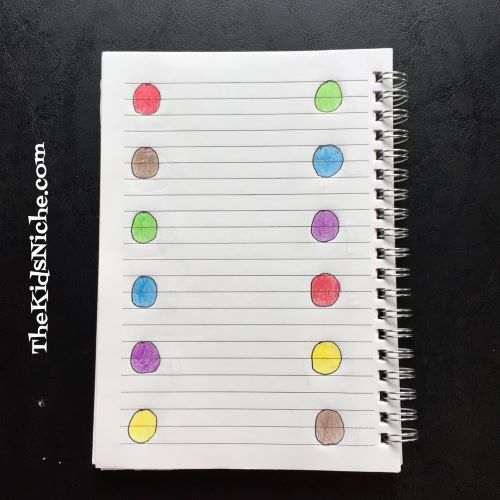
Colors…
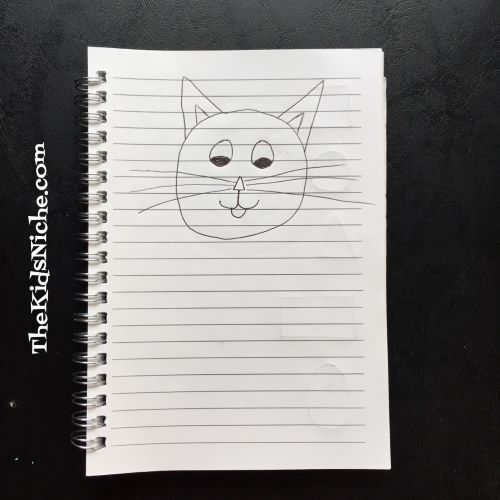
I switched gears and made some pages where they draw the picture they see. Good for practicing fine motor skills. The first one is a simple version of a cat at the top of the page with room for them to draw one at the bottom.
Then a page of shapes to copy.
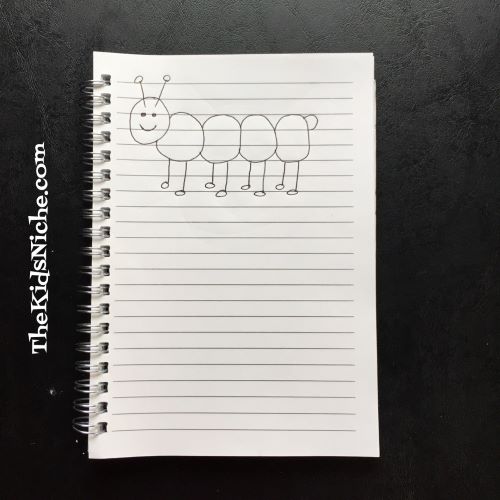
Then an awesome funny-looking caterpillar. 😉
We have done some of these type of pages with our 5-year-old granddaughter and she asked for more! Hope this will give you some good ideas to create a Quiet Notebook of your own! Feel free to share any different ideas you have! Always glad for your input!
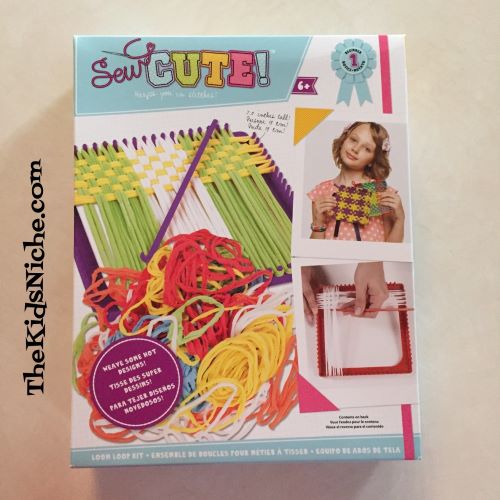
Today’s craft idea will probably bring lots of “Oh, I did that when I was a kid!” type of comments from you moms and dads. Remember making potholders with the stretchy loops, the square loom and a hook? Yea, me too! 🙂 I loved making these! My mom was always very gracious about using my creations, though I’m sure she had more than she needed! Here’s one that my grandson made for me a few years ago. Yep, I still have it! 🙂
The kit I purchased for this blog post came from Joann.com but they are available elsewhere too and are inexpensive. Today’s looms and hooks are made of plastic whereas the ones I used as a kid were made of metal.
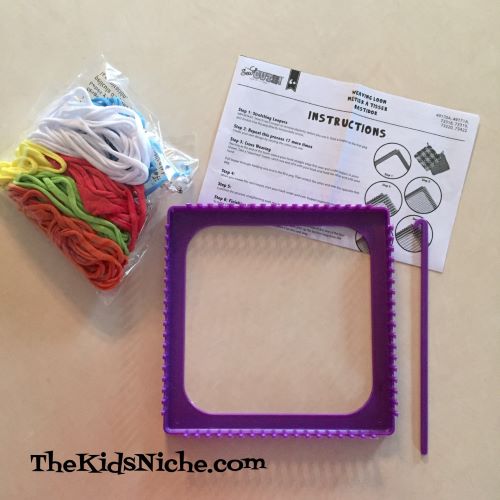
Here’s what came in this kit: plastic loom, plastic hook, a bag of loops and instructions.
One small word of caution…the hook was actually attached to the loom still and after I twisted it loose, the hook had a sharp edge on the curved end that wanted to catch on the loops as I tried to weave between them. So I grabbed a nail file and rubbed it until it was smooth and it was great after that.
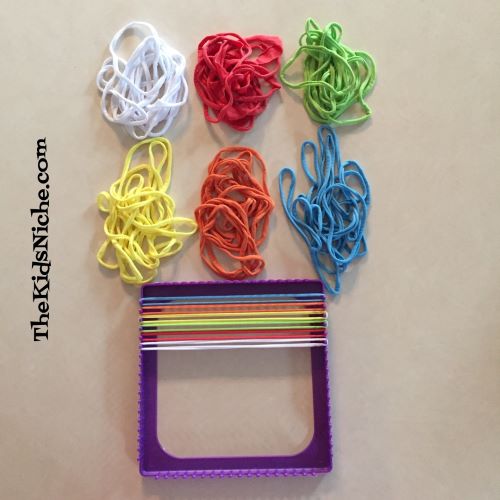
To begin, sort out the loops into piles of the same color. This kit has 6 colors. I lined the loops up so I could keep track of the order I wanted to use them in.
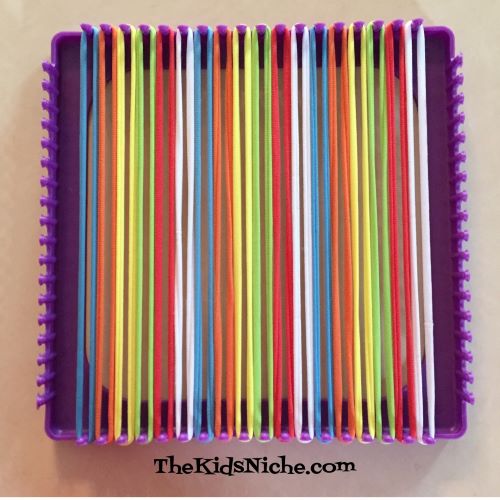
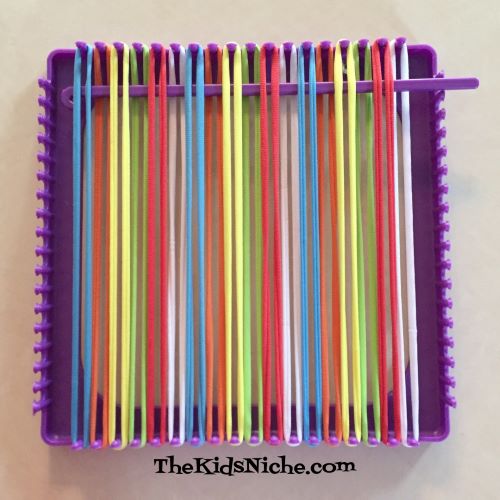
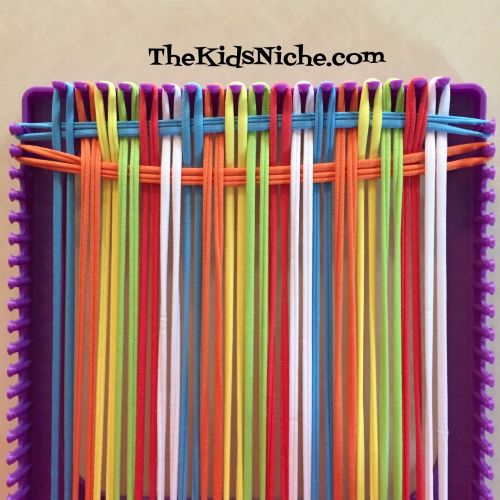
Take a loop, hook it on the first peg and stretch it across the loom to the peg directly across from it. Keep going until all 18 pegs have been filled.
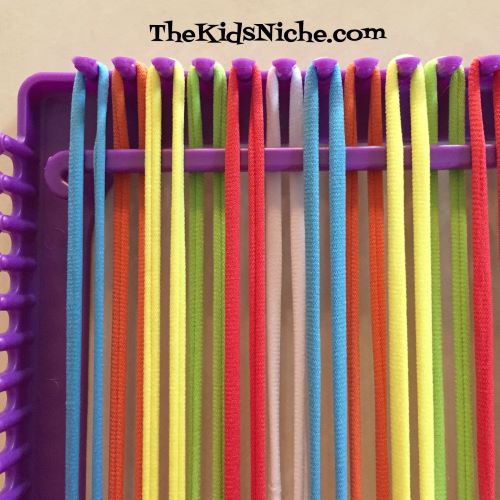
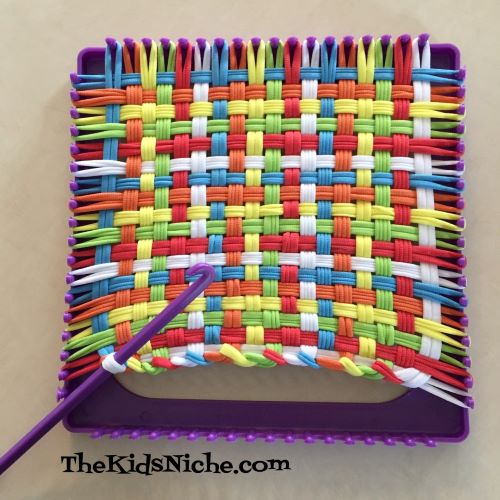
Now you’ll start weaving. Starting at one end of the loom, weave your hook over and under each loom going across the loom. Over then under, over then under all the way through.
Here is a closer up picture.
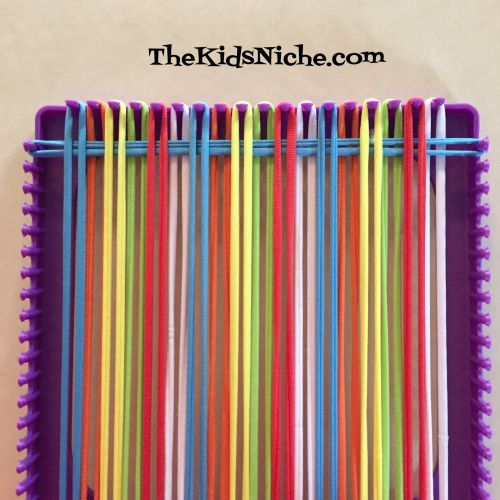
Now take another loop and catch one end on the curved end of the hook and the other end of the loop onto the first peg. Pull the hook back through the loops on the loom and hook that end on the first peg on the opposite side.
Then your first loop is done!
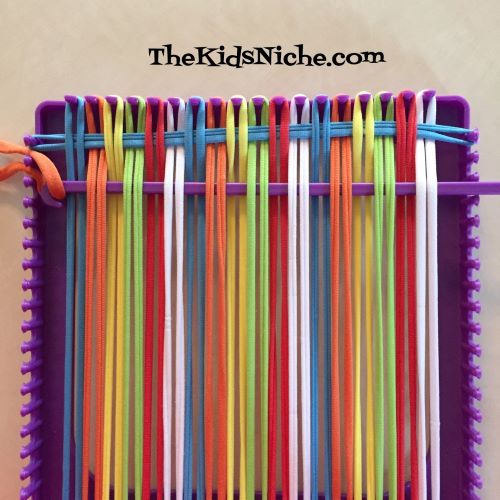
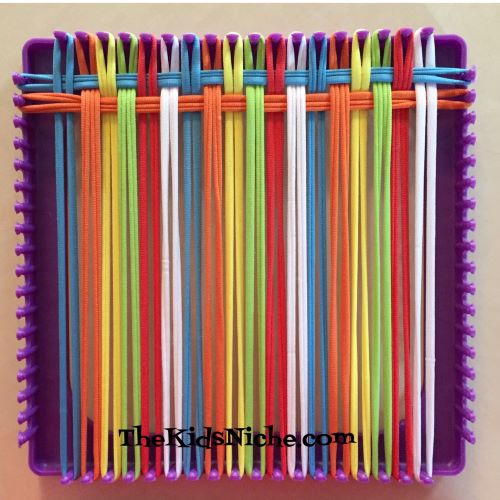
For the second loop, weave your hook through the loops again but this time start with the opposite way from what you did the first one. So if you started out going OVER the first loop, this time start out going UNDER. Weave under and over all the way across. Put another loop on the hook and 2nd peg and pull the loop back through.
Don’t worry if your loop looks like its hanging down too far after pulling it through because it can easily be adjusted with your fingers. Try to keep each loop in a straight line between the two pegs it is hooked on. Like this:
Each time you add another loop, make sure it is woven the opposite way of the one done before it. Continue weaving and adding loops until the loom is filled.
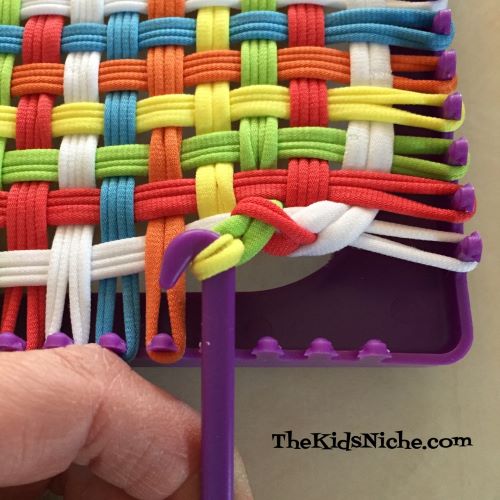
Now it’s time to make the edge of the potholder. Pick a corner to start from, then take the first loop off of its peg and slip it over the second peg. Pick up the bottom loop on the second peg and pull it through the top loop, letting the first loop come free of the peg…then put the second loop you are holding over onto the third peg. This picture is after I did a couple of loops. See how the green is over the yellow?
Now pull the yellow loop up through the green one and let the green one go.
Then place the yellow one on the hook on top of the orange one on the next peg. Hope that makes sense! Continue this process all around the loom. Here’s what it looks like after one side is finished:
This process can get a little tricky and a bit hard to hang onto so children making a potholder will likely need some help on this part. I actually found it easiest to just use my fingers for the last side.
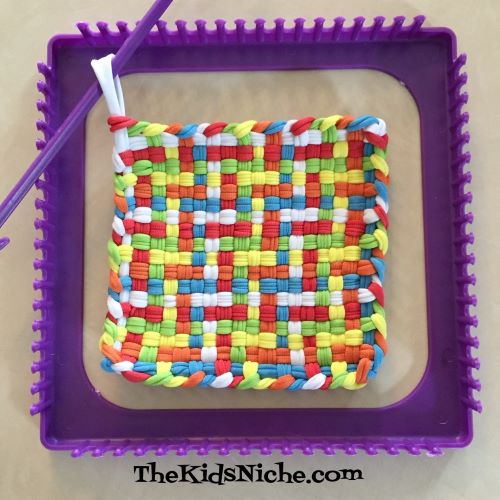
When you get to the last loop…here its the white one…I recommend wrapping the white loop around and through the red loop another time and then making a knot in the white loop to secure everything. The loop sticking out makes it nice for hanging.
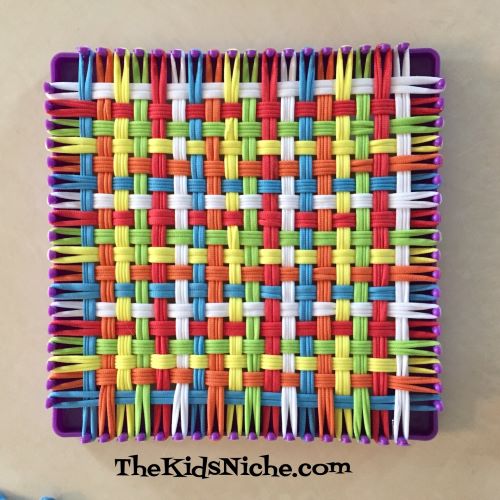
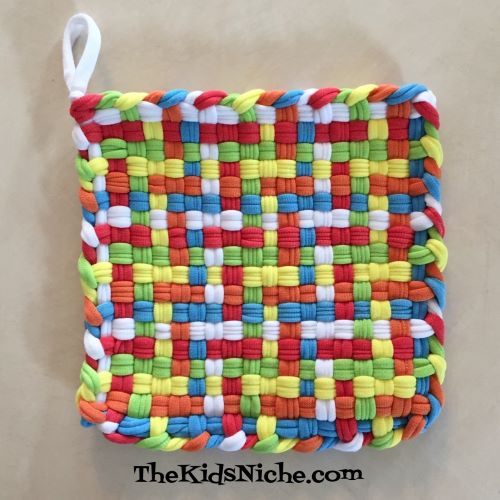
And there you have it! Mission accomplished! These potholders are not recommended for taking things in and out of the oven. What a feeling of accomplishment for kids! It makes a nice gift for mom, grandmas, aunts or anyone that cooks! 🙂
Our latest project is drawing flowers using a compass. Not the kind of compass that tells you which way is north, but the kind you use in Geometry class to draw circles. 🙂
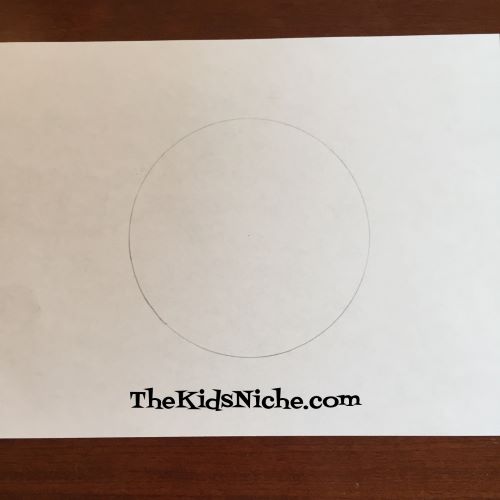
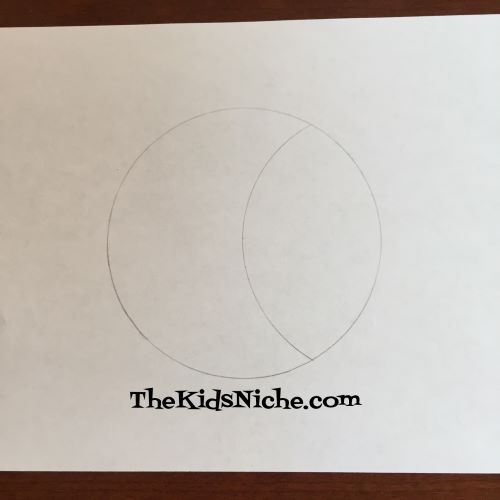
If you don’t own one, don’t worry. They are very inexpensive to purchase. If you have a choice, I recommend buying the all metal type as they stay in place better than this plastic type. Grab a piece of paper too and let’s get started! (I’m using printer paper.) First, decide how big you want your flower to be. You can go with any size you like as long as it fits on your sheet of paper. Using the compass, draw a circle on your paper. Once you draw your circle, make sure the compass stays in the same position while drawing the entire flower. It’s good to note where the compass is set just in case something moves and you need to set it back to where it was.
Now put the sharp point end of the compass anywhere on the circle you just drew.
Draw the curved line from inside one side of the circle to the other…as far INSIDE the circle as the compass will reach.
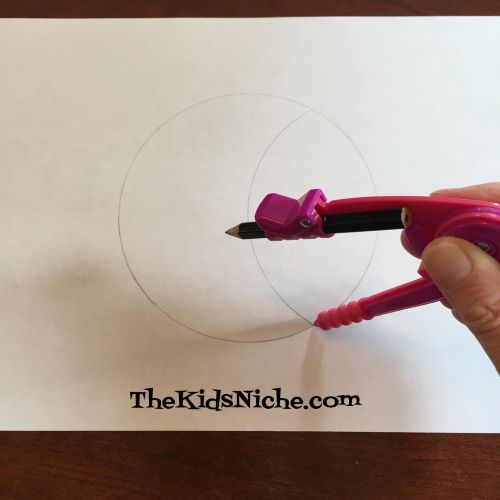
Next, set the point of the compass on one end of the line you just drew where it meets the circle.
Draw another curved line like the first one…INSIDE the circle as far as the compass will reach.
Continue moving around the circle and placing the point of the compass on one end of the last curved line that you drew.
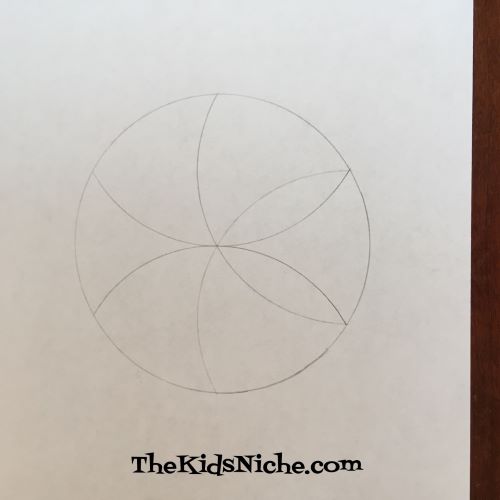
Do you see the petals of the flower starting to take shape? There are 2 so far.
Now 4…
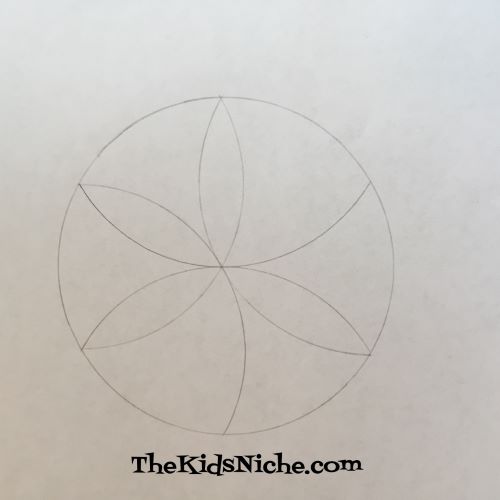
Aaaand voila! You’ve drawn your flower!
Now grab your favorite coloring utensils and color your flower!
To make a more detailed design, make another flower and then set the point of the compass half way between the “petals” and using the same process as before, make another flower.
You’ll have twice as many petals.
There are more sections to color with this version, so you can make it even more colorful.
Another way to use this type of design is to make a flower, then erase the line of the circle itself leaving only the petals.
As you can see, I added a simple stem and leaves. You can use your designs to make greeting cards or cut them out and hang them up. One nice way to display them is to make two of the same sized flowers, color both, cut them out and glue the backs together. Punch a hole, add a bit of string and hang it up for all to enjoy. 🙂 A fun but simple craft using a compass! Much more fun than using one for Geometry!! LOL 😉