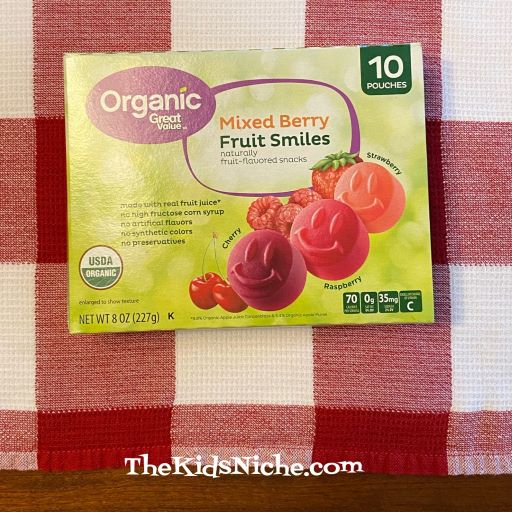
One thing that most kids seem to like is fruit snacks! They come in many different brands, shapes and flavors. So which one tastes the best? We need to do a Taste Test to find out! For today’s Taste Testing Tuesday, we tried the Great Value Organic Fruit Smiles.
These come in 3 flavors…strawberry, raspberry and cherry.
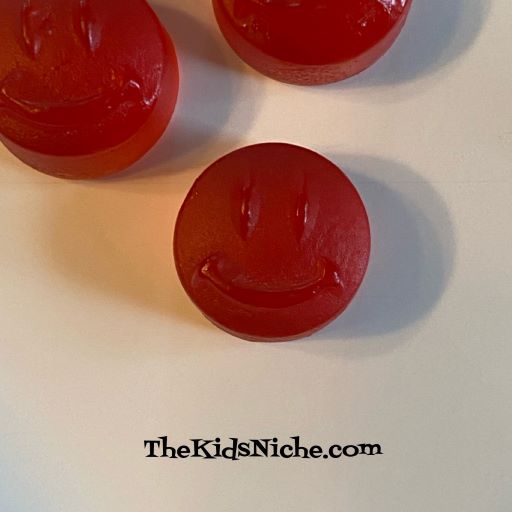
And just look how cute they are! 🙂 It’s food that smiles back at you!
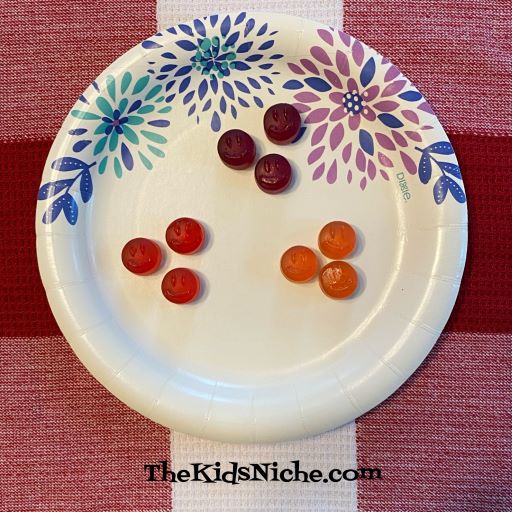
#1.) Strawberry. This flavor is the lightest colored one in the package.
#2.) Raspberry. Raspberry are the medium colored ones.
#3.) Cherry. The cherry ones are the darkest color.
Make sure everyone has at least one of each color/flavor. You might need to do a little swapping of flavors because each little package is not exactly the same as the next one. We had 3 of each flavor for each person.
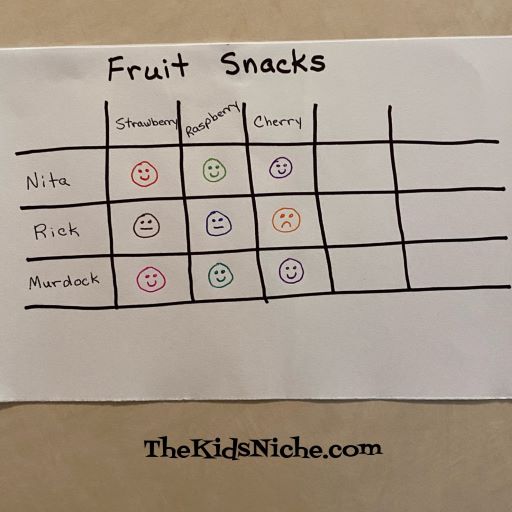
Make a quick and simple chart so you can record what each person thinks of each flavor. Something like this chart works well.
Write each person’s name down the left side and the names of each flavor across the boxes at the top.
As each person does a taste test on each flavor, have them draw a face in the corresponding box. A smiling face means “Yum!”. And straight face means “It’s ok”. And a frowning face means “No thanks!”. Here is how our taste test went at our house:
Can you tell who liked the fruit snacks? And who didn’t like them? (Yea, Rick is not really a fan of fruit snacks.) 😉 I wonder what brand and flavors and shapes your fruit snacks will be? I hope you find your favorite! 🙂
What could make a Friday better than finding some FREE stuff you can get?! (Ok, not having to work today probably tops that for most people!) But how cool is it to get some free things for you and your kids? Pretty cooooool! So here are a couple of things you might want to get:
Free Printables and Worksheets from Carson Dellosa Education. These free printables can help your kids keep things fresh in their minds throughout the summer. They have printables for language arts, math, reading, social studies, science, etc. Follow the link below to check it out.
Do you and your kids love nature? Or would you like to get them more interested in nature and growing things? Here is a place to order some FREE wildflower seeds from Airwick. Planting seeds and watching their own plants grow is a wonderful experience for kids and adults! Check it out here:
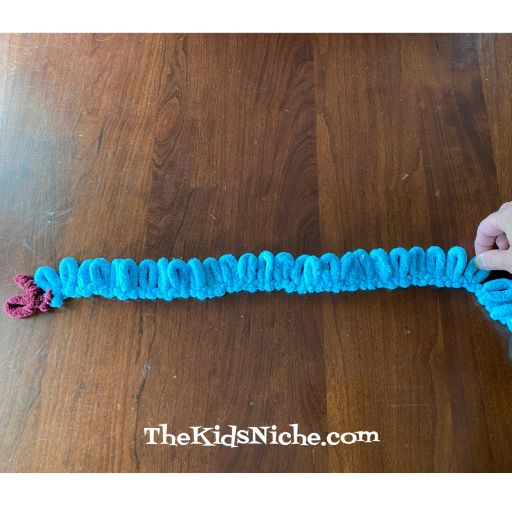
Hello again! (Sorry I didn’t get a post up yesterday but I wasn’t feeling too well.) Have you seen the loopy yarn in the stores and wondered what in the world you do with them? Take a look here! This project today is done using the Off The Hook Magic Yarn (Emoji). I found it on clearance at Joann Fabrics store for only $3.97.
If you “knit” (using just your fingers) in the right way, you will have an emoji face when you are finished. Super cute! Let’s begin! Remove the paper wrapper from the yarn and look for the “start here loop” which is a different color from the rest of the yarn.
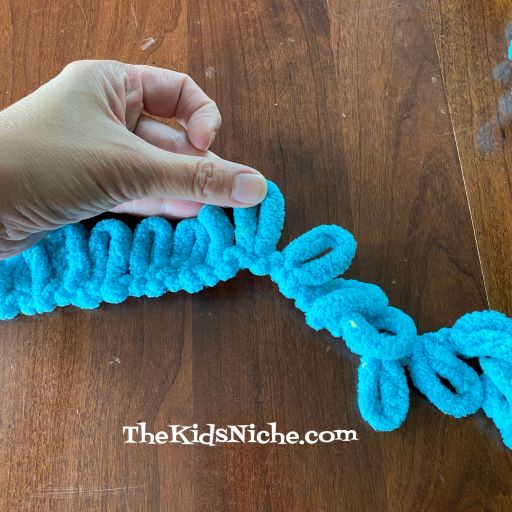
Count out 26 loops, not counting the “start here loop”.
Take a hold of the 26th loop…
…then take the 27th loop and pull it through the 26th loop.
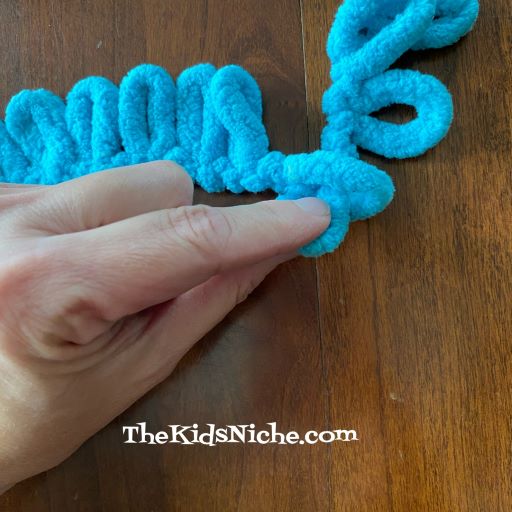
Keeping the long line of loops in front of the row you counted out, continue following the line and pulling a loop through each loop in your first set of 26 loops.
In this next picture, you can see that 2 loops are done.
Continue pulling loops through as you work your way back across the row.
Stop pulling the loops through when you have done 21 loops. The extra 6 loops will be used at the end.
Now it’s time to work on the second row. Place the yarn back across in front of your work. This will make it easier to keep track of which loop is the next one in line. It’s important not to miss any loops. Your picture will start to take shape as you work…if you keep the loops in the correct order.
Another row is done! At the end of each row, count and make sure you have 21 loops in that row. (I had 22 loops one time so I had to go back and gently pull the loops back out until I found my mistake and corrected it.)
The pattern is starting to show up as we keep doing rows of loops! 🙂
A couple more rows finished…
Another way to help make sure you are staying on track is to look at the backside of your work and make sure there aren’t any loops sticking out the back. If there are, just back up to the loop and find where you went wrong and fix it.
Backside of work
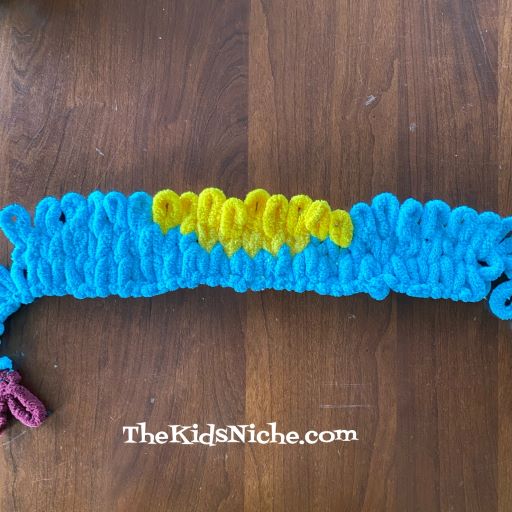
Making more progress! You can see the mouth now.
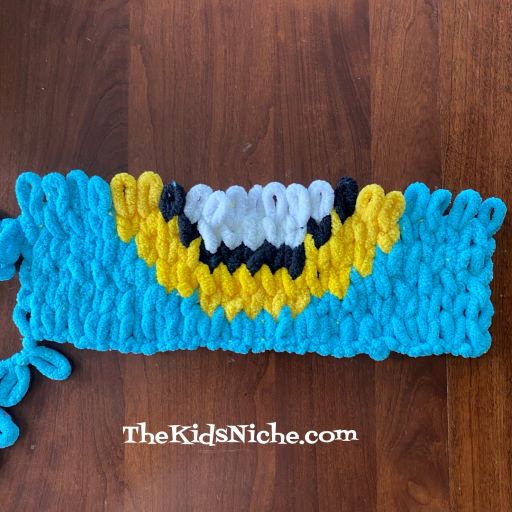
Looks like the eyes are forming!
There! You can see the emoji! This point is after 16 rows are done.
Now it’s time to start binding off with this row. To start, pull 2 loops through just as you have been doing.
Take loop #2 and pull it through loop #1.
Make a 3rd loop in this row like you were doing.
And then pull loop #3 through loop #2. See how you are making a finished edge with no more loops sticking up?
Continue working in this manner until you have gone completely across your work and have just 1 loop left.
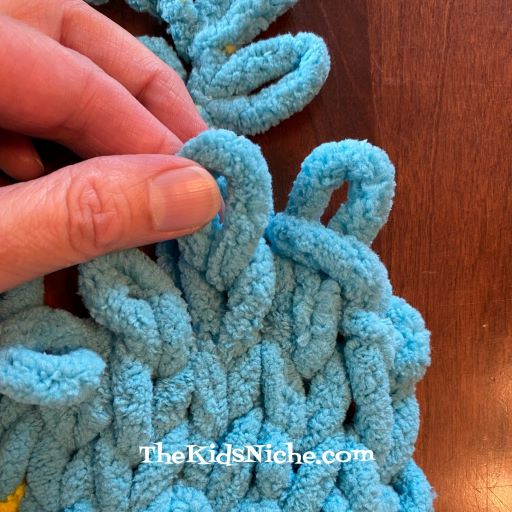
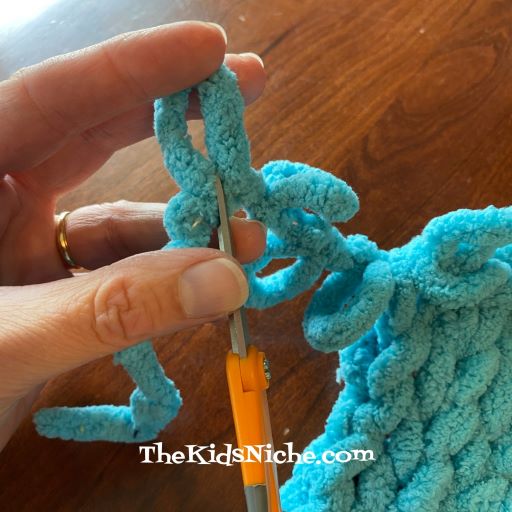
Now looking at the extra 5 loops at the top of your work, carefully cut at the bottom of each of the 5 loops so the yarn will open up into one longer string.
Do the same thing with the extra 6 loops at the bottom of your work.
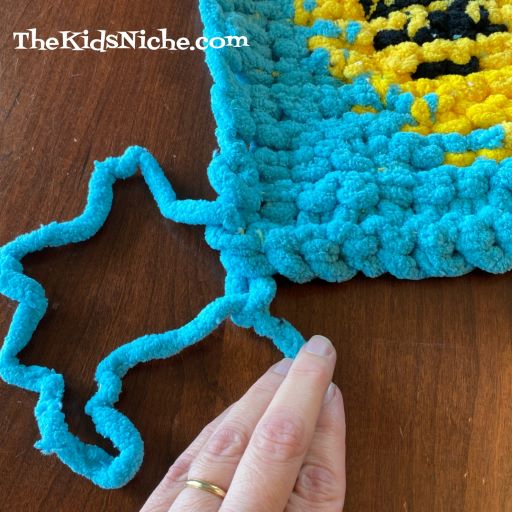
Back to the top string…flip your work over and then feed the string through the 1 remaining loop.
Pull it snug and then weave the extra yarn into the backside of your work to anchor the string. Repeat the weaving in step with the bottom string.
After you have woven the ending strings in through several places, you can cut off the extra.
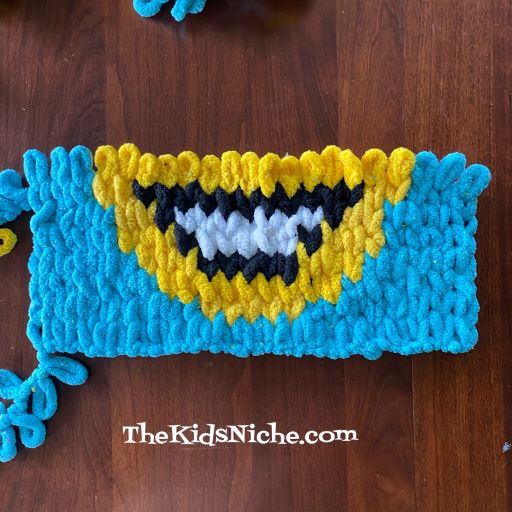
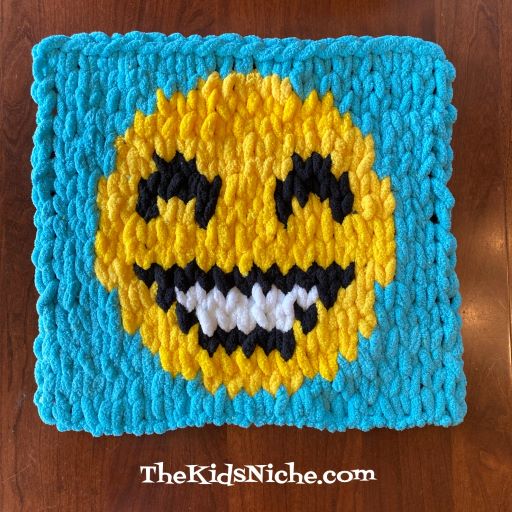
And there is your finished project!! Great job! Now you have a fun smiling emoji to hang up, maybe in your bedroom.
I hope you’ll give this project a try! Happy “knitting”! 🙂
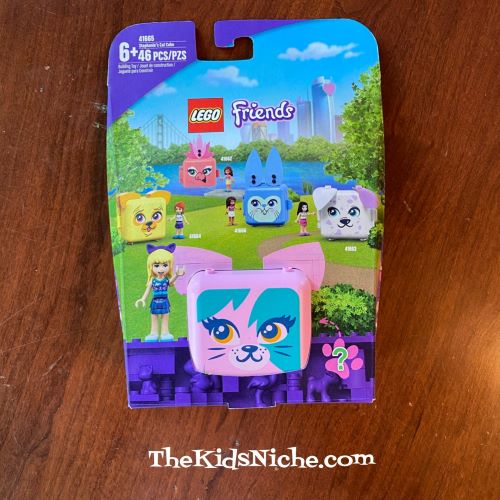
I’ve seen the cute Lego Friends Animal Cubes in the stores but I hadn’t bought one until recently when I found it on sale. These things are cute!! The little characters that come in them are girls so I suppose this toy is meant to be more for girls than boys. If you’ve wondered what all you get in a cube, I’ll show you today what came in the one I have…Stephanie’s Cat Cube.
First let me say, that each cube comes with a surprise animal. The package tells you what kind of animal it is such as a cat, but the color is a surprise until you open the little package inside. When you take the contents out of the cardboard packaging, this is what you’ll see:
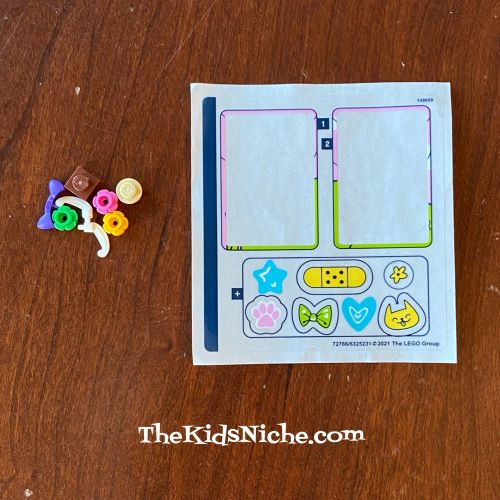
The directions for building are included and when you open them up and open up the bag with the building pieces in it, this is what you have:
But you also need to open the cube because there are more things tucked inside of it.
Ready to start building? I think it helps to lay all the pieces out on the table with like colors together.
Let’s put Stephanie together first.
Follow the step-by-step directions to put the Lego pieces together. Oh, let’s open the mystery box and see what our surprise kitten looks like!
I got a tiny pink kitten! Sooo cute! 🙂
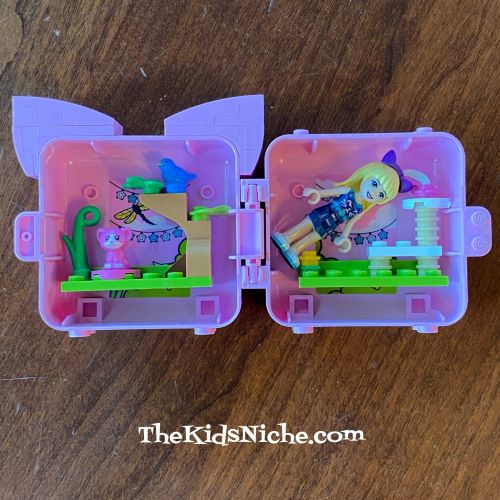
There are 2 stickers that go inside your cube and you make some ears that go on the outside of the cube.
Aaaand here we are, all put together and ready to play!
There are a few extra pieces of Lego included (in case some get lost) and there are a few more stickers that you can put wherever you like.
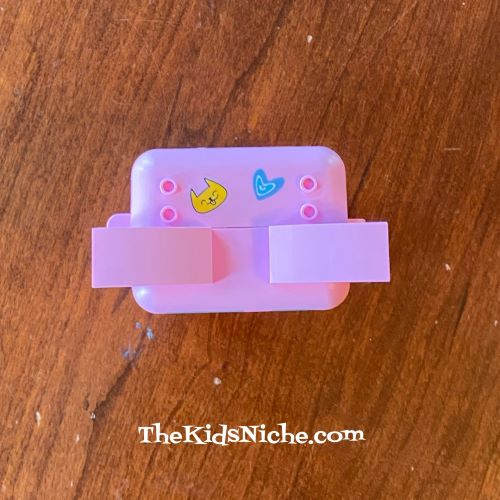
I’ll show you where I put my extra stickers. A couple of them on the top of the cube…
And 5 on the back of the cube. Pretty cute, aren’t they?
When you are done playing and it’s time to put your cube away, you will need to take the “put together” pieces out of the slots they slide into when standing upright. If you lay them inside the cube, you will be able to close the cube with your pieces safely tucked inside.
There are a few more Lego Friends Animal cubes available to buy in stores. (And now I want them all!) The regular price seems to be close to $9.99 but there are a few on sale on Amazon (for a limited time it says!) for $8.00 and $8.50. I saw some on Ebay with higher prices so look for those at least around $10.
When looking for these animal cubes online, I found that there are also other types of the Lego Friends cubes. Such as a fashion cube, a gaming cube, a shopping cube, a soccer cube, a play cube, a swimming cube and likely a few more.
I hope this post will help you learn just what these Lego Friends Cubes are like and perhaps you’ll want to buy some for your favorite girl! (I am not affiliated with any stores that sell these. Just sharing my thoughts!) 🙂
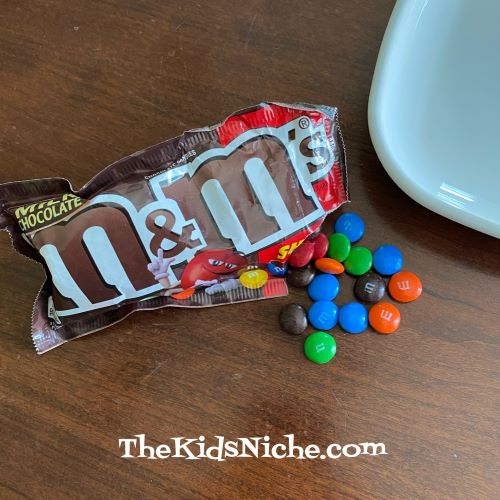
This has got to be one of the coolest kids’ experiments that I’ve tried! (Yes, I’m easily impressed!) It’s quite simple to do and doesn’t take much to do it, but it has a lot of WOW factor! Grab a plate that slopes in towards the center a little (plain white is best if you have one), some M&M’s candies or Skittles candies and a some water. Here we go! This is the plate I used:
A few M&M’s…
Line the outside edge of the plate with the candies. I suggest alternating the colors for the best effect.
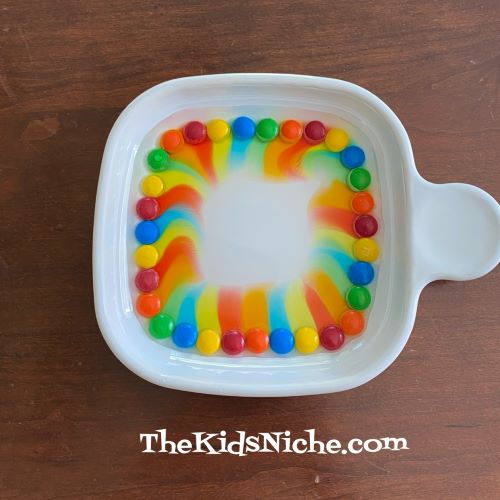
Slowly pour water into the center of the plate.
Keep pouring the water until the candies are mostly or completely covered.
The magic is beginning to happen…can you see it? Look at the red and orange candies…
Now you can see it, can’t you?! 🙂
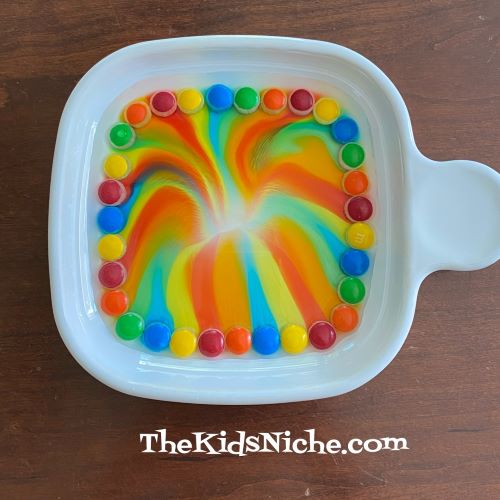
Here comes the rainbow!!
You don’t need to touch or move anything. The rainbow happens all by itself!
Almost touching in the middle!
Ta dah!! How cool is that?!
I’m guessing you are hearing a lot of “ooo’s” and “ahh’s” about now! 🙂 It’s a very simple but quite entertaining experiment! Hope you have fun trying it! I know I did! 🙂
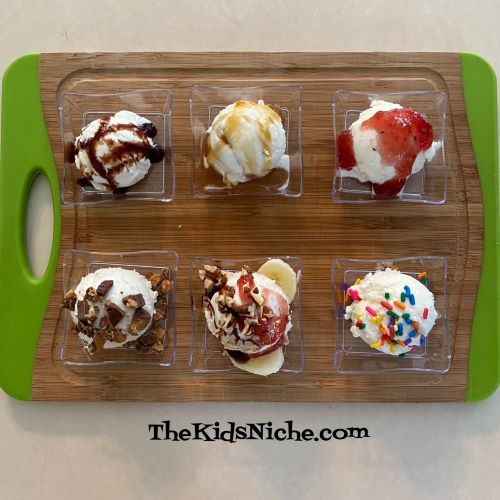
“You scream, I scream, We all scream for ice cream!” Have you heard that saying before? One tidbit I read said it came from the original “I-Scream Bar” or what later became known as the Eskimo Pie. Be that as it may, who is ready to taste test some ice cream?! Ooooo, ME, of course! There are soooooo many combinations when it comes to ice cream and ice cream toppings but for today, we will use Breyer’s vanilla ice cream and try 6 different toppings on it. Ready? Are you drooling? Let’s go!
#1.) We’ll start with plain vanilla ice cream. Maybe you don’t need anything else on your ice cream! Maybe you prefer it just as it is. 🙂
#2.) Hershey’s Chocolate syrup. Mmm! When I eat vanilla ice cream with Hershey’s chocolate syrup, it takes me back to when I was a little girl and I stayed at my grandparents house overnight. Grandma would often give us vanilla ice cream with Hershey’s chocolate syrup drizzled over it for a snack before bed. So yummy!
#3.) Caramel syrup. My husband is a big fan of caramel syrup.
#4.) Strawberry topping or fresh strawberries. We used to eat vanilla ice cream this way at my other set of grandparents. 😉
#5.) Chopped up Reese’s Peanut Butter Cups. Ooohhh, this is soooo good! (Ok, yep, this one wins first place for me!) Who can resist peanut butter covered in milk chocolate?!
#6.) Sprinkles!! Remember sprinkles make everything better, right?! 😉
#7.) Banana Split. In case you never had one, a banana split has pieces of bananas on the bottom, topped with ice cream and 2 or 3 toppings with nuts and whip cream. This one has bananas, vanilla ice cream, chocolate syrup, strawberry topping and chopped roasted pecans. Yuuuuummmm! (Well, maybe THIS one is my favorite?)
Of course, there are many, many more ways to eat vanilla ice cream! How do you usually eat it? Which way is your favorite? Did you NOT like any of these toppings? I liked them ALL! (Which could be why my clothes are fitting tighter than they were! Oops!) I hope you’ll have an ice cream taste testing party at your house! 🙂
Do you love animals? Most kids love them and when I came across these pictures on Instagram, I just had to share them here. As you share these pictures with your kiddos, I’m pretty sure you will both say “Awww!” before you finish. 😉 These adorable animals are sure to bring out the smiles and the grins!
Taxi, please!!
Credit to safarigallery
A new Spring bonnet…
Credit to travelsfervor
I’ve got you!
Credit to animalsonland
Cuteness overload!
Credit to colourfulwildlife_
Splish, splash, I was taking a bath!
Credit to safarigallery
Beauty nestled in beauty…
Credit to thewildcapture
Well, hello there!
Credit to joysafaribay
Butterflies leaving Mexico!
Credit to planetfervor
Pretty bird! Does your head itch?
Credit to geosafaris
Whooo goes there?! Why are you upside down?
Credit to animalcritter
Say “cheese!”
Credit to thewildcapture
Ok, admit it! Did you say “Aww!”? 😉 These pictures are just so cute you can’t help it! Which one is your favorite? I can’t decide because I like all of them! I hope this post made you smile and it brightens your day! 🙂
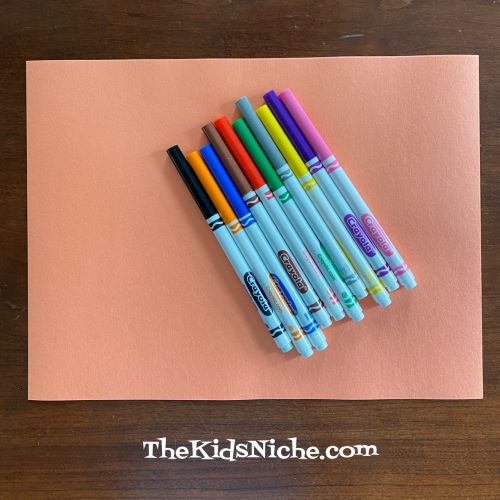
Does your family like to play games together? I’m thinking board games, like Chutes and Ladders, or card games, like Uno. We have played a lot of games in our family over the years and we always have a great time. 🙂 Here’s an activity that your kids might enjoy, especially if they like playing games. And that activity is making your own game! Grab a couple sheets of construction paper (or whatever kind of paper you have handy), some markers and some tape. You’ll need some game markers of some kind and 1 dice when it’s time to play the game you make. Let’s do this!
You can use one or more sheets of paper, depending on the size the paper is and on what size you want your game board to be. I taped 2 pieces of construction paper together to make my board a little larger.
Turn your paper over so you don’t see the tape and let’s begin drawing! Pick where you want the “Start” to be.
Draw a path with 2 lines on your paper from Start to Finish.
Now divide your path into sections.
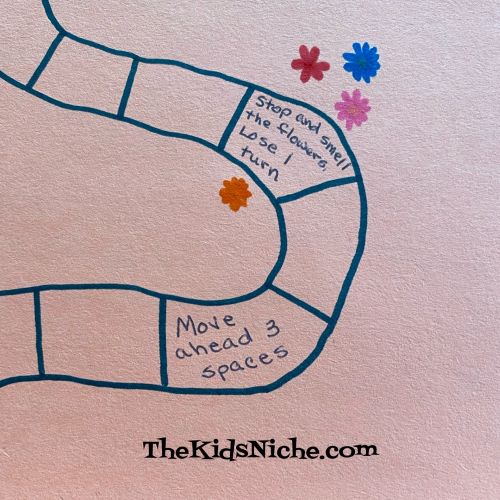
Add some fun (and not so fun) things along your path that each player must do when/if they land on that particular space.
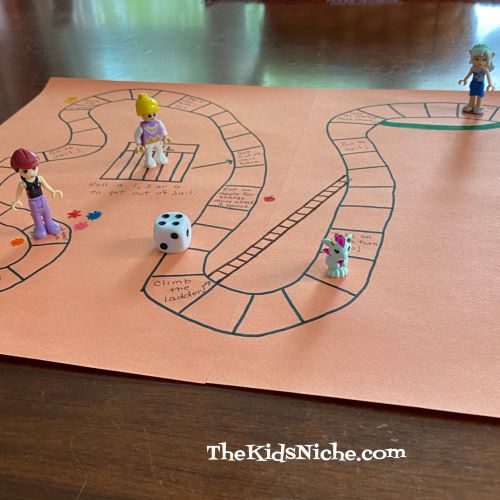
Here are a few examples that I used for my game.
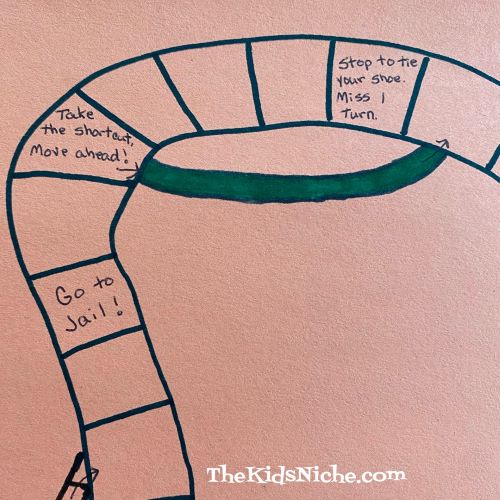
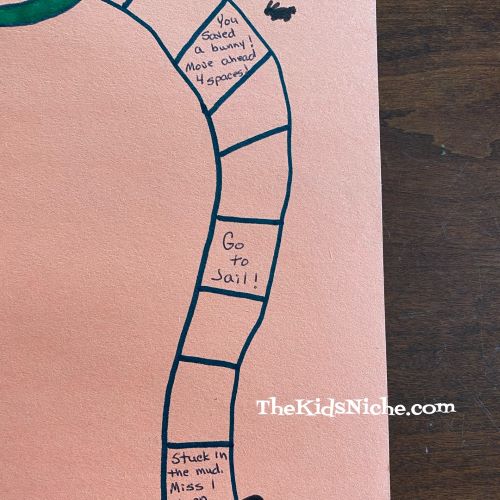
Yikes! Go to Jail??!
I hope I get to climb the ladder!
Ooo, a shortcut!
Coming down the home stretch! Don’t go to Jail now!
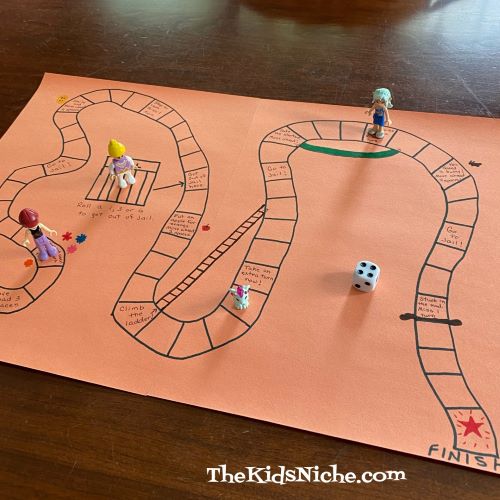
You can use whatever you have handy around the house for your markers for the game. You could use a penny and a dime for 2 players, for example. I found some Lego figures that will work great for playing this game. All you need is 1 dice and you’re ready to play!
The rules for my game would be: Each player rolls the dice and the player that gets the highest number, goes first. Play will continue clockwise. When it is your turn, roll the dice one time and move your marker forward on the path that number of spaces. Do whatever the space says to do. If the space doesn’t have any instructions, your turn is finished. Continue playing in this manner with each player rolling the dice once, moving their marker ahead that number of spaces and doing what the space says to do. The first player to reach or go beyond the Finish space is the winner!
Let the kids make up the rules and the things to write in the spaces. Your game may get a little crazy and you may spend the entire game in Jail, but it’s fun to let the kids have the freedom to control the game. It’s also great to make a game yourself that has a set of rules to follow to help kids learn about following directions. But sometimes, crazy fun is the best fun! 😉 And the things kids can dream up that you have to do can be pretty hilarious!
I hope you will give this a try and you’ll have a ton of fun! Now I need to go find someone to play my new game with me! Maybe I can draft my husband… 😉 LOL