
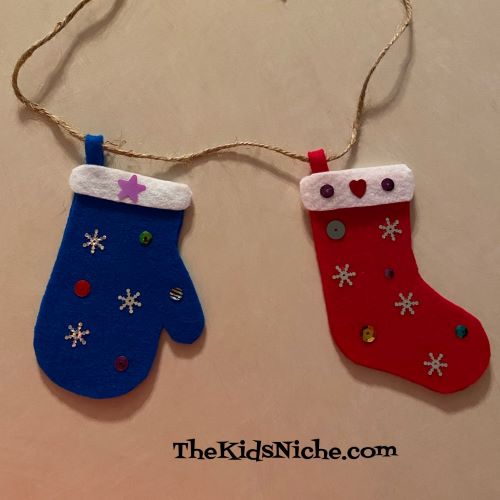
Are you looking for a craft to occupy your kids? May I suggest this easy and fun garland made from felt mittens and stockings? You’ll need some paper to draw a pattern on, a couple colors of felt, craft glue, scissors, some string or twine and a few small decorative snowflakes, buttons or winter items (optional). Here’s what my finished project looks like:

You can make your garland as long as you like using as many mittens and stockings that you want to make. Let’s get started!
First, draw a pattern for your mitten and stocking. Mine are around 4 1/2″ to 5″ long and around 3 1/2″ wide. I also made a pattern for the top white part for both the mitten and stocking.
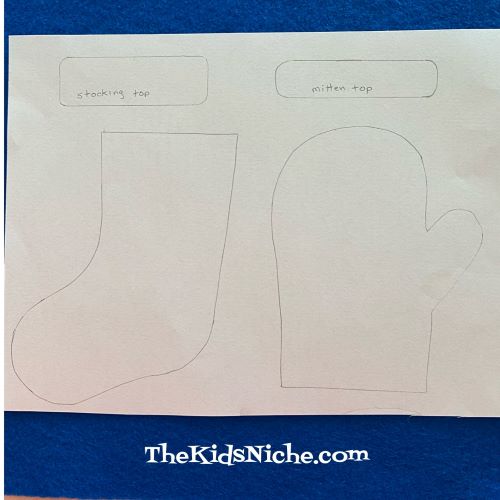
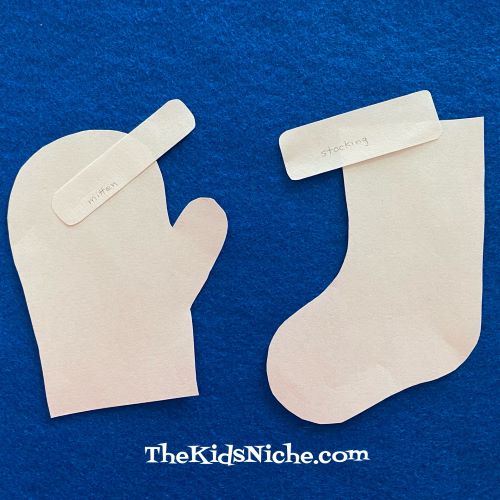
Cut the pattern pieces out.
Gather your felt pieces. You can use whatever colors you like. I used only red, white and blue for this example. If you are making a lot of mittens or stockings, you might like to have more colors available.

If your felt is a thick type, you could use just one thickness of felt for each mitten or stocking. The felt I have is the thinner variety and rather see-through so I cut out 2 pieces for each mitten and stocking. Cutting 2 of each also makes the stocking able to have something small and light inserted inside it. (Like maybe a candy cane.) I cut 2 topper pieces for each mitten and stocking too.
I folded my felt over and just held the pattern piece in place while I cut around the outside edge of the pattern. You could trace around the pattern or cut each piece separately, depending on what works best for your kids and for the thickness of the felt you have.


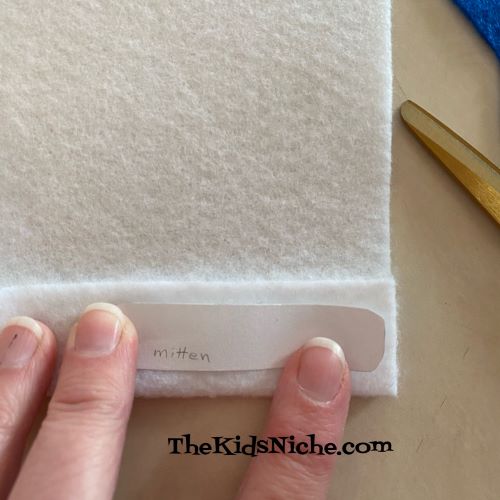
It will be easier to cut the topper pieces if you cut a little section of felt away from the rest of the piece of felt first.

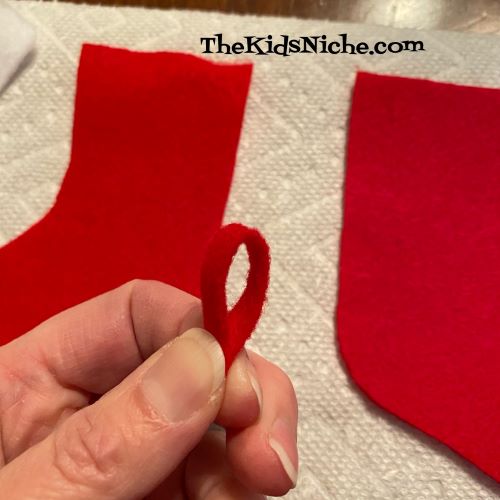
Cut a little strip of felt for the loop to hang your mitten or stocking from. You will fold it in half and glue the end pieces together.

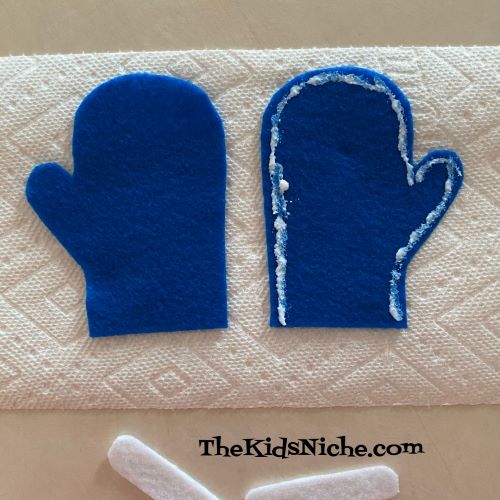
If you are using just one layer of felt for your mitten or stocking, you can skip ahead and just glue the white topper part to the colored part of the stocking or mitten. If you are using 2 pieces, grab your glue and let’s put these together now.


Spread a line of glue along the outside edge of your stocking but not across the top edge. And put a dot of glue on each side in the place where the loop goes.

Add the second piece on top of the glued one and press firmly together, holding for a few seconds while the glue starts to set up.

Spread another line of glue and put the first white piece of topper at the top of the stocking. Turn the stocking over and spread another line of glue for the second piece of topper. Hold for a few seconds again.


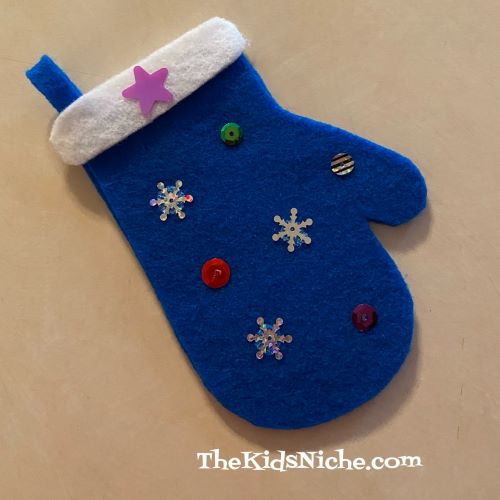
Now for the best part, decorate your stocking! Glue on any little snowflakes or stars or buttons you might have. Or spread a little glue and sprinkle on some glitter. Gently shake off any extra glitter.

Follow the same directions for the mitten. Glue around the outside edge but not on the opening side of the mitten. Add your loop in now. (I forgot to add my loop now and I had to add it in later. Oops!)
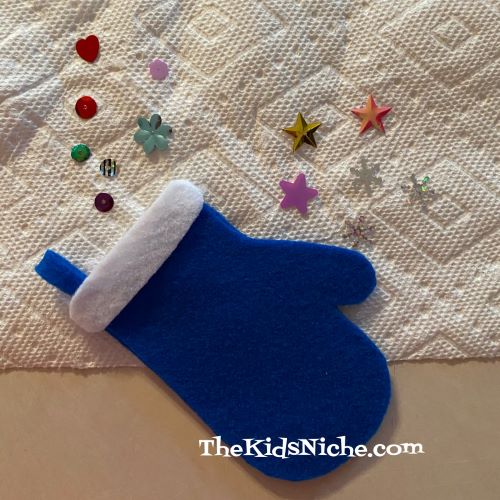
Add the second layer and press together. Spread a line of glue for the first topper piece and add it on.

Flip the mitten over and spread glue for the second topper piece and add it. Press together for a few seconds.

Decorating time!
Ta dah! My mitten is complete!
Make as many mittens and stockings as you would like to get the length of garland you want to hang up. The last step is to thread your string through the loops of the stockings and mittens…and have an adult help you hang it up for all to enjoy!
I hope you have enjoyed our craft project and you will have lots of fun making stockings and mittens to give your house a warm, holiday feeling! 🙂 Happy holidays!
