I found some interesting crayons the other day when I was supposed to be buying groceries. (Somehow the craft aisles are more appealing to me than picking out broccoli or bananas.) I came across a box of Metallic crayons and one of Neon crayons…yep, I bought them.
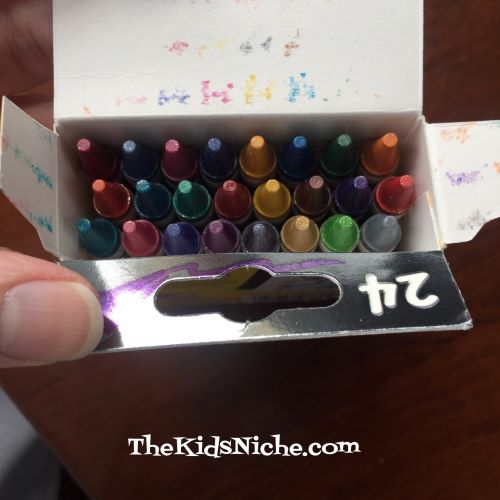
The Metallic crayons have some really neat colors plus they are sparkly! Just look at how cool they are even in the box!
You just HAVE to take them out and find something to color right away!
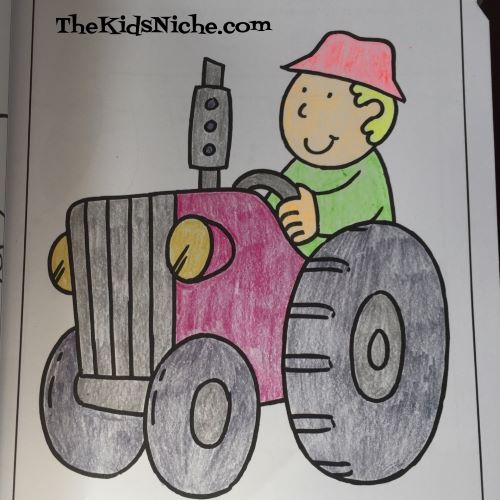
Surely a picture of a tractor needs colored with Metallic crayons. 🙂
Its hard to see the sparkles in the picture. I used 4 colors and they have the coolest sounding names! Like deep space sparkle, magnetic magenta, gold medal, sonic silver…and 20 others!
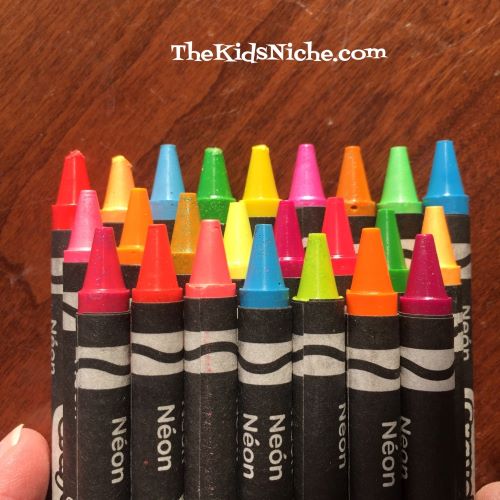
And then there is the box of the Neon crayons…oh, wow!
They just BEG to come out of the box!
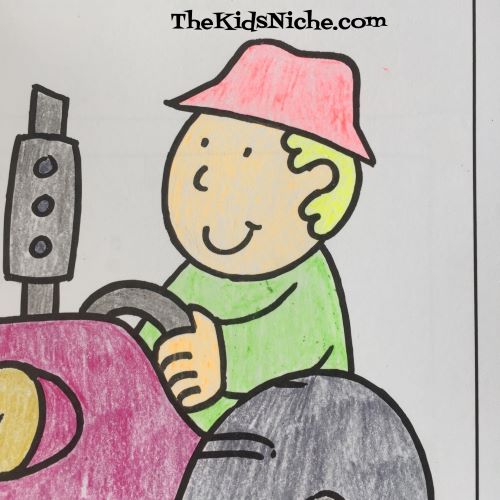
A few of these also have sparkles in them. The farmer was colored with the Neon crayons.
The crayons themselves are really brightly colored but when using them on the picture, they seem to only show up in a lighter color. But still really fun! Of course, they have really fun color names too, like wild watermelon, laser lemon, glitter screamin’ green, pearl atomic tangerine and more!
So if your kids need a little less screen time, why not grab a different kind of crayons for them to try out. I’m guessing they will think they are pretty cool, just like this big kid does. 😉
Just wanted to share a few more toys that are on clearance at Walmart! Some of these are super prices! Of course, your Walmart might not have the same items for clearance prices as mine does but just in case, here’s your latest hot tip! 😉
Toy Story 4 Bo Peep Talking Action Figure…clearance price is $7.00 while the original price was $29.84! Wow!! Any Toy Story 4 fans in your house?
K’nex Pac-Man Roller Coaster Building set…on sale for $17.00 with the normal price of $29.97. Note: this item had 2 stickers on it – one said the sale price was $17.00 and one said $20.00. I would definitely ask for the lower price!
Another item from Toy Story 4…the imaginext Carnival set. Sale price is $11.00 while the normal price was $29.82! Another wow!
Any Harry Potter fans looking for the Ron Weasley figure? This one is on sale for $4.00 with the original price at $19.97! Great prices! It’s not long till Valentine’s Day and these toys could give your wallet a boost! 🙂
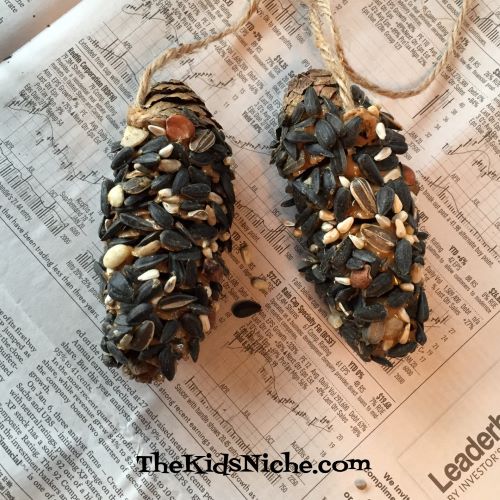
Remember the “Feed the Birds” song from the old Mary Poppins movie? That’s what is going through my head this morning as I made some yummy pine cones for the wild birds to feed on. This easy project is one our kids did when they were in elementary school. Gather up (or buy) some pine cones, peanut butter, string and bird seed and we’ll get started!
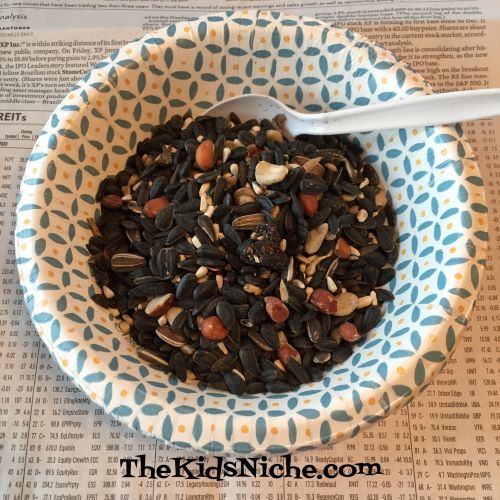
I suggest laying down some newspaper first to catch the mess that might be made by little hands. I used disposable paper bowls and plastic silverware to make clean up a little easier. Put some peanut butter in one bowl to avoid any chances of someone “double-dipping” back into the jar of peanut butter after their plastic knife has touched the pine cone.
Pour some bird seed into the second bowl.
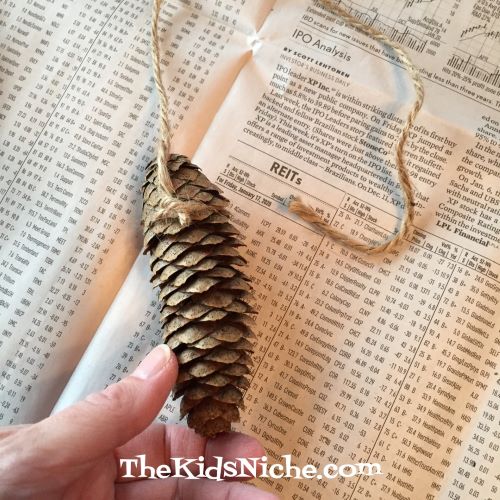
Cut a piece of string for hanging the pine cone after you are finished. Wrap it around the pine cone, slipping it in the spaces so the string will be caught and the pine cone won’t fall off the string when you hang the pine cone outside.
Tie a knot and trim off any extra string on the knot end. Leave enough string on the other end for tying the pine cone to a tree branch.
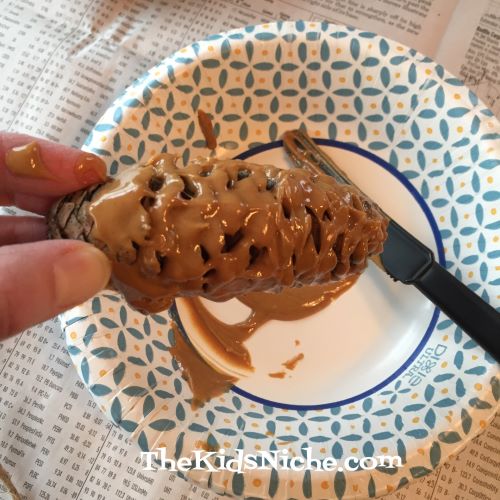
Now comes the ooey-gooey part! Spread the peanut butter over the pine cone.
As you have probably guessed by now, roll the pine cone in the bird seed or use a spoon to scoop up the bird seed and pour over the pine cone.
Once the pine cone is covered with seeds, gently pat the seeds to help them stick to the pine cone.
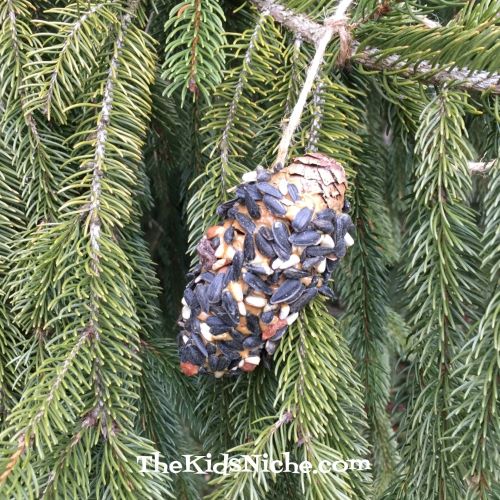
Hang them in your favorite tree outside, hopefully in a place where you can watch the birds come and eat the seeds and peanut butter.
Great job! Thanks for doing what you can to help the wild birds survive the winter! And thanks for visiting my blog!
Have you ever handed your child an orange only to have them look at you like “Really? This snack is soooo boring!” ? Well, today let’s liven things up a bit by playing with our food! Yep, I’m giving you permission to play with your food! Grab an orange, a few baby carrots, a couple of miniature marshmallows, a few mini chocolate chips plus a knife and a cutting board. We’re going to make some fun animal shapes!
Start by cutting both “ends” off the orange.
Next slice it into thin slices, leaving the rind on.
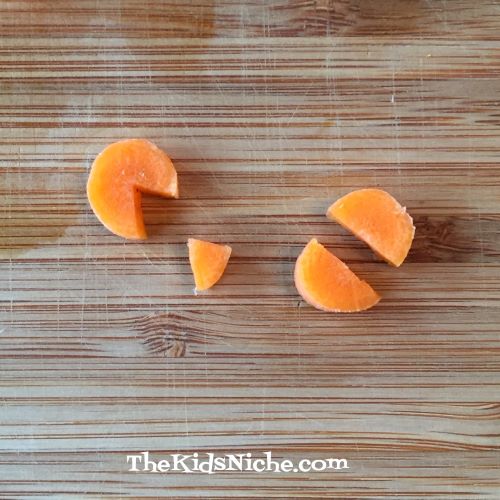
Take 3 or 4 baby carrots and slice them into round pieces. Full size carrots would work nicely too.
Take a couple of carrot slices and carefully cut out a “v” shape in each. Take a couple more carrot slices and cut them in half. And finally take a few more carrot slices and cut them into a triangle shape.
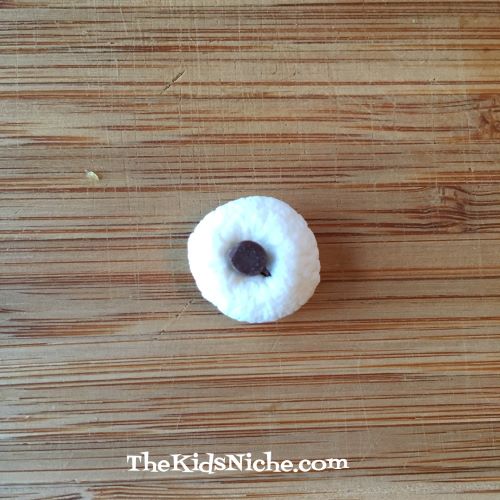
Smash a miniature marshmallow down with your thumb to make it a flatter wider circle.
Stick a mini chocolate chip in the middle of the marshmallow circle. I put my chocolate chips in point down.
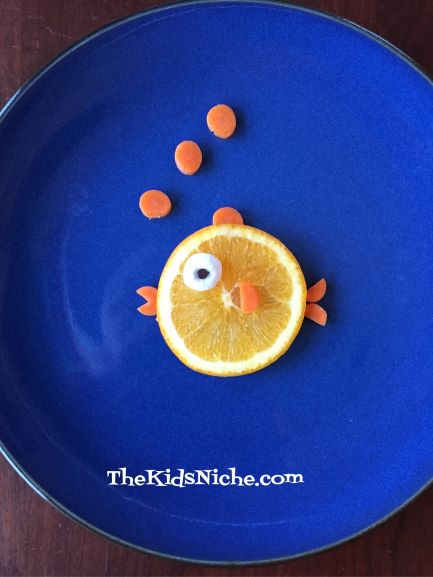
Now begin assembling your animal shapes made with food! Here are a few ideas, but I’m sure you and your kids can use your imagination to come up with more! Let’s start with a small fish…
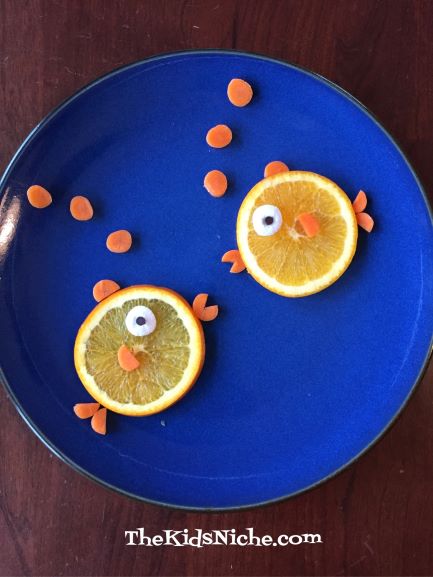
He’s really cute but he would like a friend so let’s make another one!
Or we could make a larger fish. Let’s look at Big Fish #1…
Yes, I cut the orange circles in half to make this fish. Next we have Big Fish #2…
If you have any kids that love dinosaurs, this next idea will tickle their fancy! (Thanks for the suggestion, Josh!) Yep, you guessed it – it’s a Tyrannosaurus Rex head!! Only this time YOU will be eating HIM!
I have one more idea for your oranges and carrots. It’s a bird…it’s a plane…noooo, it actually IS a bird! 😉
Who knew that with a little bit of magic and some imagination, that an orange could be so much fun! Hope you enjoy playing with your food! 🙂
Yesterday we talked about how to make some super quick and easy bean bags for the kiddos. If you missed yesterday’s post, you can find it here: https://thekidsniche.com/2020/01/23/making-easy-bean-bags/ Today let’s move on to games you can play with bean bags. My guess is that you played with bean bags when you were a kid. I know I did and I loved them!
1.) Bean Bag Toss – This game can be played by yourself or with another person. If playing alone, toss the bean bag up in the air a little bit and catch it. Each time you toss it, toss it up a little bit higher than the last time. How many times can you toss it up and still catch it without missing? 🙂 If you have another person you can play with start by standing close together. Toss the bean bag back and forth between you but each time you throw it, take a small step backwards so that the distance between you gradually increases. How many times can your team throw it and catch it without missing? If you miss catching it, then it’s time to start over! If you have a lot of people, make teams of 2 people each and compete to see which team can get the farthest apart without missing a catch.
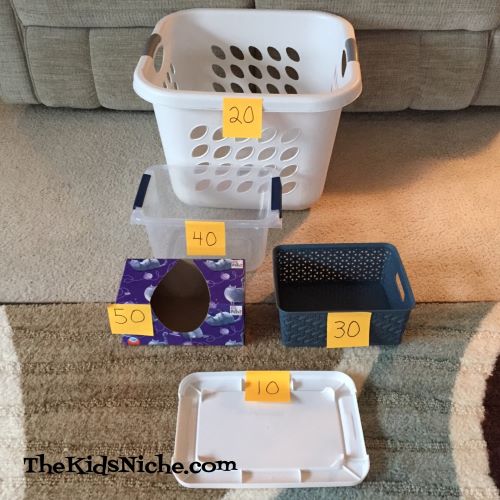
2.) Make a Basket – Cornhole is a very popular game these days and it involves throwing bean bags at a board that has a hole in it and trying to get the bean bags to go into the hole. Using the same idea, look around your house for anything that would work to toss bean bags into. Depending on the age of the kids playing, find items that they will be able to throw the bags into. For instance, if a very young child is playing you might start with a laundry basket. The idea is to get some scores and feel happy about playing. 🙂 Add in smaller containers for kids that are a little older. Here’s the setup I came up with on the spur of the moment.
You can add point scores for each item with the smaller openings having the higher score value. As you can see, I used a laundry basket, 2 plastic containers with a bit different size openings, an empty tissue box and the lid to one of the plastic containers.
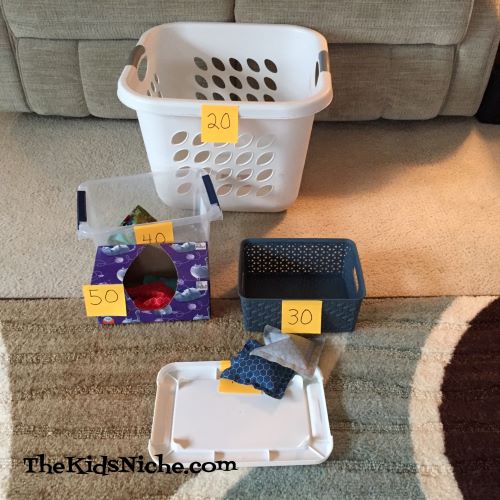
Yea!! A score of 160!! 🙂 You don’t have to add points in if you just want to have fun trying to get the bean bags into the containers.
3.) Magic Bean Bags – Kids have wonderful imaginations and bean bags can turn into so many things! You can likely hand them several bean bags and just watch to see what they dream up. One fun idea is to pretend that the bean bags contain magical beans. What do magical beans do? Whatever you can dream up for them to do! Perhaps if you put one in your pocket you become invisible. Maybe the living room floor is covered in lava but you need to save your toy that is across the room from you! Tossing down a magic bean bag might make the lava not hurt you. Need to fly somewhere? Grab a magic bean bag! 🙂 Bean bags are great for imaginary fun.
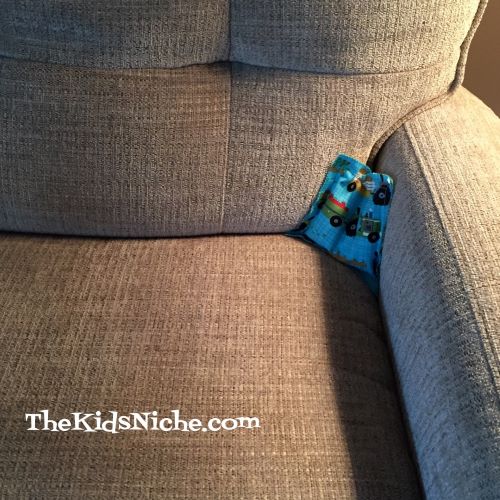
4.) Bean Bag Hunt – Don’t all kids love to have an Easter Egg Hunt? But Easter comes only once a year. So let’s have a bean bag hunt! Kids love to look for hidden things and if your kids are like ours, you may have to hide the bean bags several times! There are always lots of cool hiding places you can find once you start looking. Like in the corner of a chair…
On the piano…
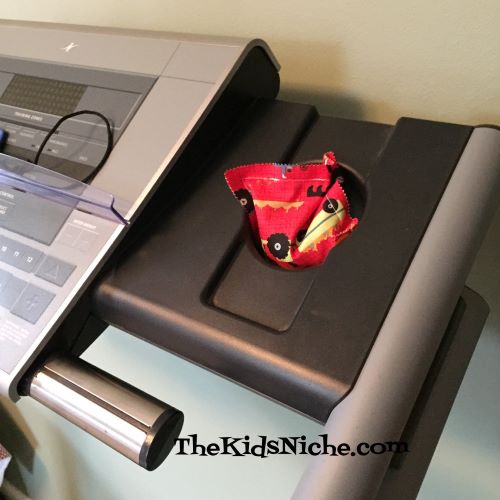
Even on the treadmill! (Treadmills need to be used for something besides torture, right?!)
5.) Bean Bag Relays – There are so many fun ways to use bean bags for relay races! Let’s talk about a couple ideas…line the kids up in a single file row, everyone facing the front. You can do this with just one team for fun or if you have enough kids for more than one team, they can race. Give the bean bag to the first person. Everyone faces in the same direction and remains facing forward for the entire relay. When the person refereeing says “GO!”, the first person in line passes the bean bag over their head to the next person in line while holding it with both hands…and each person passes it to the person behind them in the same manner. When it reaches the last person, they take it over their head and let it fall to the floor behind them. The first team to do so is declared the winner. Now, you can make this harder if you want to by making the last person put the bean bag back into the hands of the person in front of them and it continues on up the line until the bean bag is once again in the hands of the first person in line. Another variation is instead of passing the bean bag over their head, the first person turns to their LEFT to pass it to the next person, then the second person turns to their RIGHT to pass it and it alternates on down the line…left, right, left, right. You can also have the last person in line yell “TURN!” when they get the bean bag and then pass it back up the line again. If the last person receives the bean bag from the left, then when everyone turns around, the last person (now the front of the line) must start passing the bean bag in the opposite way they received it…in this case, to the right. It adds a bit of confusion trying to hurry but also pass the bean bag the right way.
6.) Another kind of Bean Bag Relay – Start again by making a team or two depending on how many kids are present. Line everyone up in a single file line, facing forward. Give one bean bag to the first person in line. Decide on a body part that each person must balance the bean bag on as they hurry down to a set spot and then hurry back to their team. For instance, they can all balance the bean bag on their head…or the back of their hand, on their shoulder, etc. After they walk down to the set spot and back they pass the bean bag on to the next person in line. If someone drops the bean bag, they must stop walking until the bean bag is picked up and put back in its place. The first team done is the winner. Or you can make the game longer by making each person do another run with the bean bag in a different spot the next time.
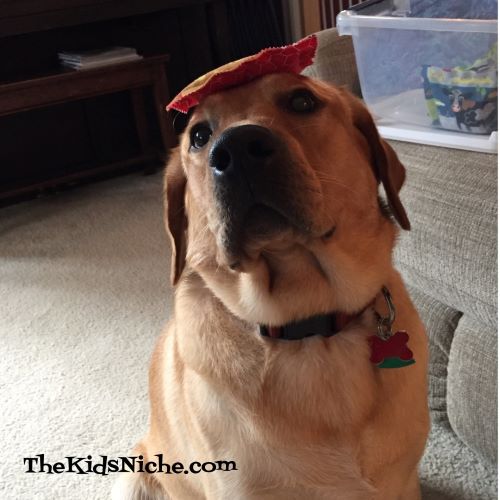
Rusty was my model today for balancing a bean bag on your head. Haha!
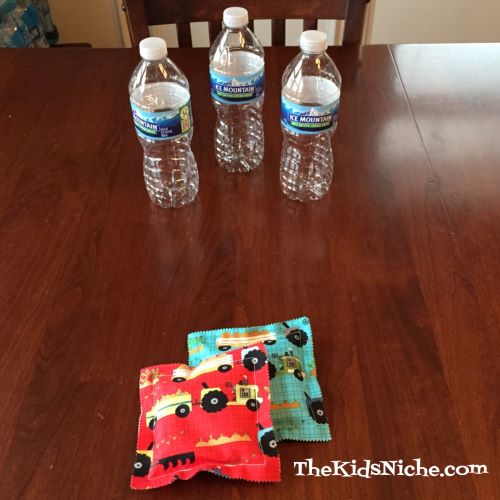
7.) Bean Bag Bowling – This is just like you are probably thinking from the name. Save up a few empty water bottles to use as bowling pins. Set them up on a table or on the floor. Using 2 bean bags per person, slide the bean bag along the table or floor to try and knock down the water bottles.
Yay! It’s a spare! 😉
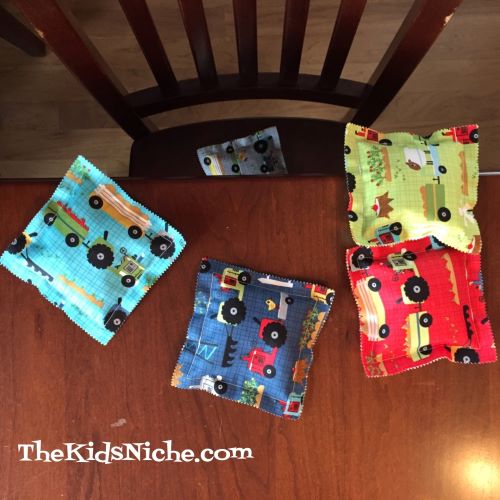
8.) Bean Bag Table Soccer – This one is really simple. You can decide how many bean bags to play with but the idea is to slide your bean bags across the table and have them stop with just part of them hanging over the edge. You get 1 point for each bean bag that reaches the edge of the table but no points if it falls off. So in the picture below, the turquoise bean bag and the yellowish green bean bag each score 1 point but the other 3 bean bags don’t get any points. First person to 10 points wins!
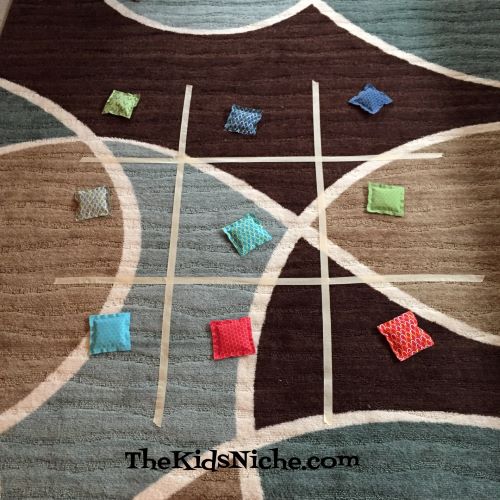
9.) Bean Bag Tic Tac Toe – This is another game that is pretty self-explanatory if you know how to play Tic Tac Toe. If you don’t know, the game is played on a grid using X’s and O’s and players take turns placing their marker in the grid. The first person to get 3 in a row is the winner. So for playing with bean bags, you need 5 bags each of 2 different colors or shapes so you know which bean bag belongs to which player. You can use anything that makes a straight line to form the grid. Like 4 yardsticks…which I don’t have so I used masking tape strips on our rug. (No, it didn’t leave any stickiness behind.) Have the kids stand equal distances from the grid and they must toss their bean bag and try to get it to land in the square of their choosing. First to get 3 in a row is the winner.
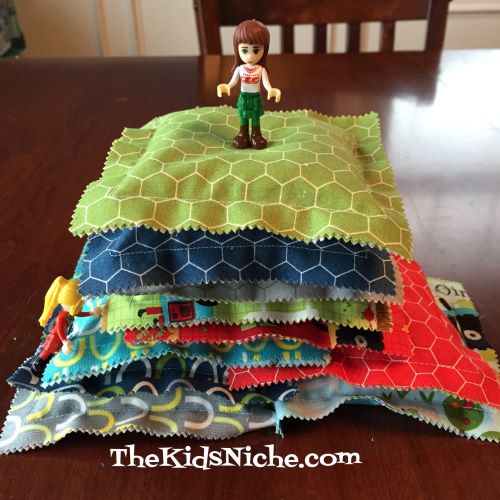
10.) Just let them play – Our last but not least suggestion today is to just hand the bean bags over to the kids and let them decide how to play with them. I’m sure they will come up with things to do that you and I haven’t even thought of yet. I do know that bean bags make great mountains for other toys. 😉
I hope you enjoyed these ideas and that you have a WONDERFUL time playing with your kids with bean bags! I’d love to hear from you with more ideas of what you and your kids thought up to do with bean bags. Thanks for stopping by! 🙂
How about a quick and easy project to make something that kids can play with for hours? Sound good? I’m talking about making bean bags! There are different ways to make bean bags but this is a quick and easy way that will have your kids playing and enjoying themselves in a hurry!
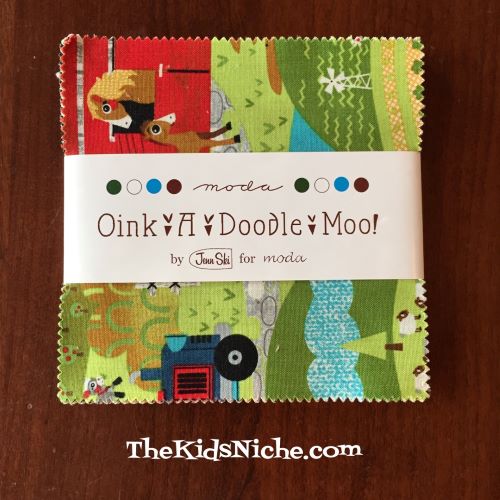
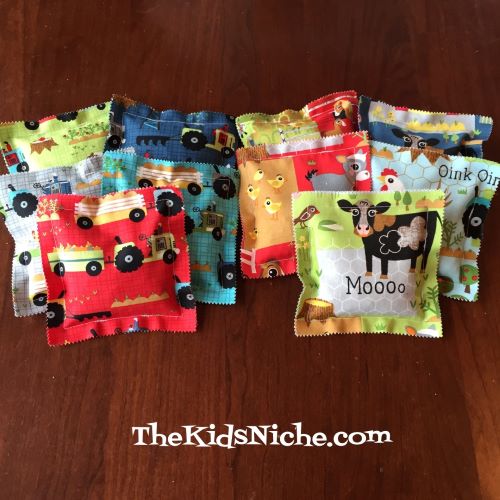
For this project I chose a pack of pre-cut squares of fabric that are 5″ square. I sewed my bean bags with my sewing machine but you could also sew them by hand.
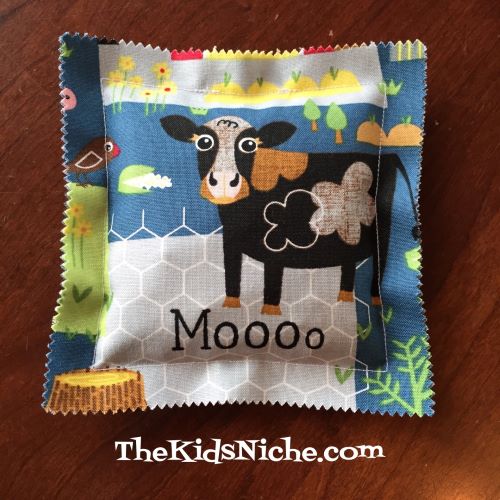
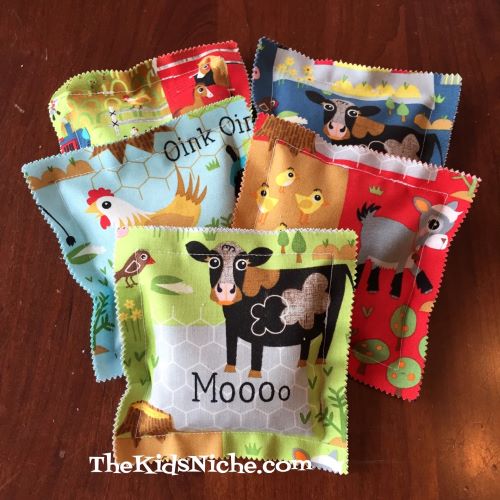
I love using the pre-cut fabric squares because the squares are ready to go! And this bunch has a “pinked” edge (cut with pinking shears) and so you don’t have to worry about the edges of the fabric unraveling. I wanted to make 2 sets of bean bags that look different so it’s obvious which group they belong with in case there are 2 people or 2 teams playing against each other. I chose farm animals for one set and farm machinery for the second set.
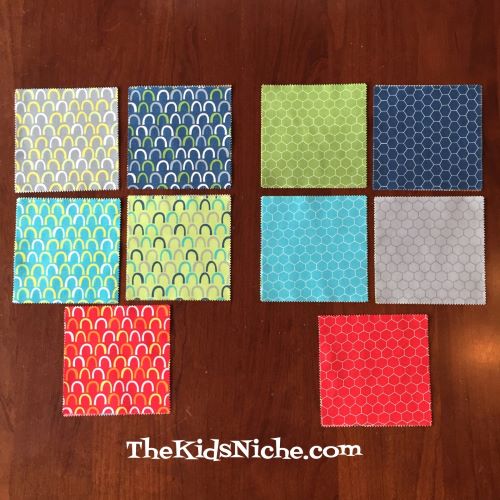
I also chose the fabric for the backside to be different for each set too.
Let’s start sewing! Take a front piece and a back piece and match them up putting wrong sides of the fabric together.
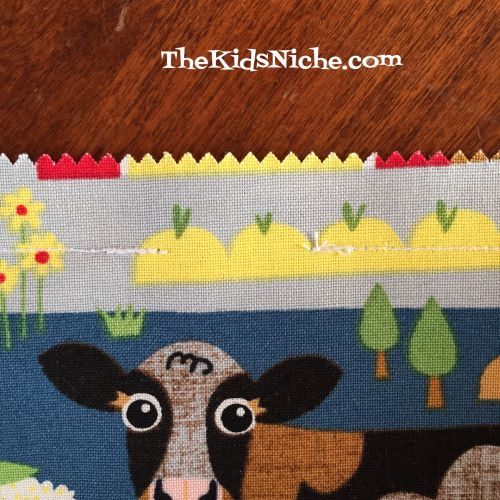
I used a 1/2″ seam allowance for sewing around the outside edge of the fabric square. I found it helpful to mark each side corner in 1/2″ so as you are sewing down the side, you will know when you have reached the point by the corner that you need to turn the square for sewing down the next side.
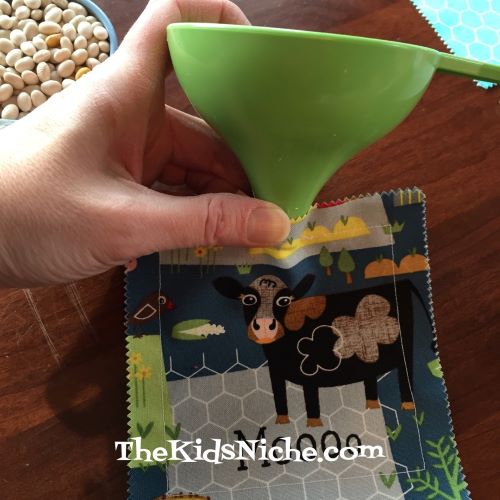
You need to allow an inch or a little more open on one side for adding in the beans. Start partway down one side and then sew all around the outside edge using the 1/2″ seam allowance until you come back to the side you started on. Then stop sewing, leaving a large enough opening to put the tip of a funnel in for filling the bag with beans.
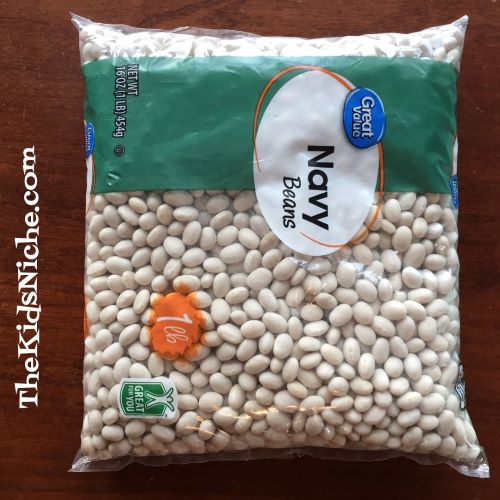
I recommend back stitching several stitches each time you begin and end sewing because this will catch the threads enough that you don’t have to worry about tying knots. You can just clip the threads and move on. Now for filling! You can use whatever type of dry beans you would like to use. I chose dry navy beans.
Insert the tip of a funnel into the fabric opening.
I used about 1/2 cup of dried beans for each bag. Slowly pour the beans into the funnel. If the beans back up in the funnel, gently shake it to get the beans to fall through. After filling each bag with beans, go back to your sewing machine and sew the small opening closed. Again, stitch forward and back a few stitches so you can safely trim off the threads without needing to tie knots. And there you have your first bean bag done already!
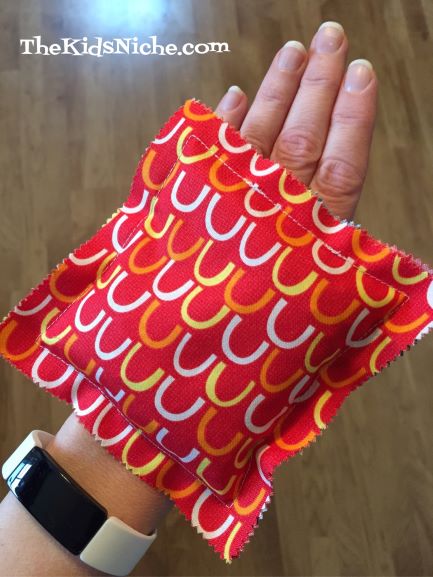
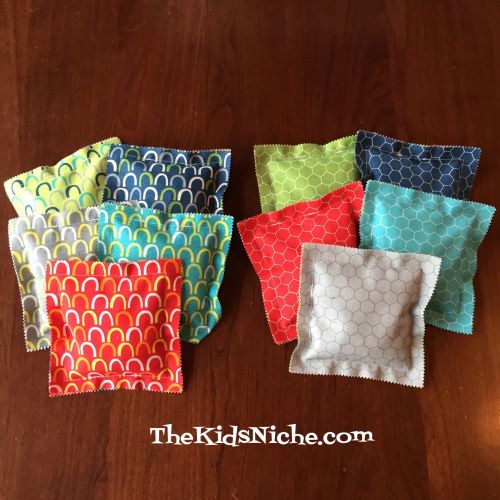
I made 5 bean bags for each of 2 sets.
Here’s the back side view:
Wasn’t that quick and easy? I love the bright fun colors and patterns! There is just something awesome about bouncing a bean bag in your hand. Tune in tomorrow for some fun ideas of what to do with your new bean bags! 🙂
Have you seen the Crayola Glitter Dots? I came across them at Walmart not long ago and decided to check them out. The fact that they were on clearance and only $2.00 might have helped my decision. 😉
So the idea is that you can color things with glitter easily and with less mess. Who wouldn’t like having less mess with kids using glitter, right?!
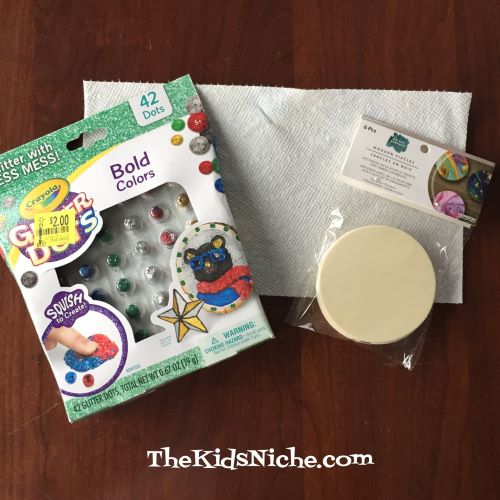
The package contains 42 glitter dots and has 7 dots of each color – gold, red, silver, green, blue and black. The only instructions are on the outside of the package, but that’s really all that is needed.
It says to just peel back the foil covering the individual dot, place it on your project and squish it in place. Here is what I used to try them out…a paper towel underneath to catch any run-away glitter and a wooden circle to color with the dots.
I had trouble with the “peel” step. I couldn’t get a hold of an edge of the foil to peel it back. So I used a sharp knife to cut through the foil and then I could peel it back to get the glitter dot out.
I started with a gold glitter dot in the center of the wooden circle.
Aaaaand I squished it flat.
Next I used a red glitter dot. And then a blue one…and a silver one.
I continued until I had used 1 glitter dot of each color. The dots do definitely make LESS glitter mess, but you will still have some bits of glitter hanging around loose. The problem I found is that while squishing the dot flat, it wants to stick to your finger instead of the item you are trying to color.
I tried holding down a spot of the squished dot with one finger while spreading and squishing more with another finger. That did help some. Some times the sticky part seemed to be more on the top side as I was squishing it, so I turned it over and then continued spreading it. I can see where some kids might get frustrated trying to get the dot to stay where they put it.
My overall rating for the Crayola Glitter Dots would be 4 out of 5 stars. It’s great that it is less of a mess than using glitter in other forms, but the fact that it’s hard to get out of the package and sticks as well to you as it does to your project makes a couple of strikes against it in my book. It is fun and a little different so if you can find it on sale like I did, I would say it’s worth the $2.00 in fun for your kids. 🙂 If you’ve used these, please let me know what you think of them!
I know Christmas is over and your kids probably got a lot of new toys recently but if you have any birthdays coming up soon or have a place to stash toys until Easter, you might want to make a run to your nearest Walmart to check out the toy clearance! I popped into our Walmart on a grocery run today and here are a few of the items I saw on sale.
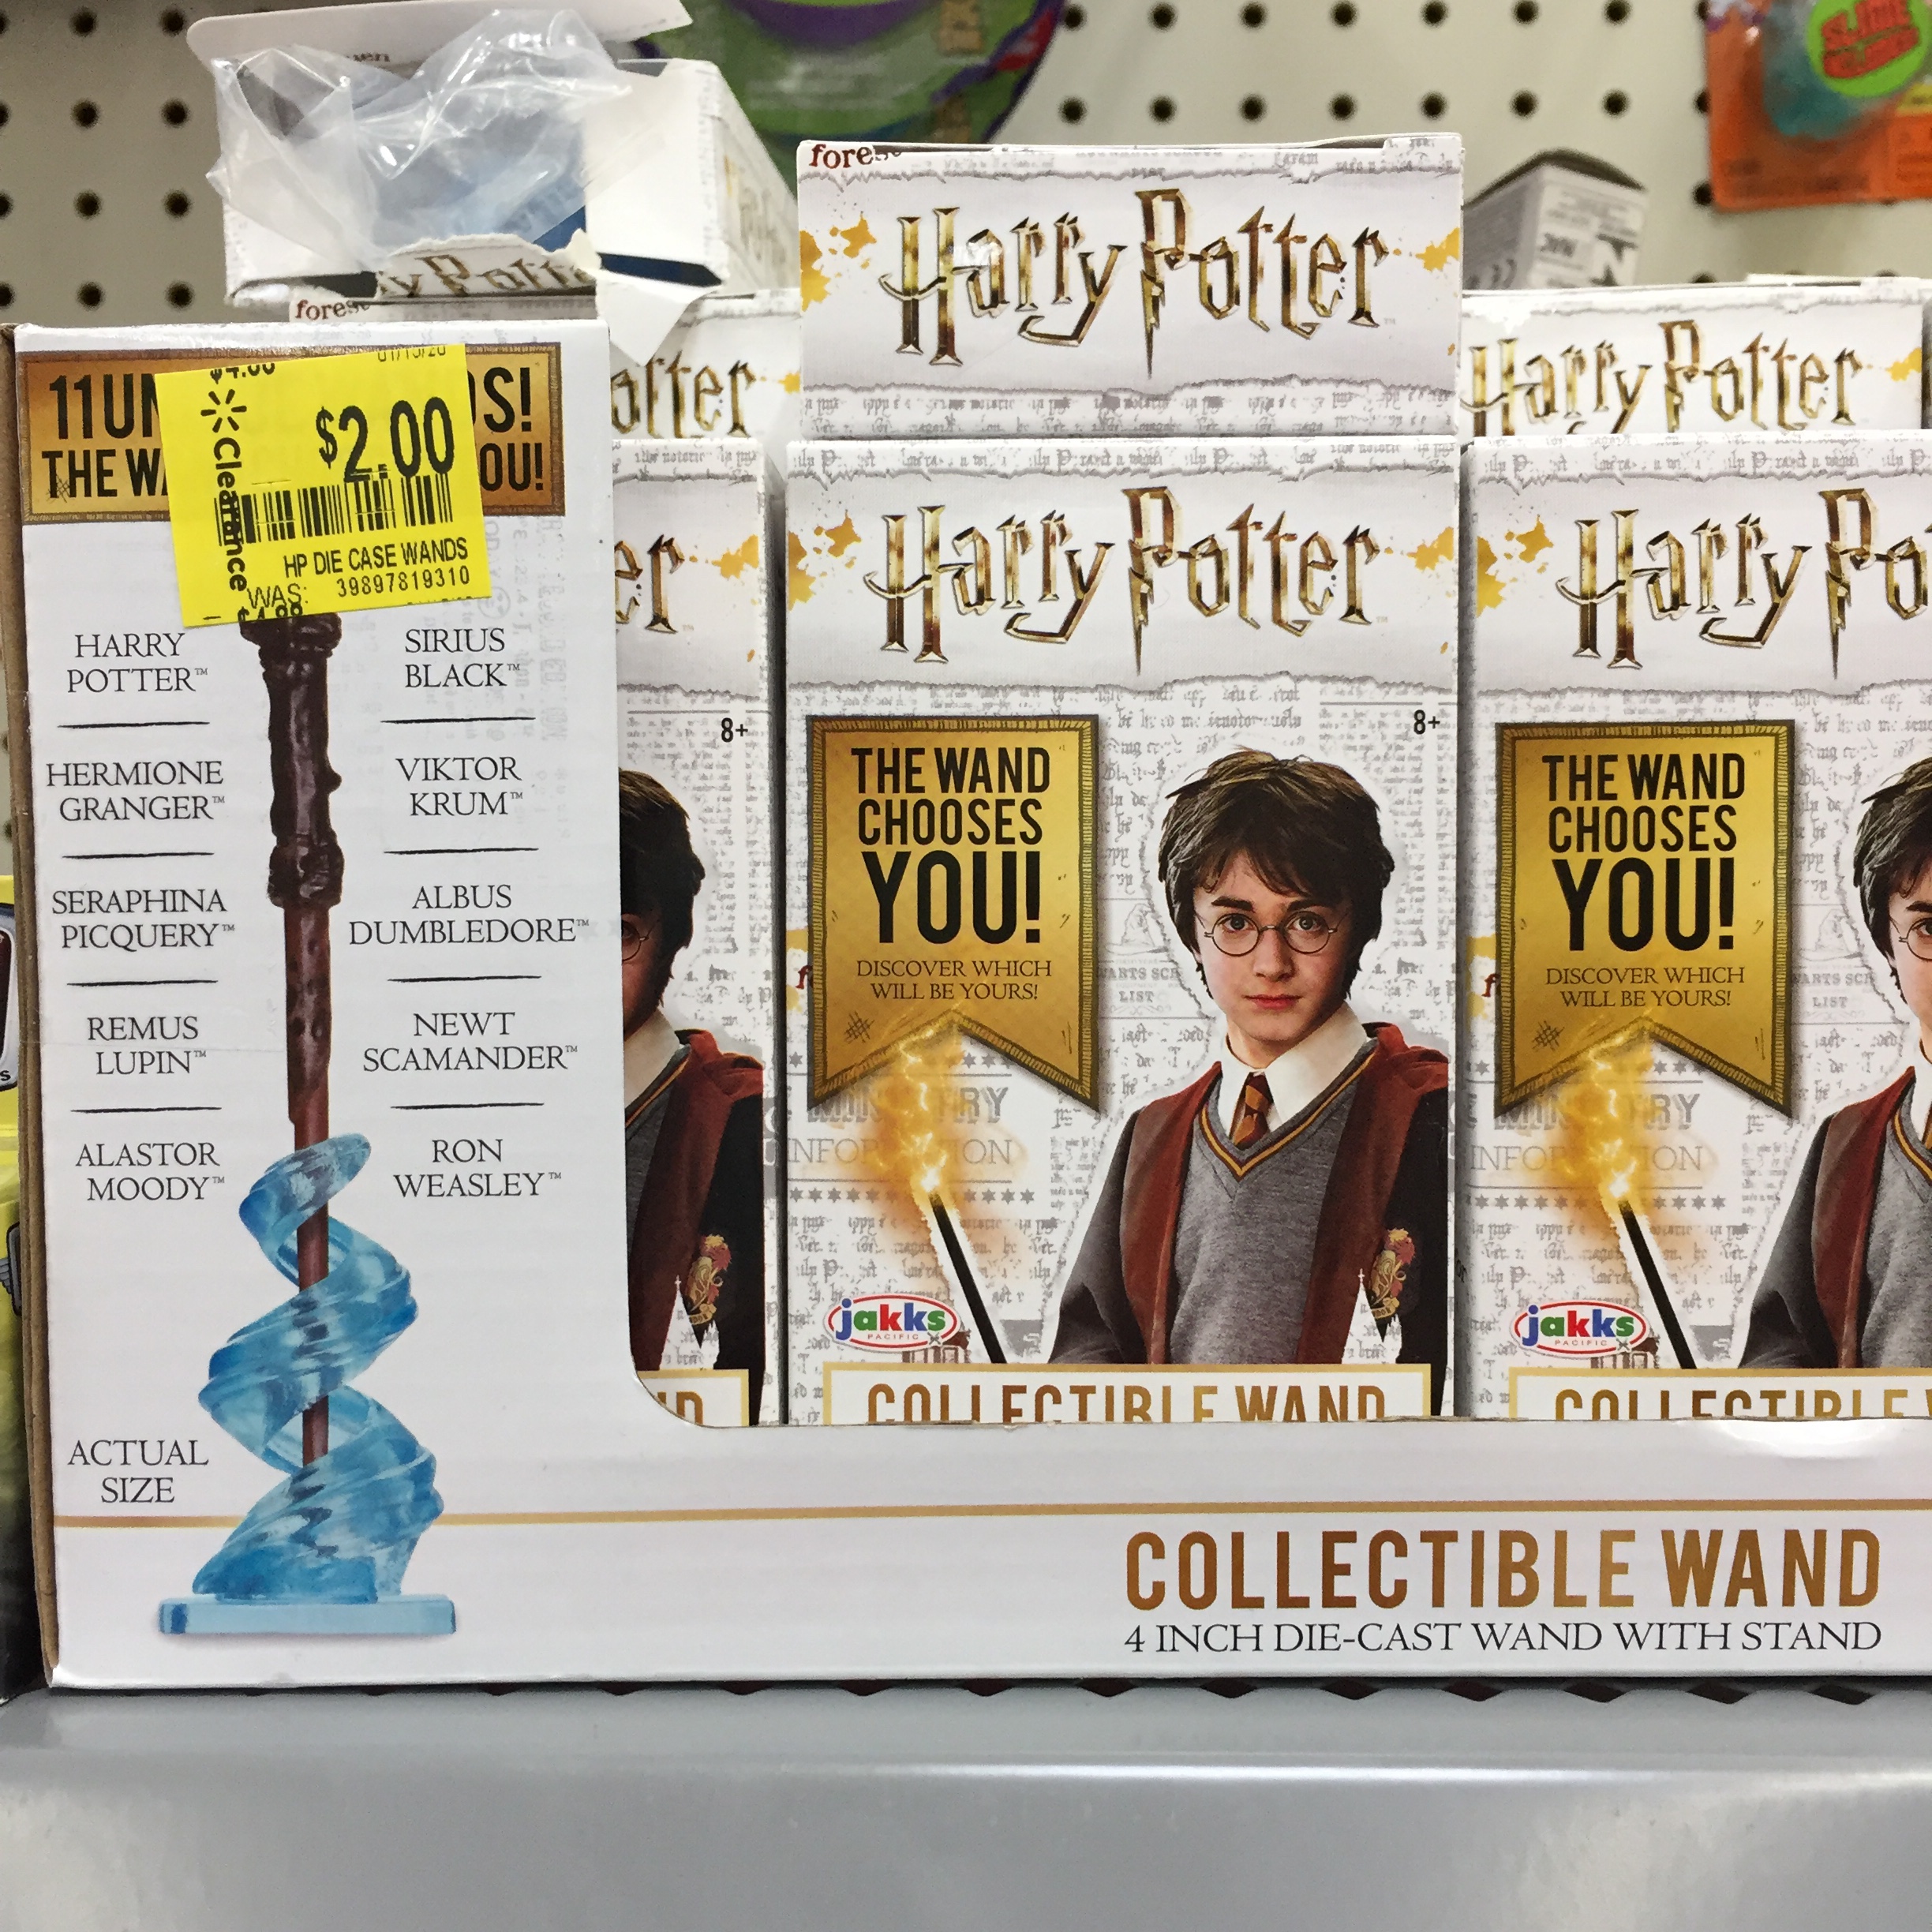
Harry Potter 4″ collectible wands will fit nicely into an Easter basket. Regularly $4.99 on sale for $2.00.
Fingerlings Minis Surprise packages would make another great Easter basket idea. Regularly $2.97 on sale for $2.00.
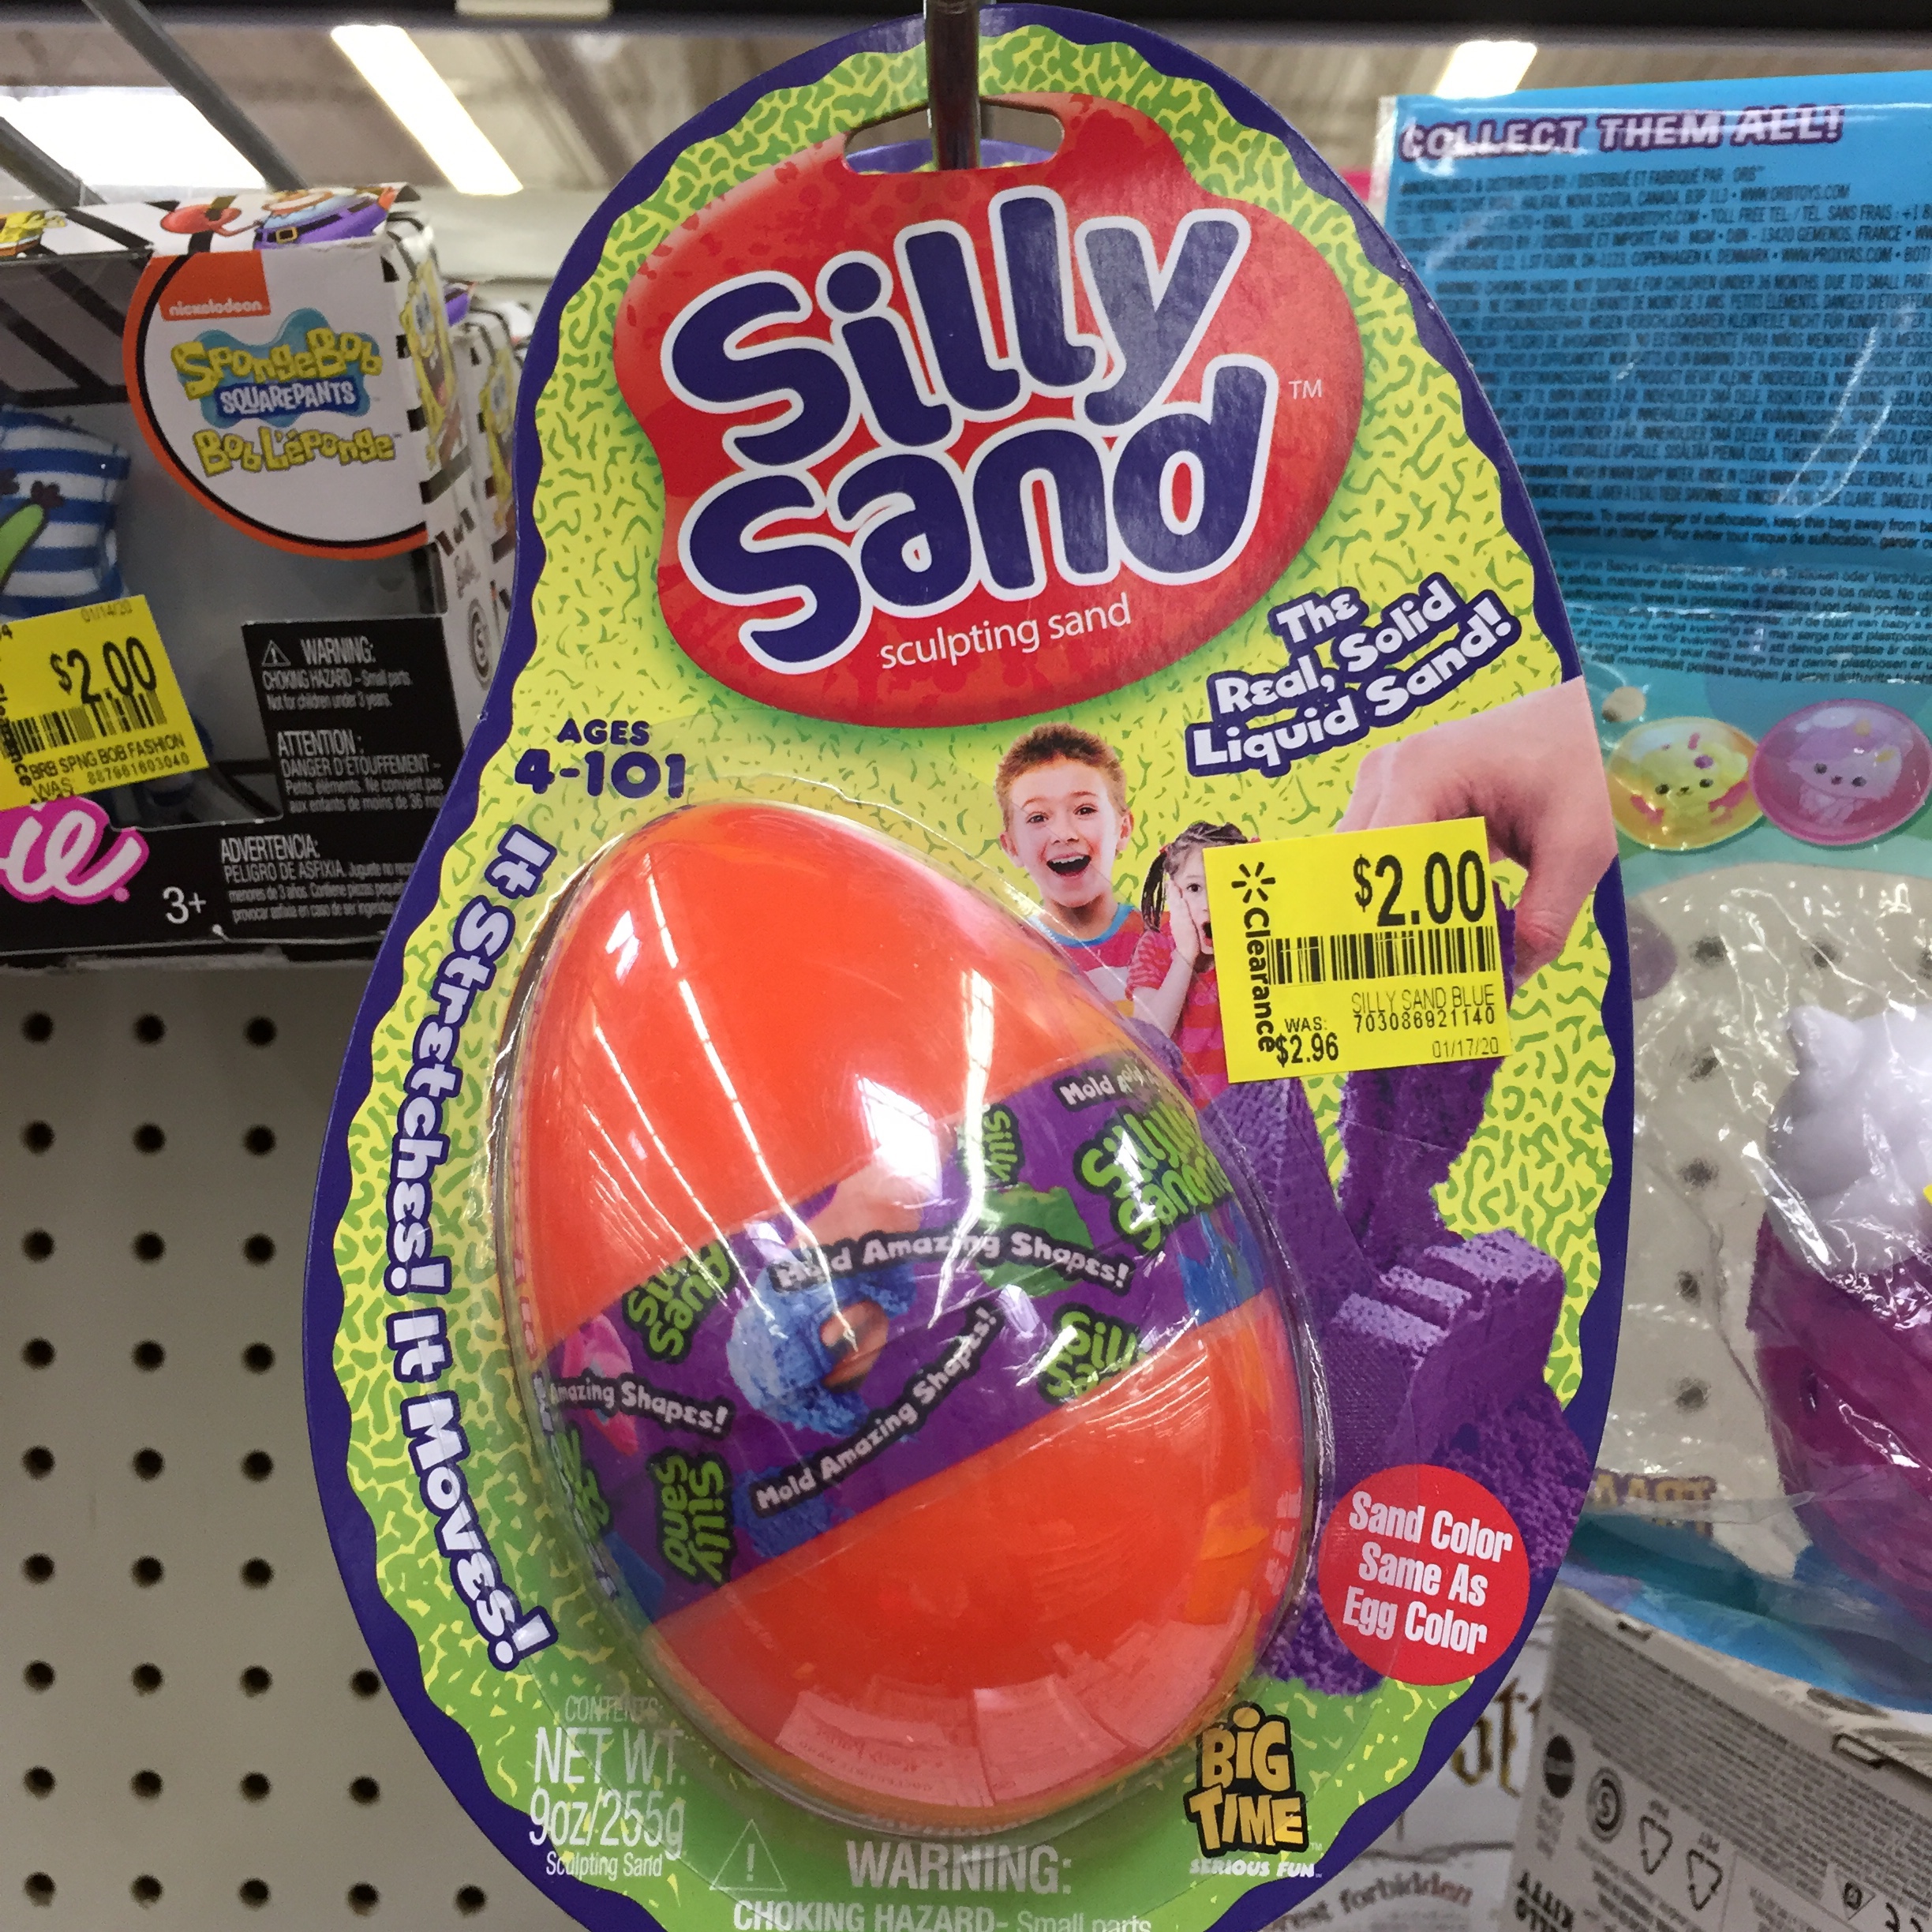
Silly Sand sculpting sand in an egg shape definitely should work in an Easter basket! Regularly $2.96 on sale for $2.00.
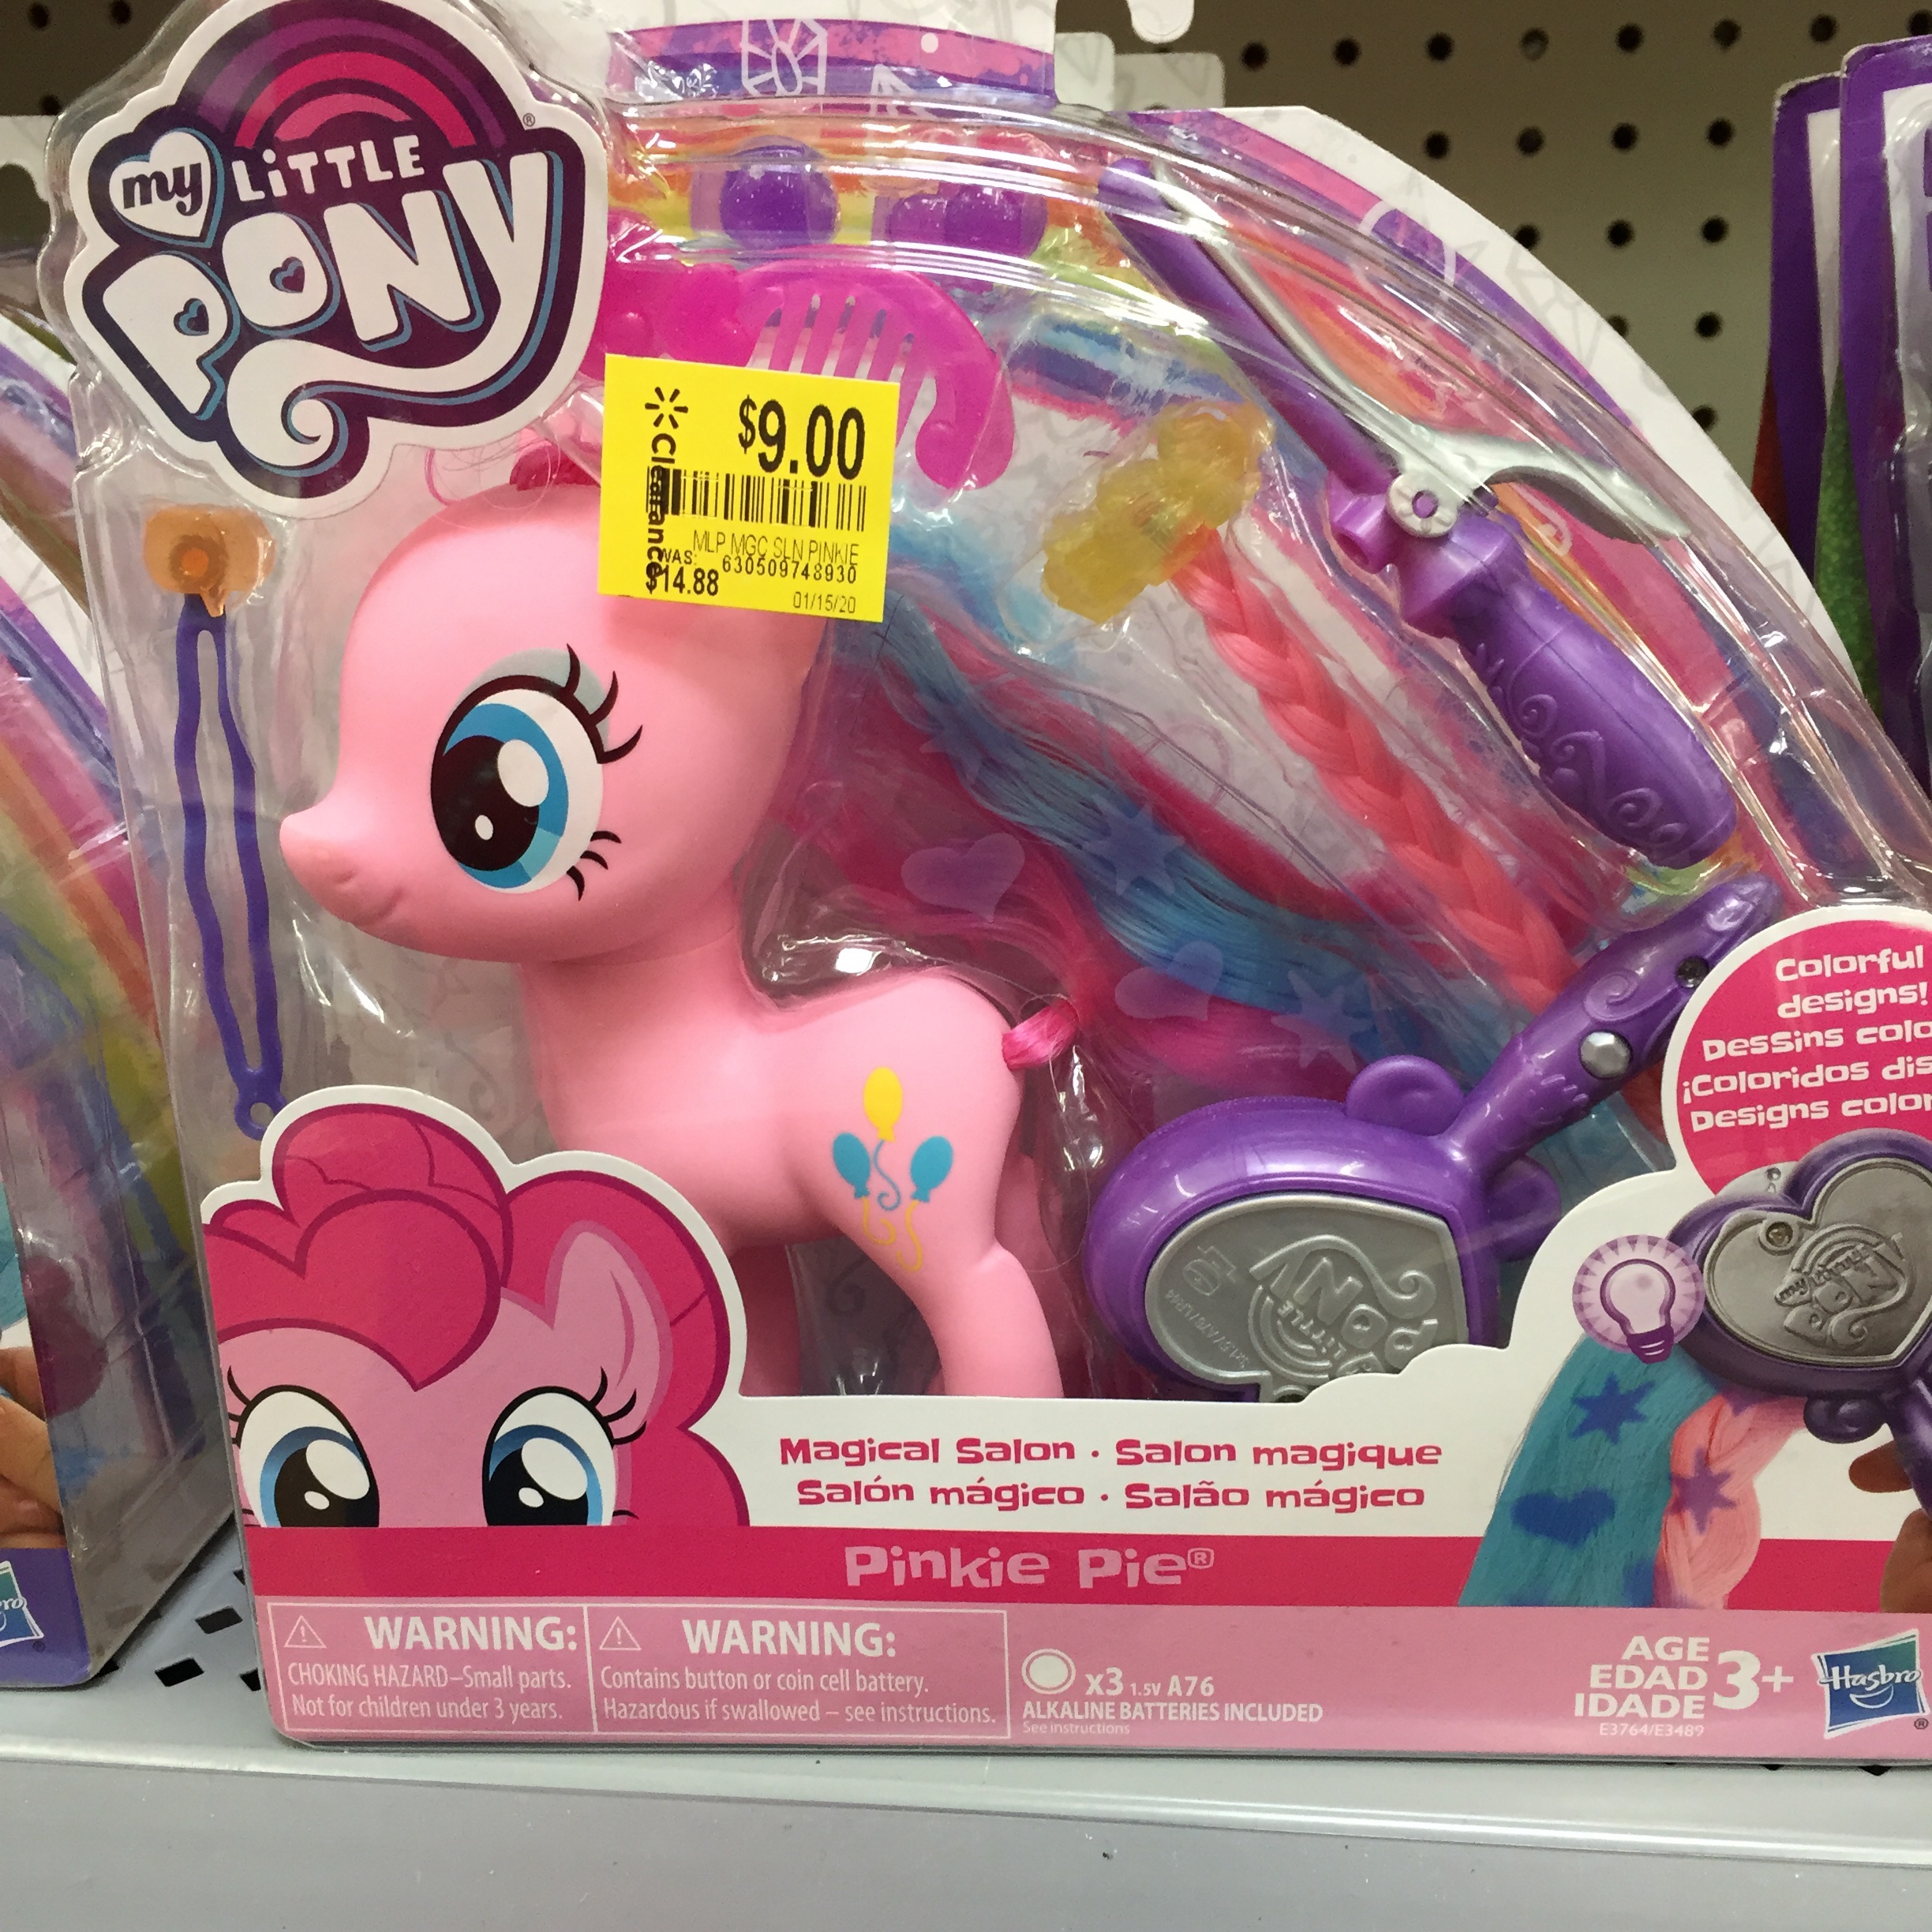
Now for a few slightly larger items I noticed. My Little Pony…there were a few different colors of these for sale. Regularly $14.88 on sale for $9.00.
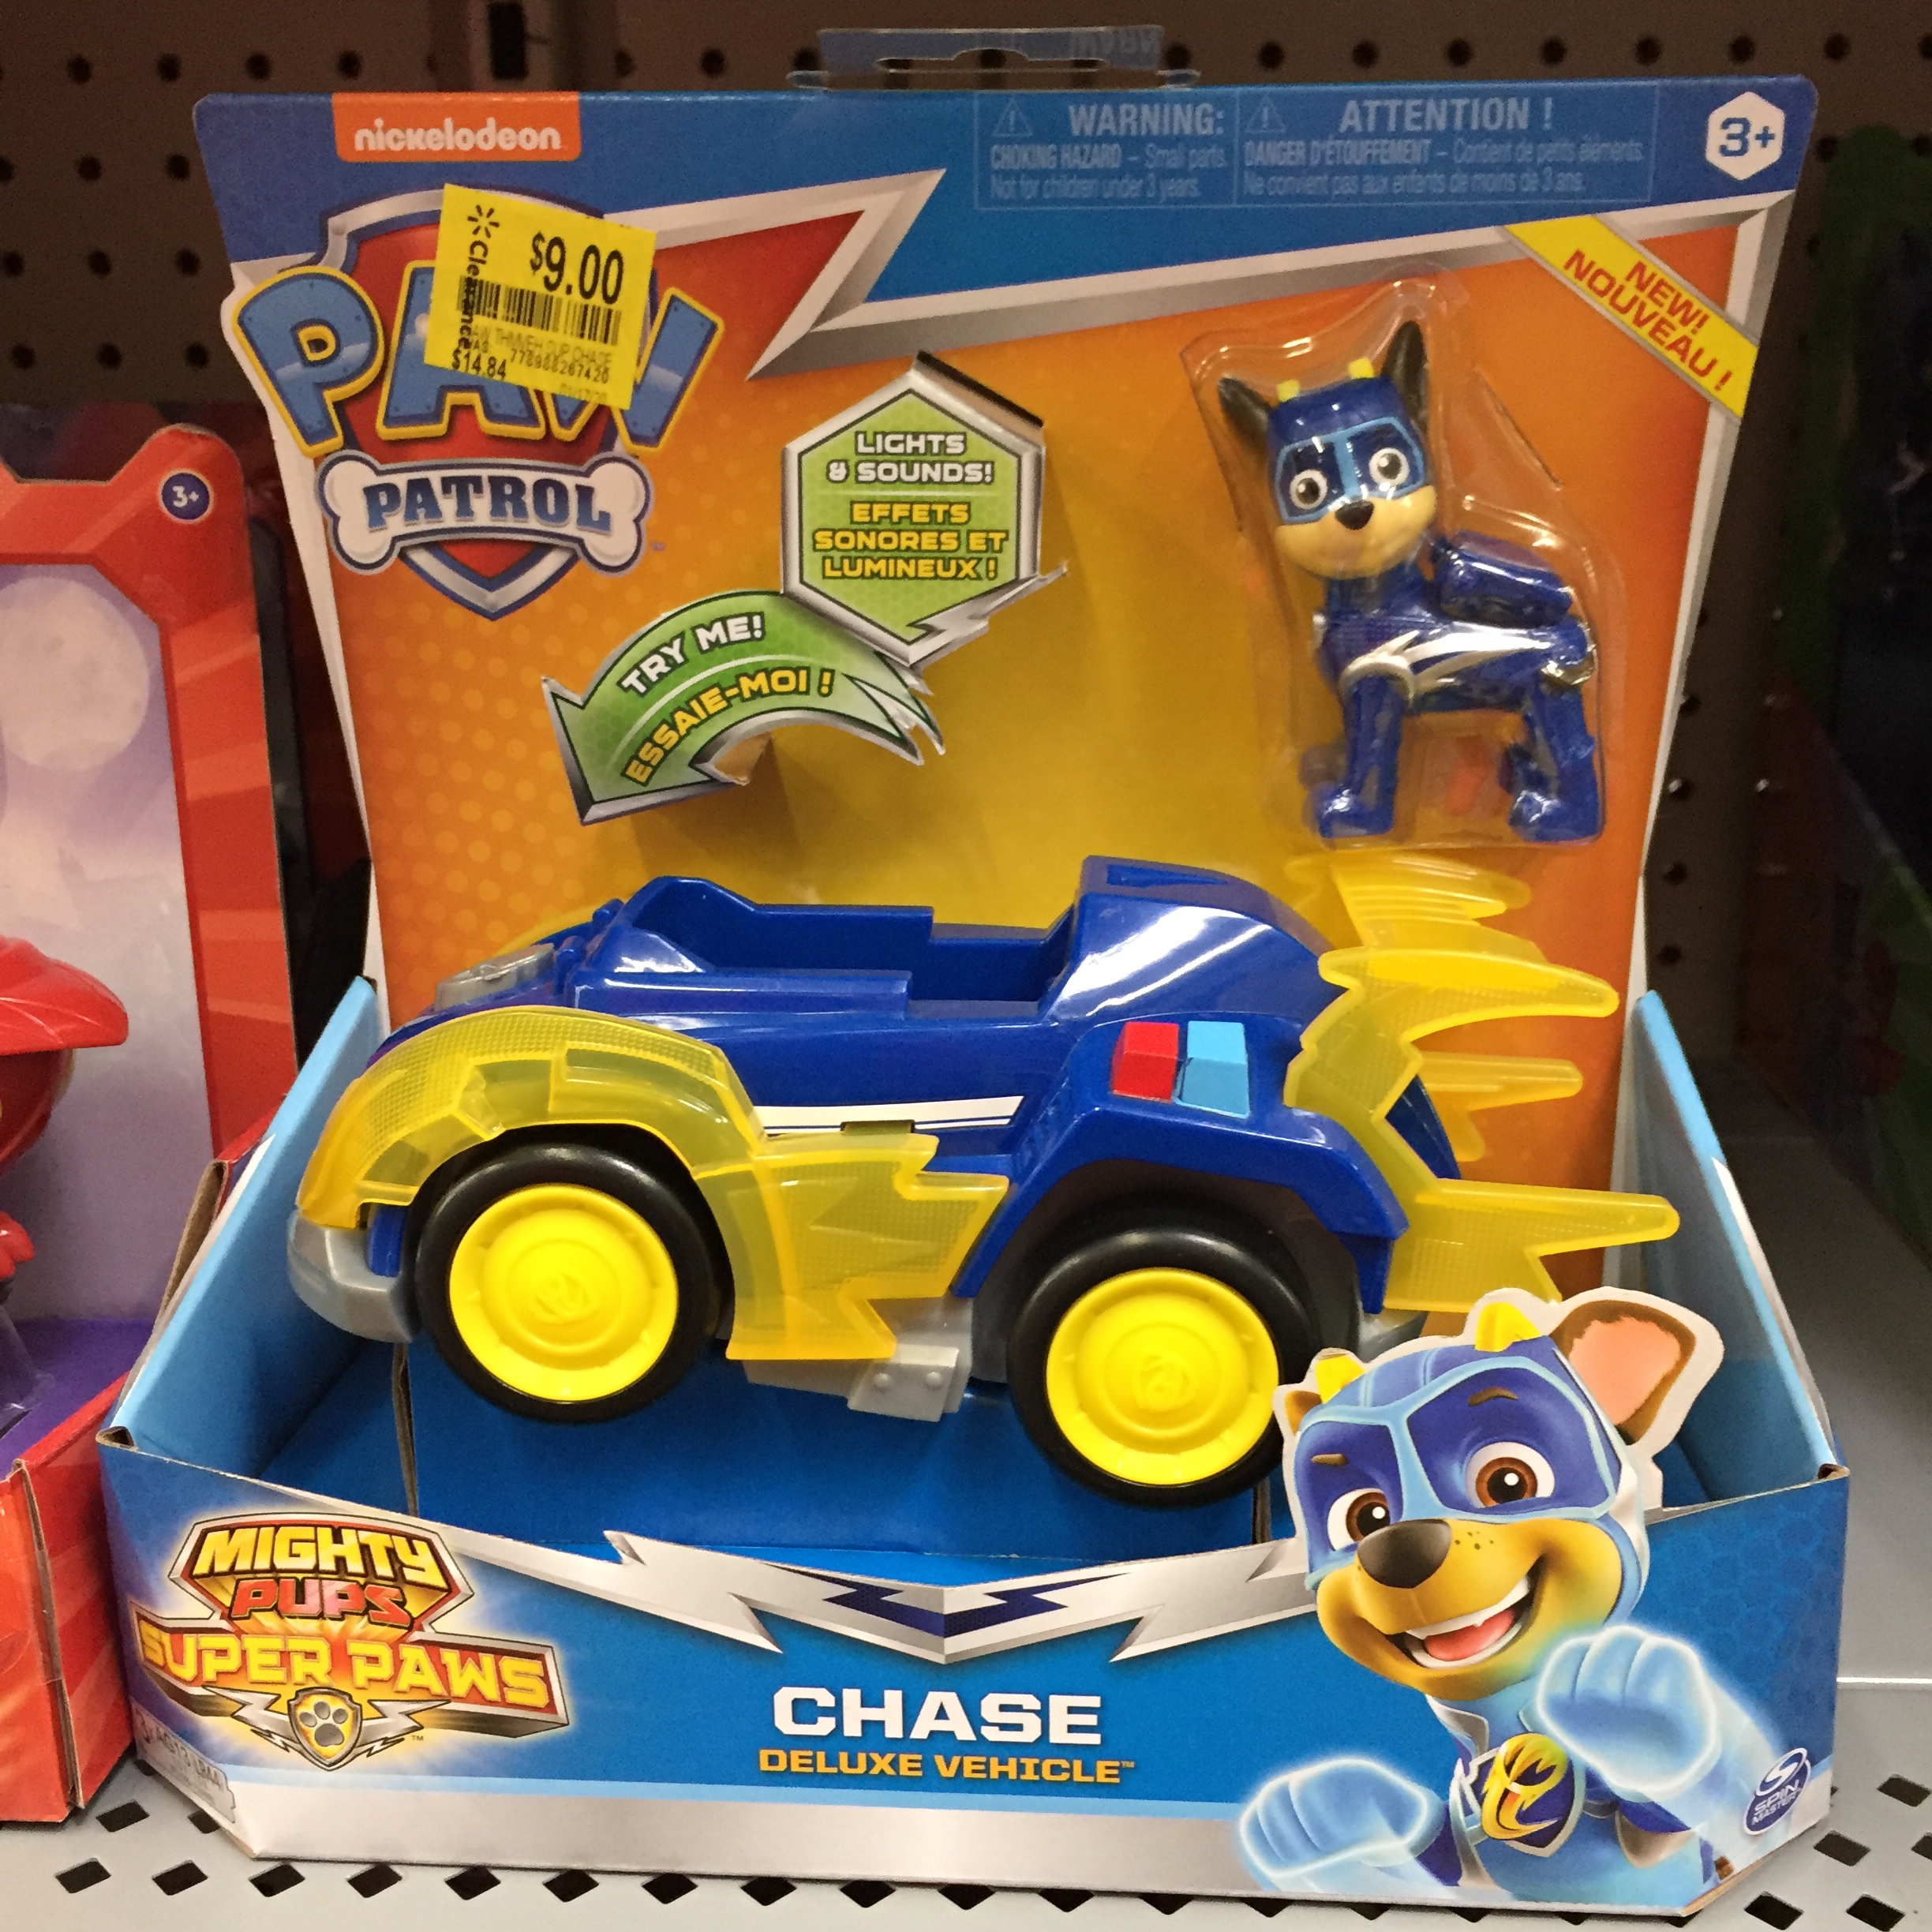
Mighty Pups Super Paws from Paw Patrol are one of our grandson’s favorite toys! They are regularly $14.84 on sale for $9.00. There were 3 or 4 different characters for sale at our Walmart.
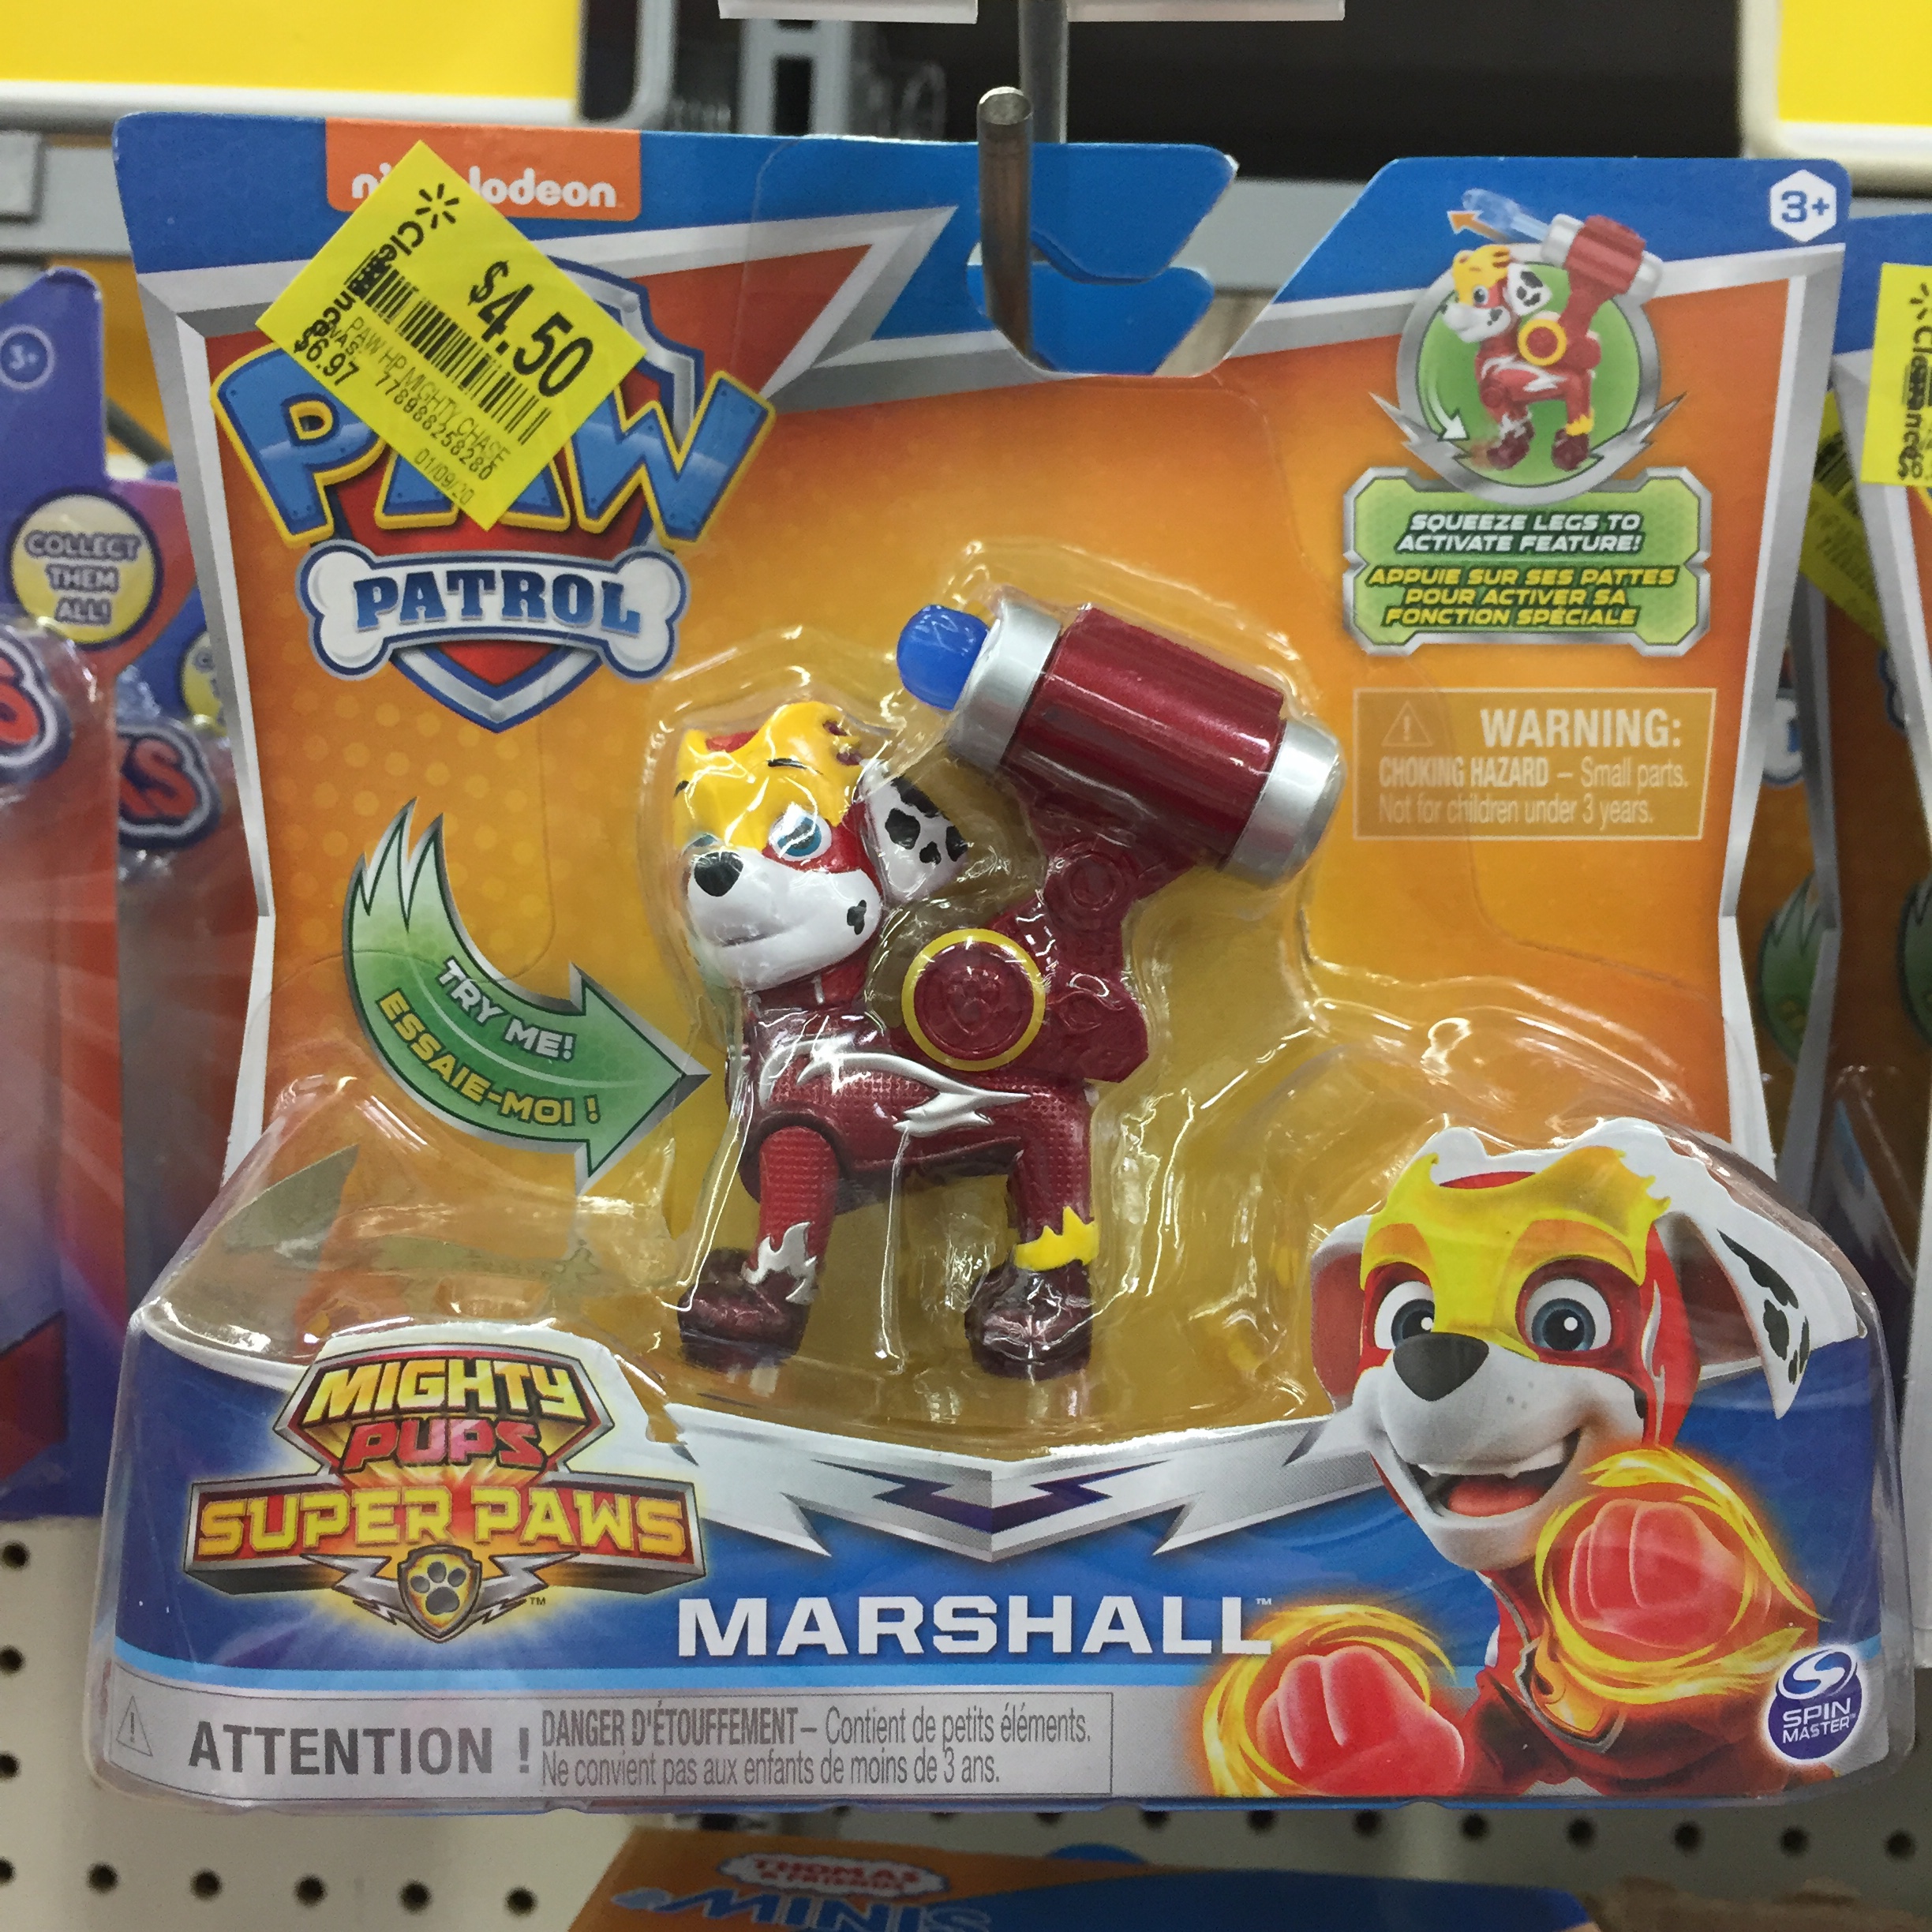
And then they also had a smaller version of Mighty Pups Super Paws characters. Here’s Marshall, regular price is $6.97, on sale for $4.50.
That’s all the ones I had time to get pictures of but there were many more things on sale in the clearance isle. I’m sure each Walmart store has different items on sale but it might be worth your while to make a run and see what they have that might interest you. One more thing I have to share is something I saw for the first time today…
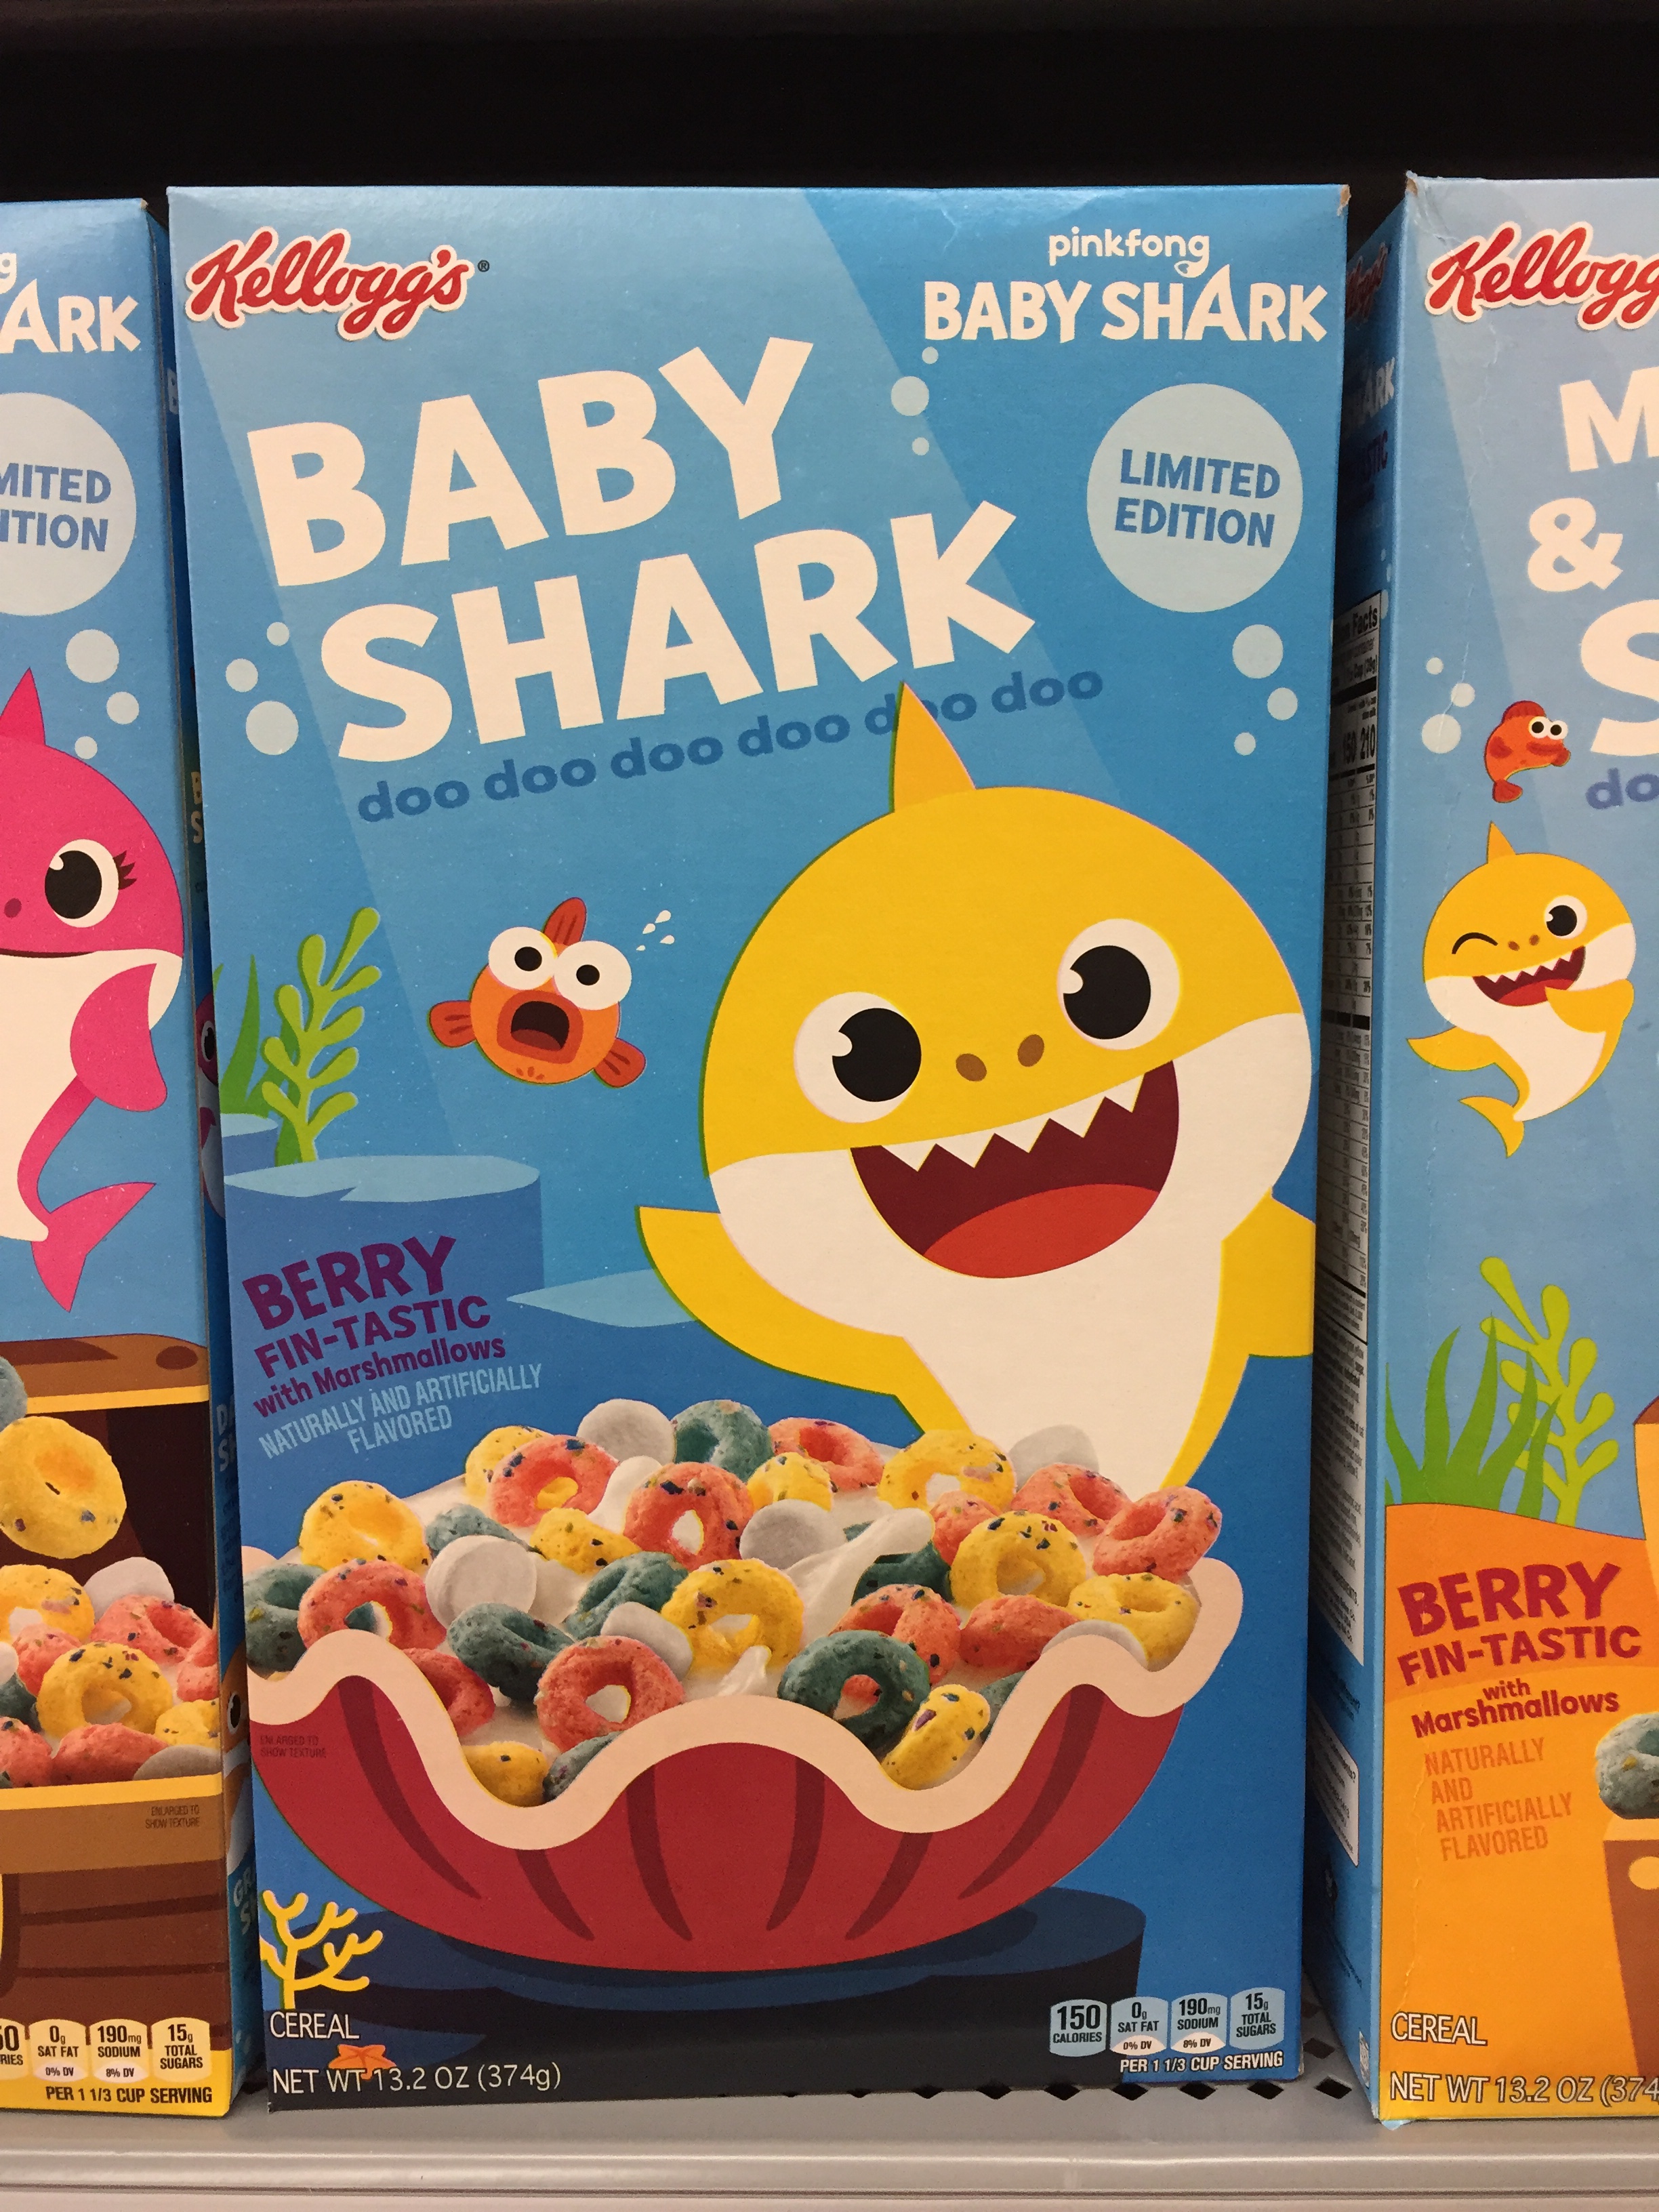
Baby Shark cereal??! Yep! Maybe I am just not very observant and it’s been there for a while but it’s a first for me! Lol I’m not recommending it, just thought it was cute. 😁 Good luck hunting for clearance sales!
Are you ready to put away your Christmas wreath but feel like its too soon for spring decor? Here’s a fun and quick little project for a winter wreath. We can still have snow where we live for a couple of months yet, so making a wreath with snowmen and snowflakes seems totally appropriate. You can use whatever theme you’d like – even a spring theme, if you are so inclined. This project is probably geared more for older kids or for younger kids with lots of help from an adult.
Here’s what you need to get started: a wreath form, (I used a 14″ one), some fabric printed with your theme, a glue gun, and some little items you might like to use to decorate the wreath. Gather up any items that might go along with your theme and you can play around with them till you decide which ones to use.
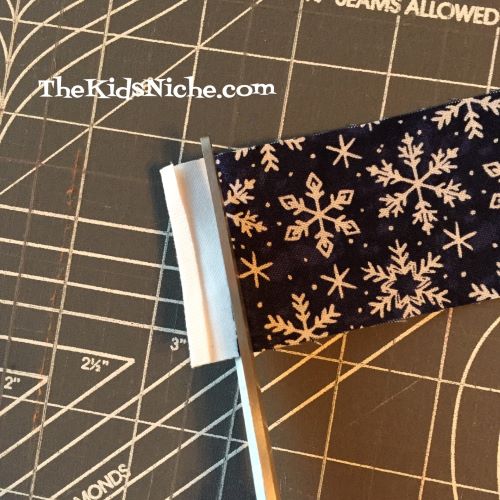
Start by cutting strips of fabric 2″ wide by the width of the fabric. You can use shorter strips if that’s what you have because we will be gluing them together anyway. I needed 5 strips to cover my 14″ wreath.
Trim off the white selvage edges.
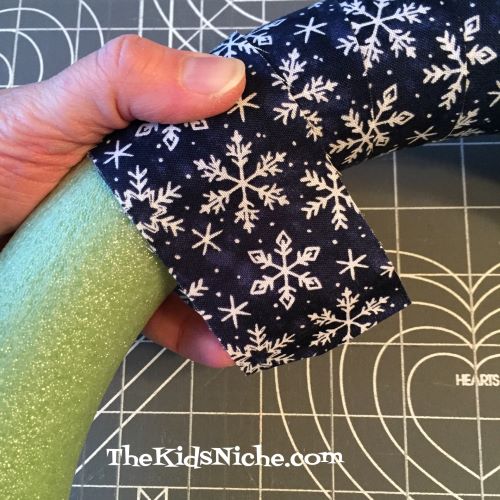
Take one strip and start wrapping it around the wreath form. You can glue down the first edge if you want to but I just wrapped the fabric strip around the wreath close enough that it held the end in place.
When you get to the end of your strip, cut it as much as is needed so that you attach the next strip on the backside of the wreath. That way it won’t show on the front.
Using the glue gun, make a line of glue close to the end of the strip on the top side of the fabric.
Lay the end of the next fabric strip on top, lining up the edges. It will then look like a continuous strip of fabric.
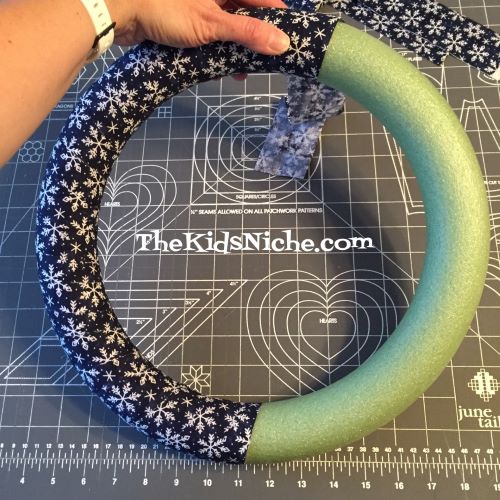
Continue wrapping the fabric strips around the wreath form and adding new strips as needed.
When the entire wreath is covered with the fabric, trim the end so that you glue the end down on the backside of your wreath.
This time put the glue on the wrong side or the backside of the fabric.
And now the wreath is ready for decorating! 🙂
Lay your little decorative items around on the front of the wreath. Take time to move them around and to try different ideas.
Once you decide where you want them, use the glue gun to glue them in place.
You did it! And I’m sure it looks great! Find a place to hang your wreath where everyone can enjoy it! Hope you had fun making a winter wreath! 🙂


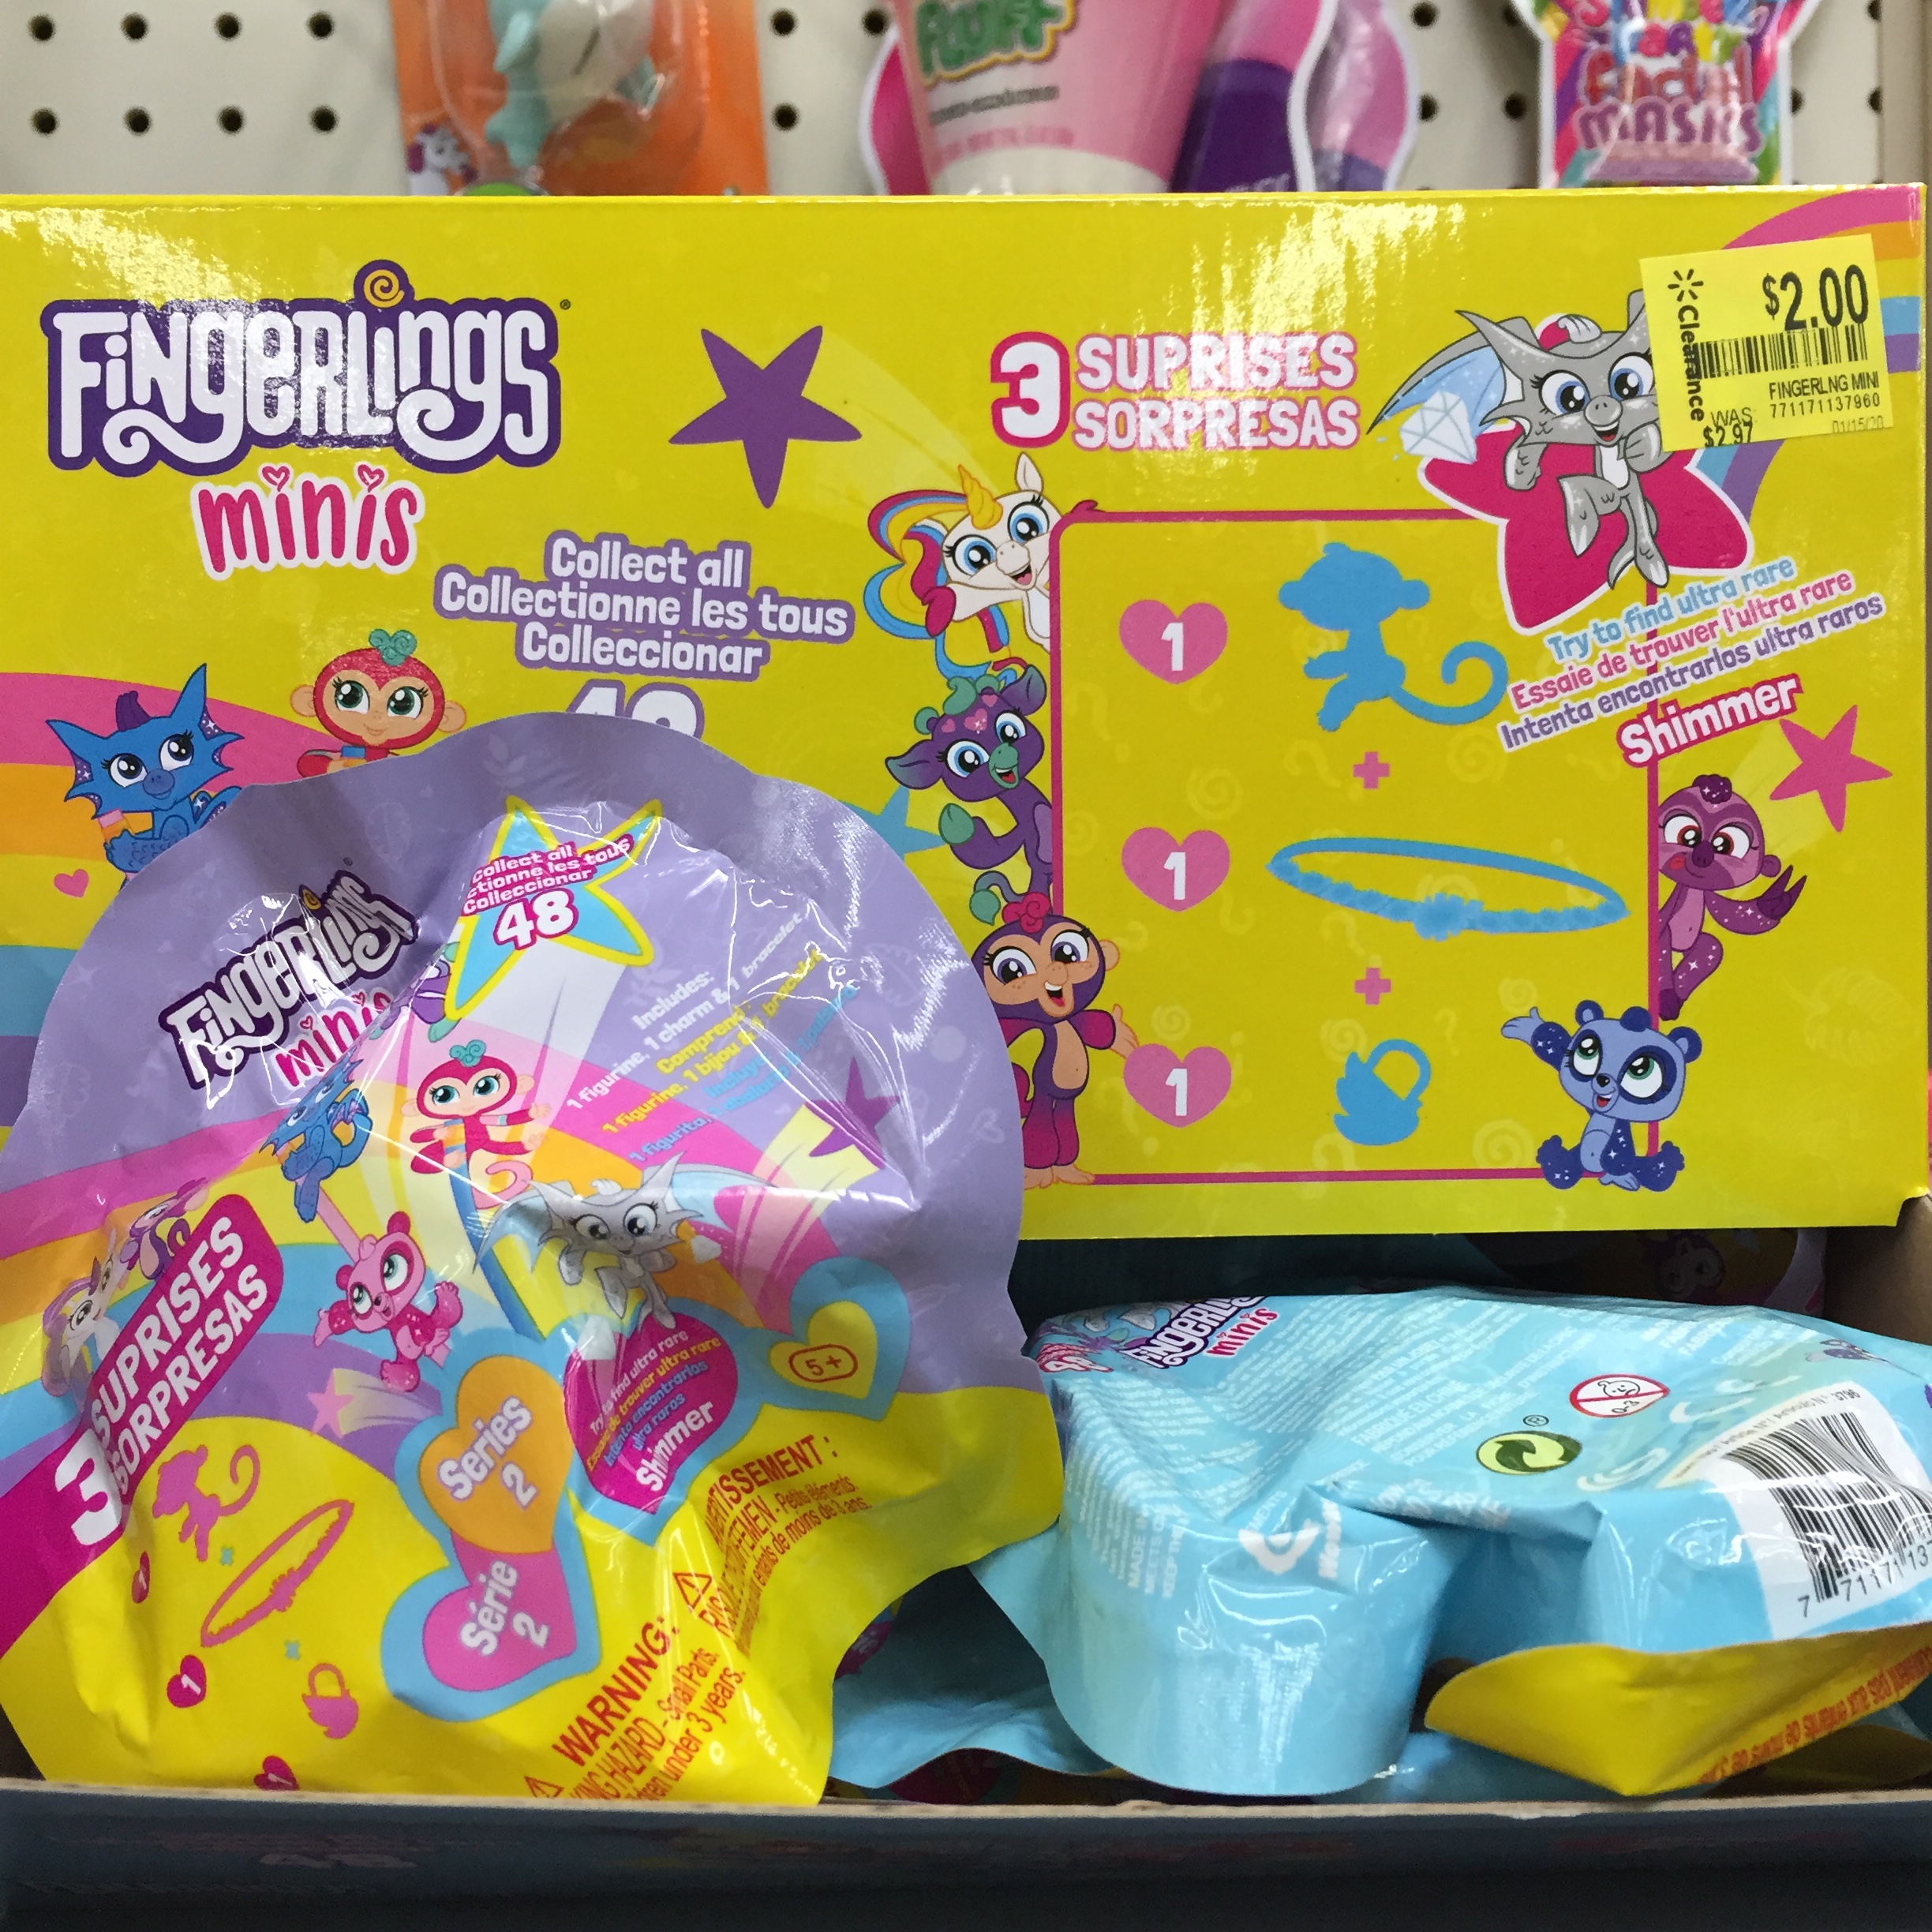 Fingerlings Minis Surprise packages would make another great Easter basket idea. Regularly $2.97 on sale for $2.00.